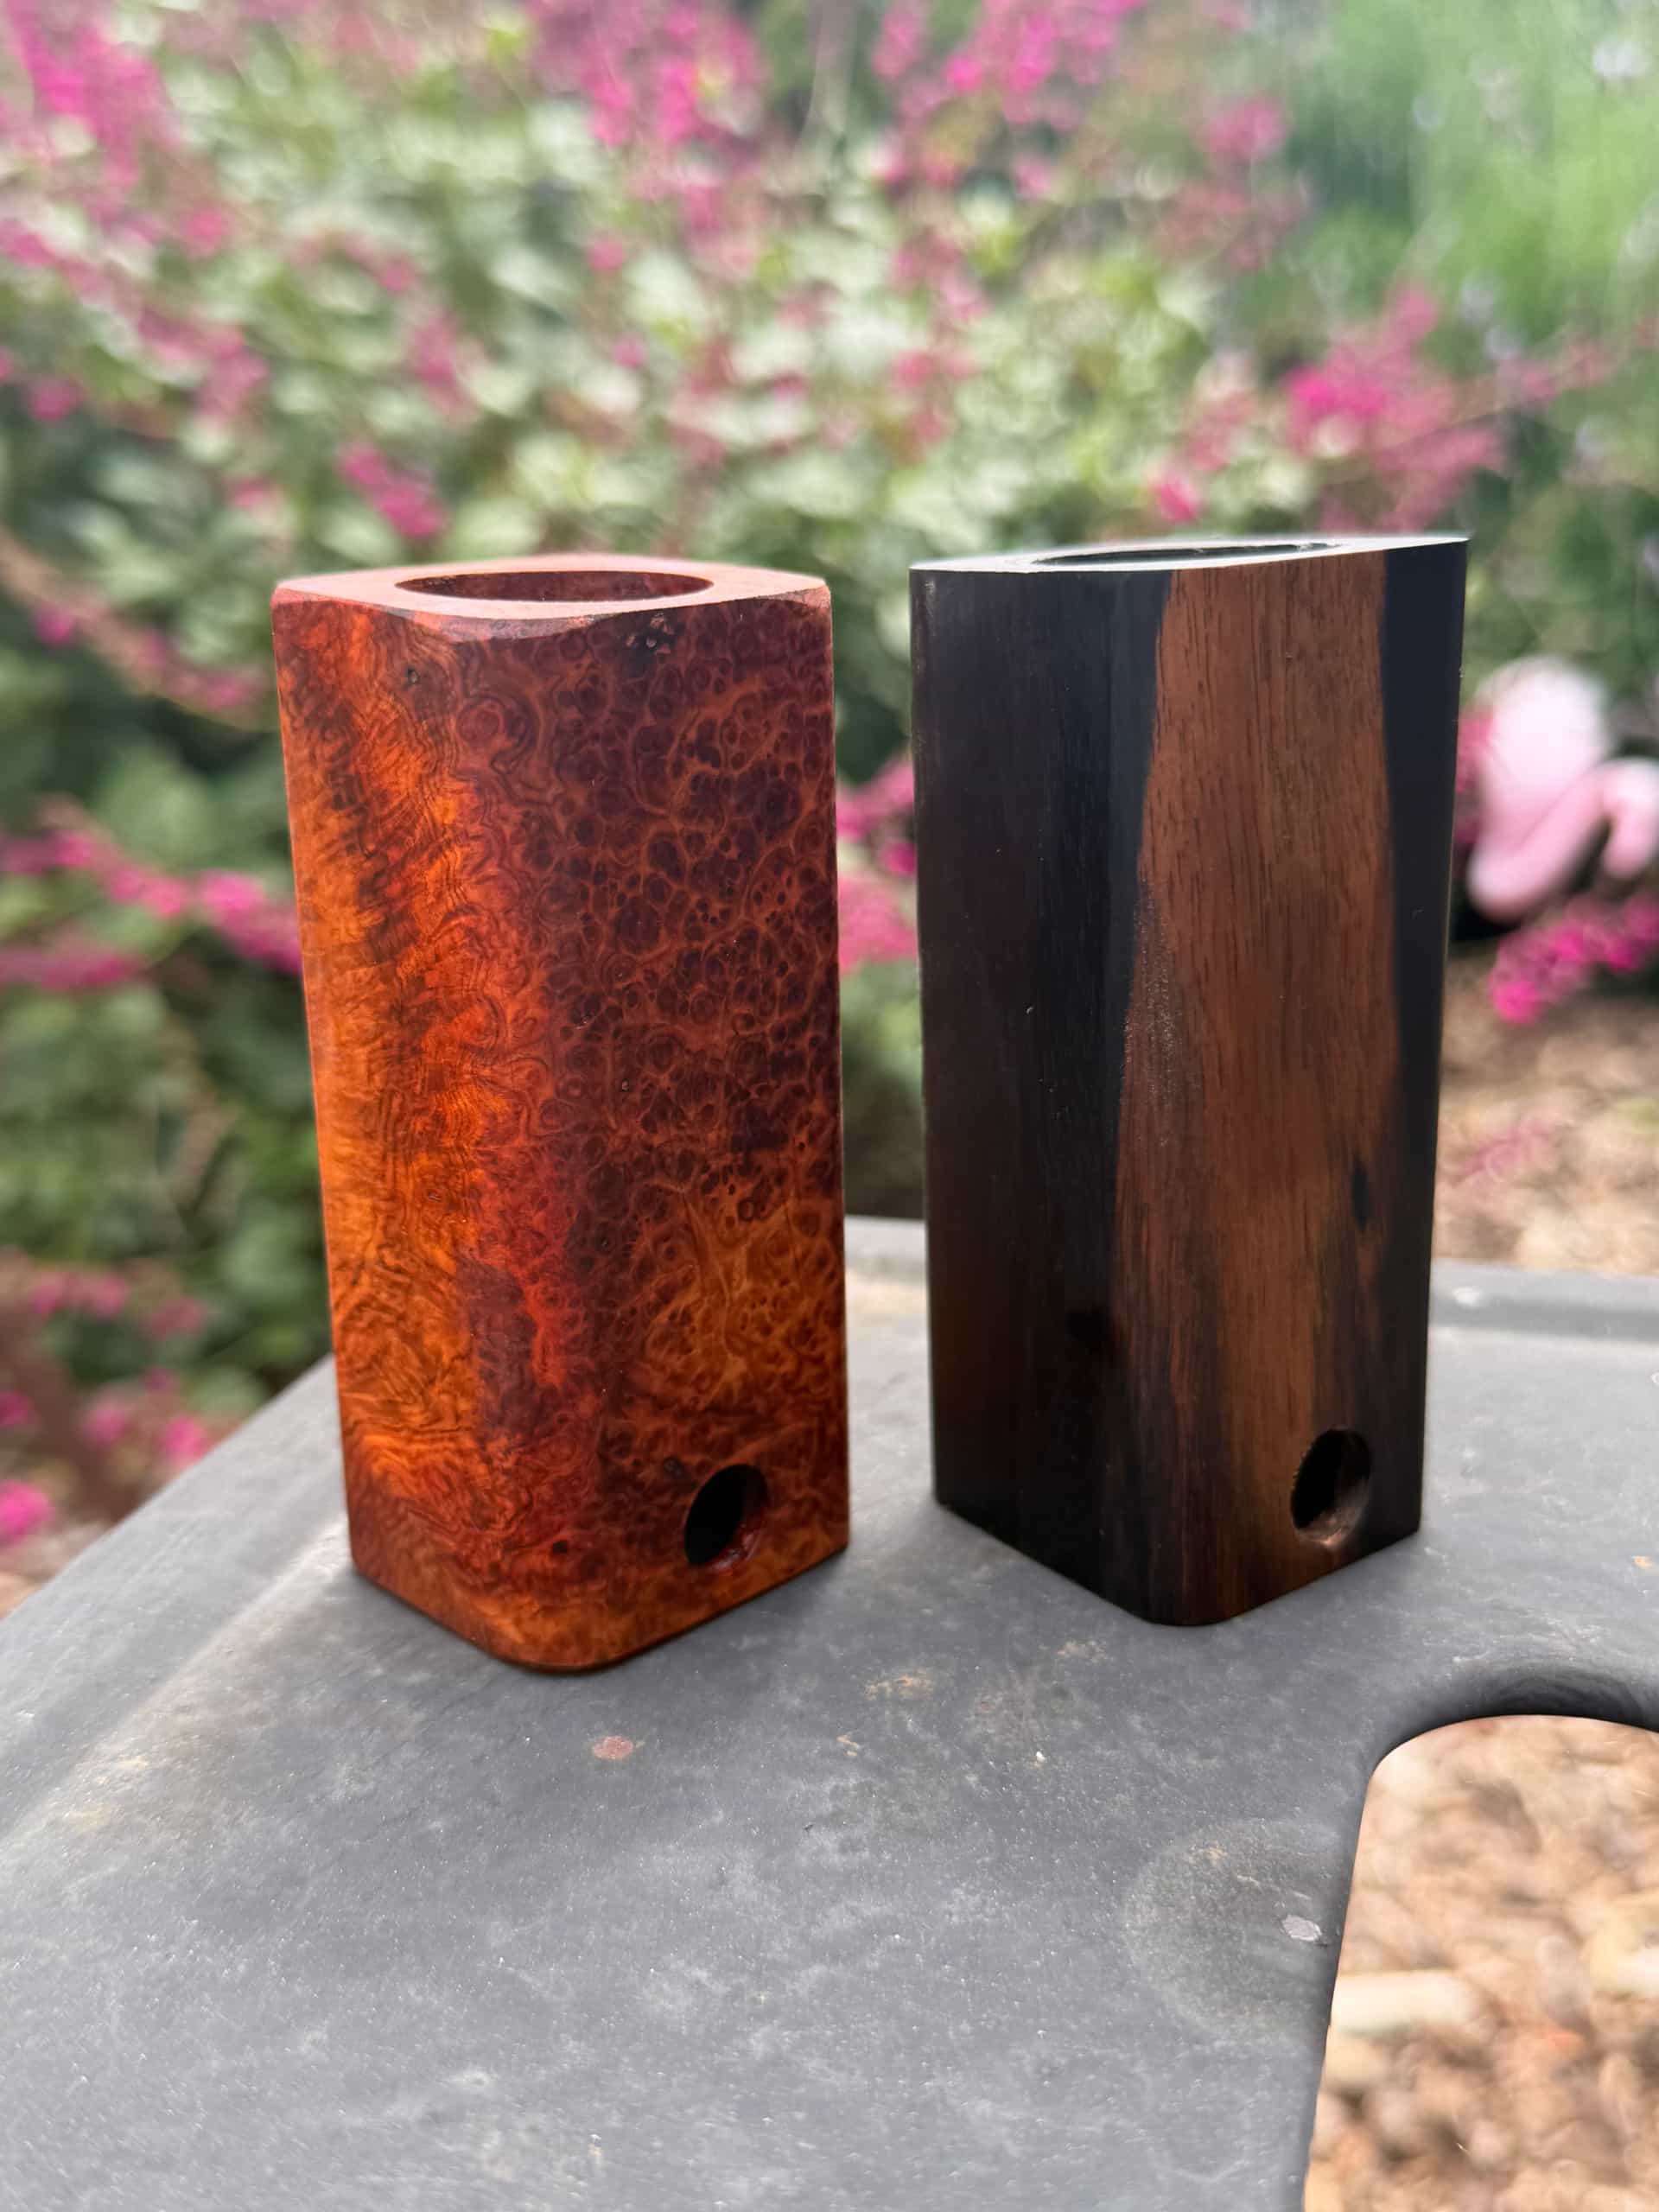
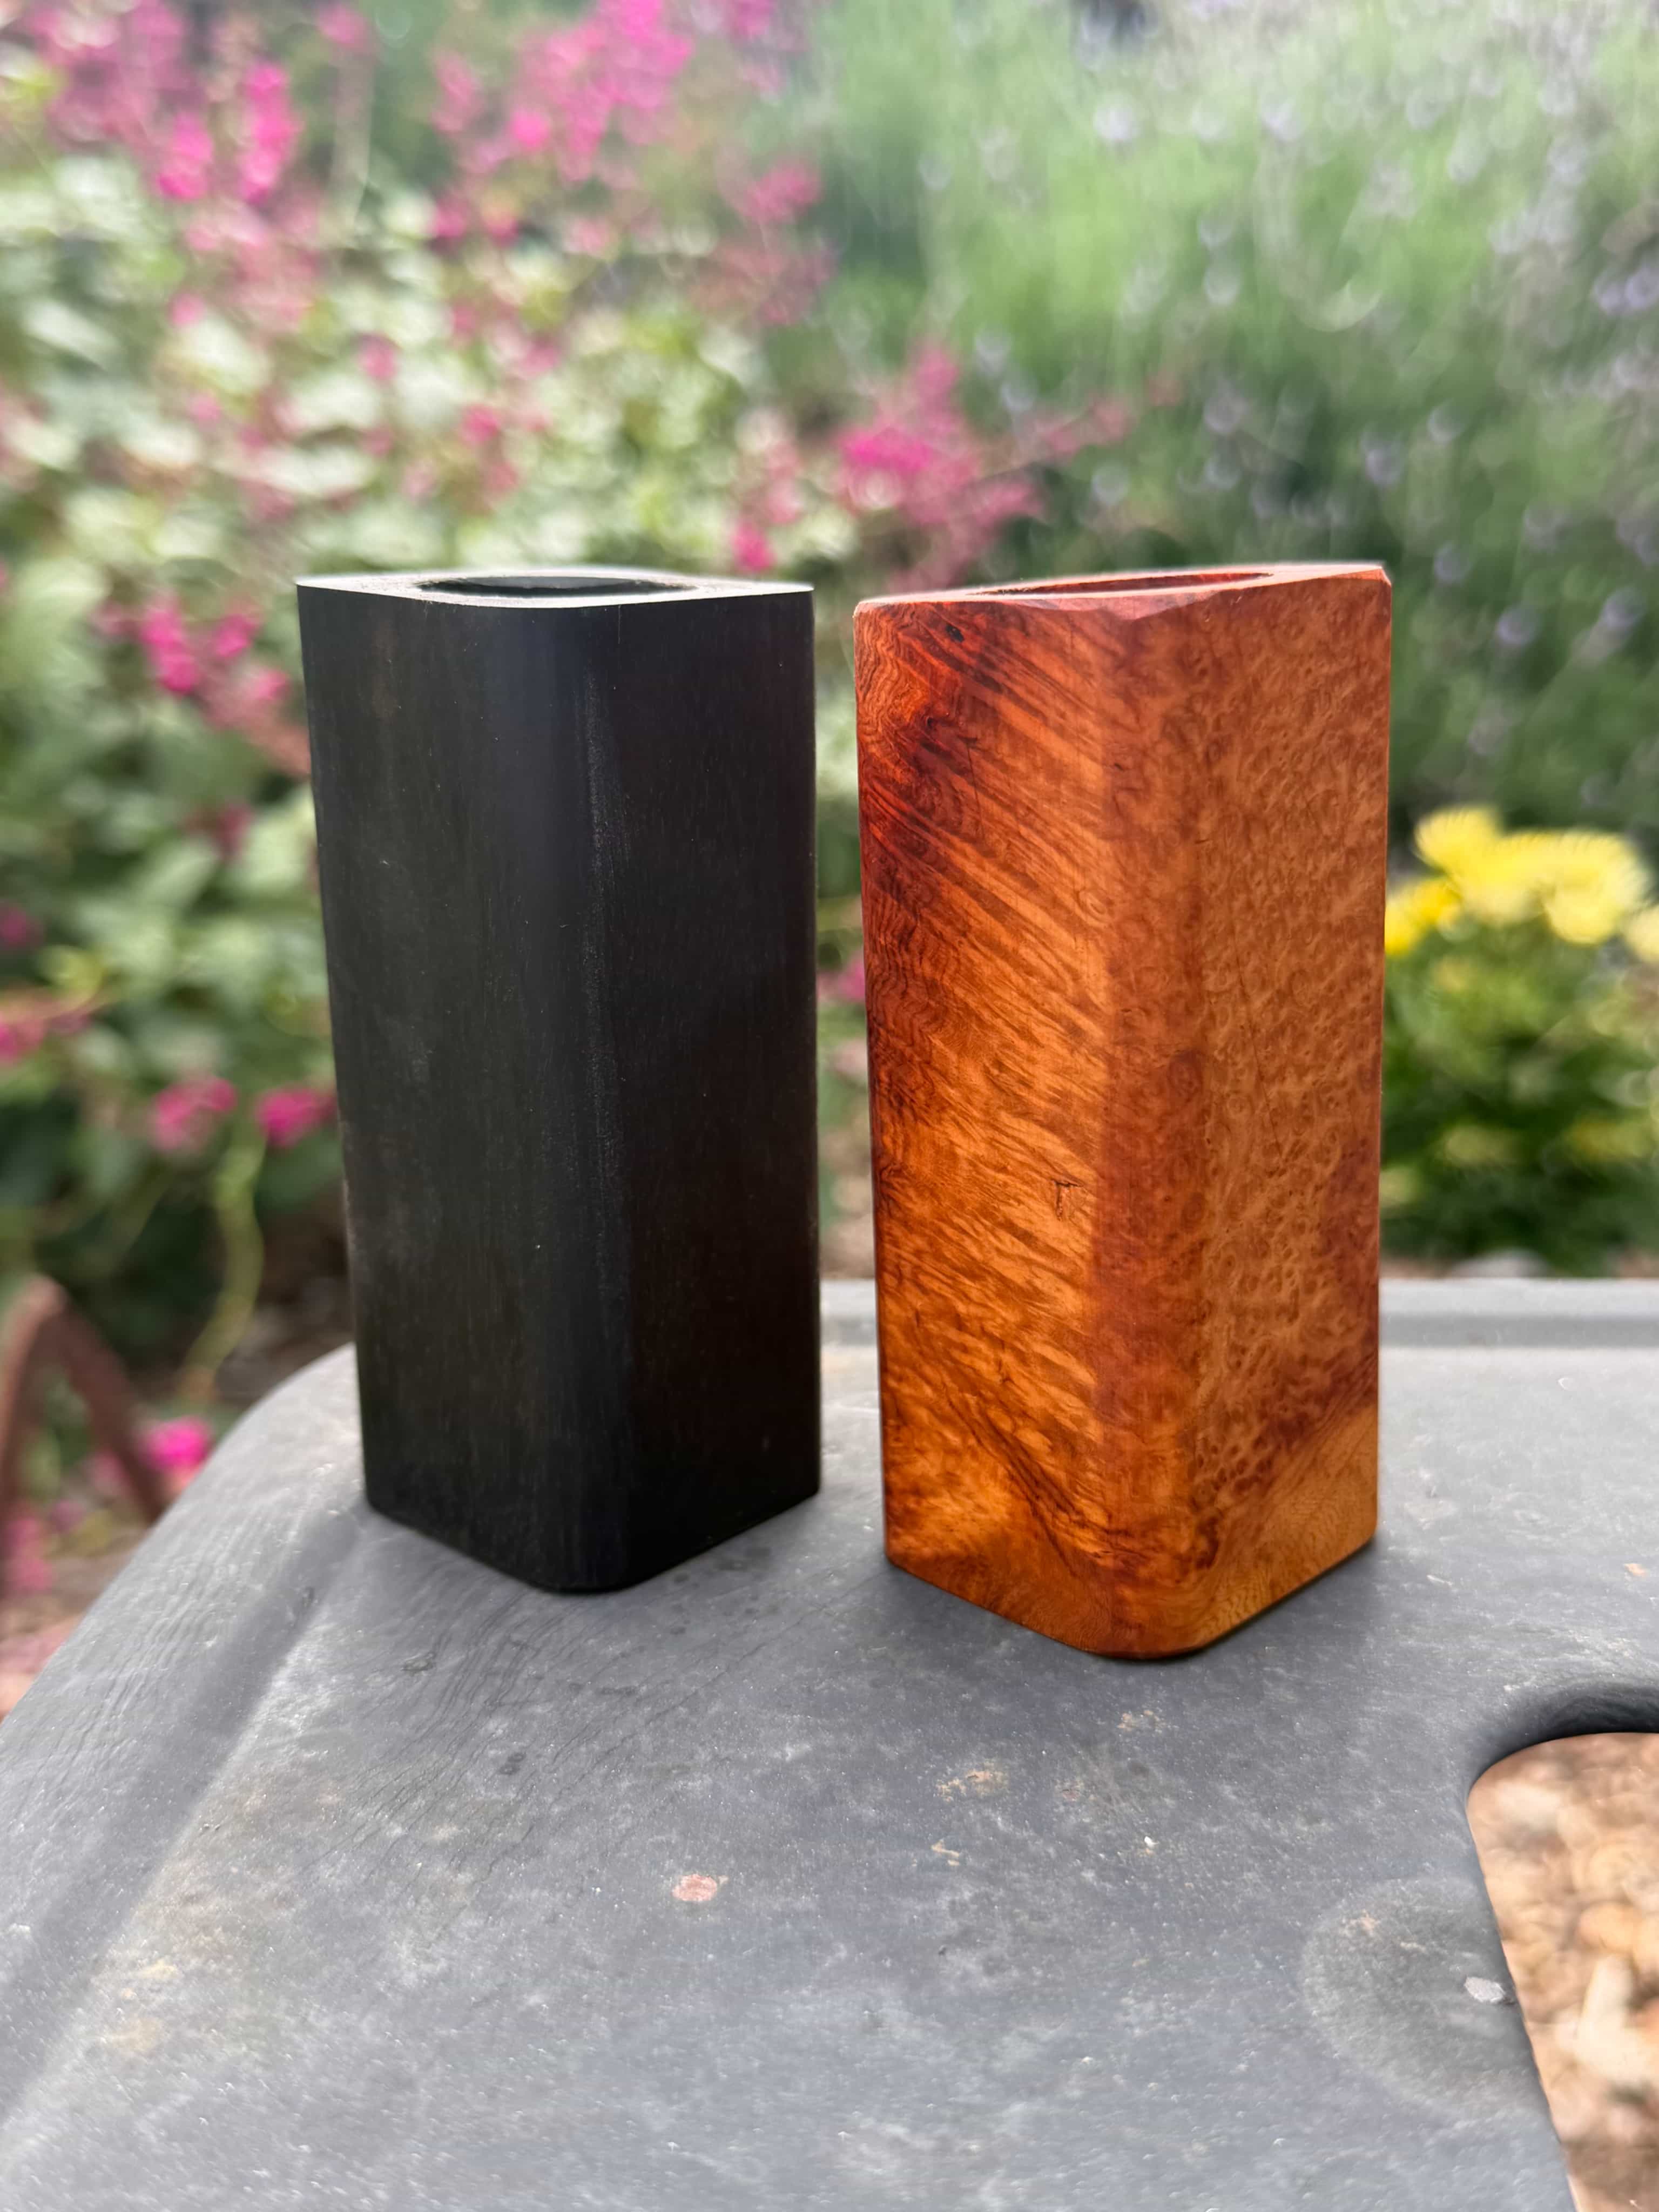
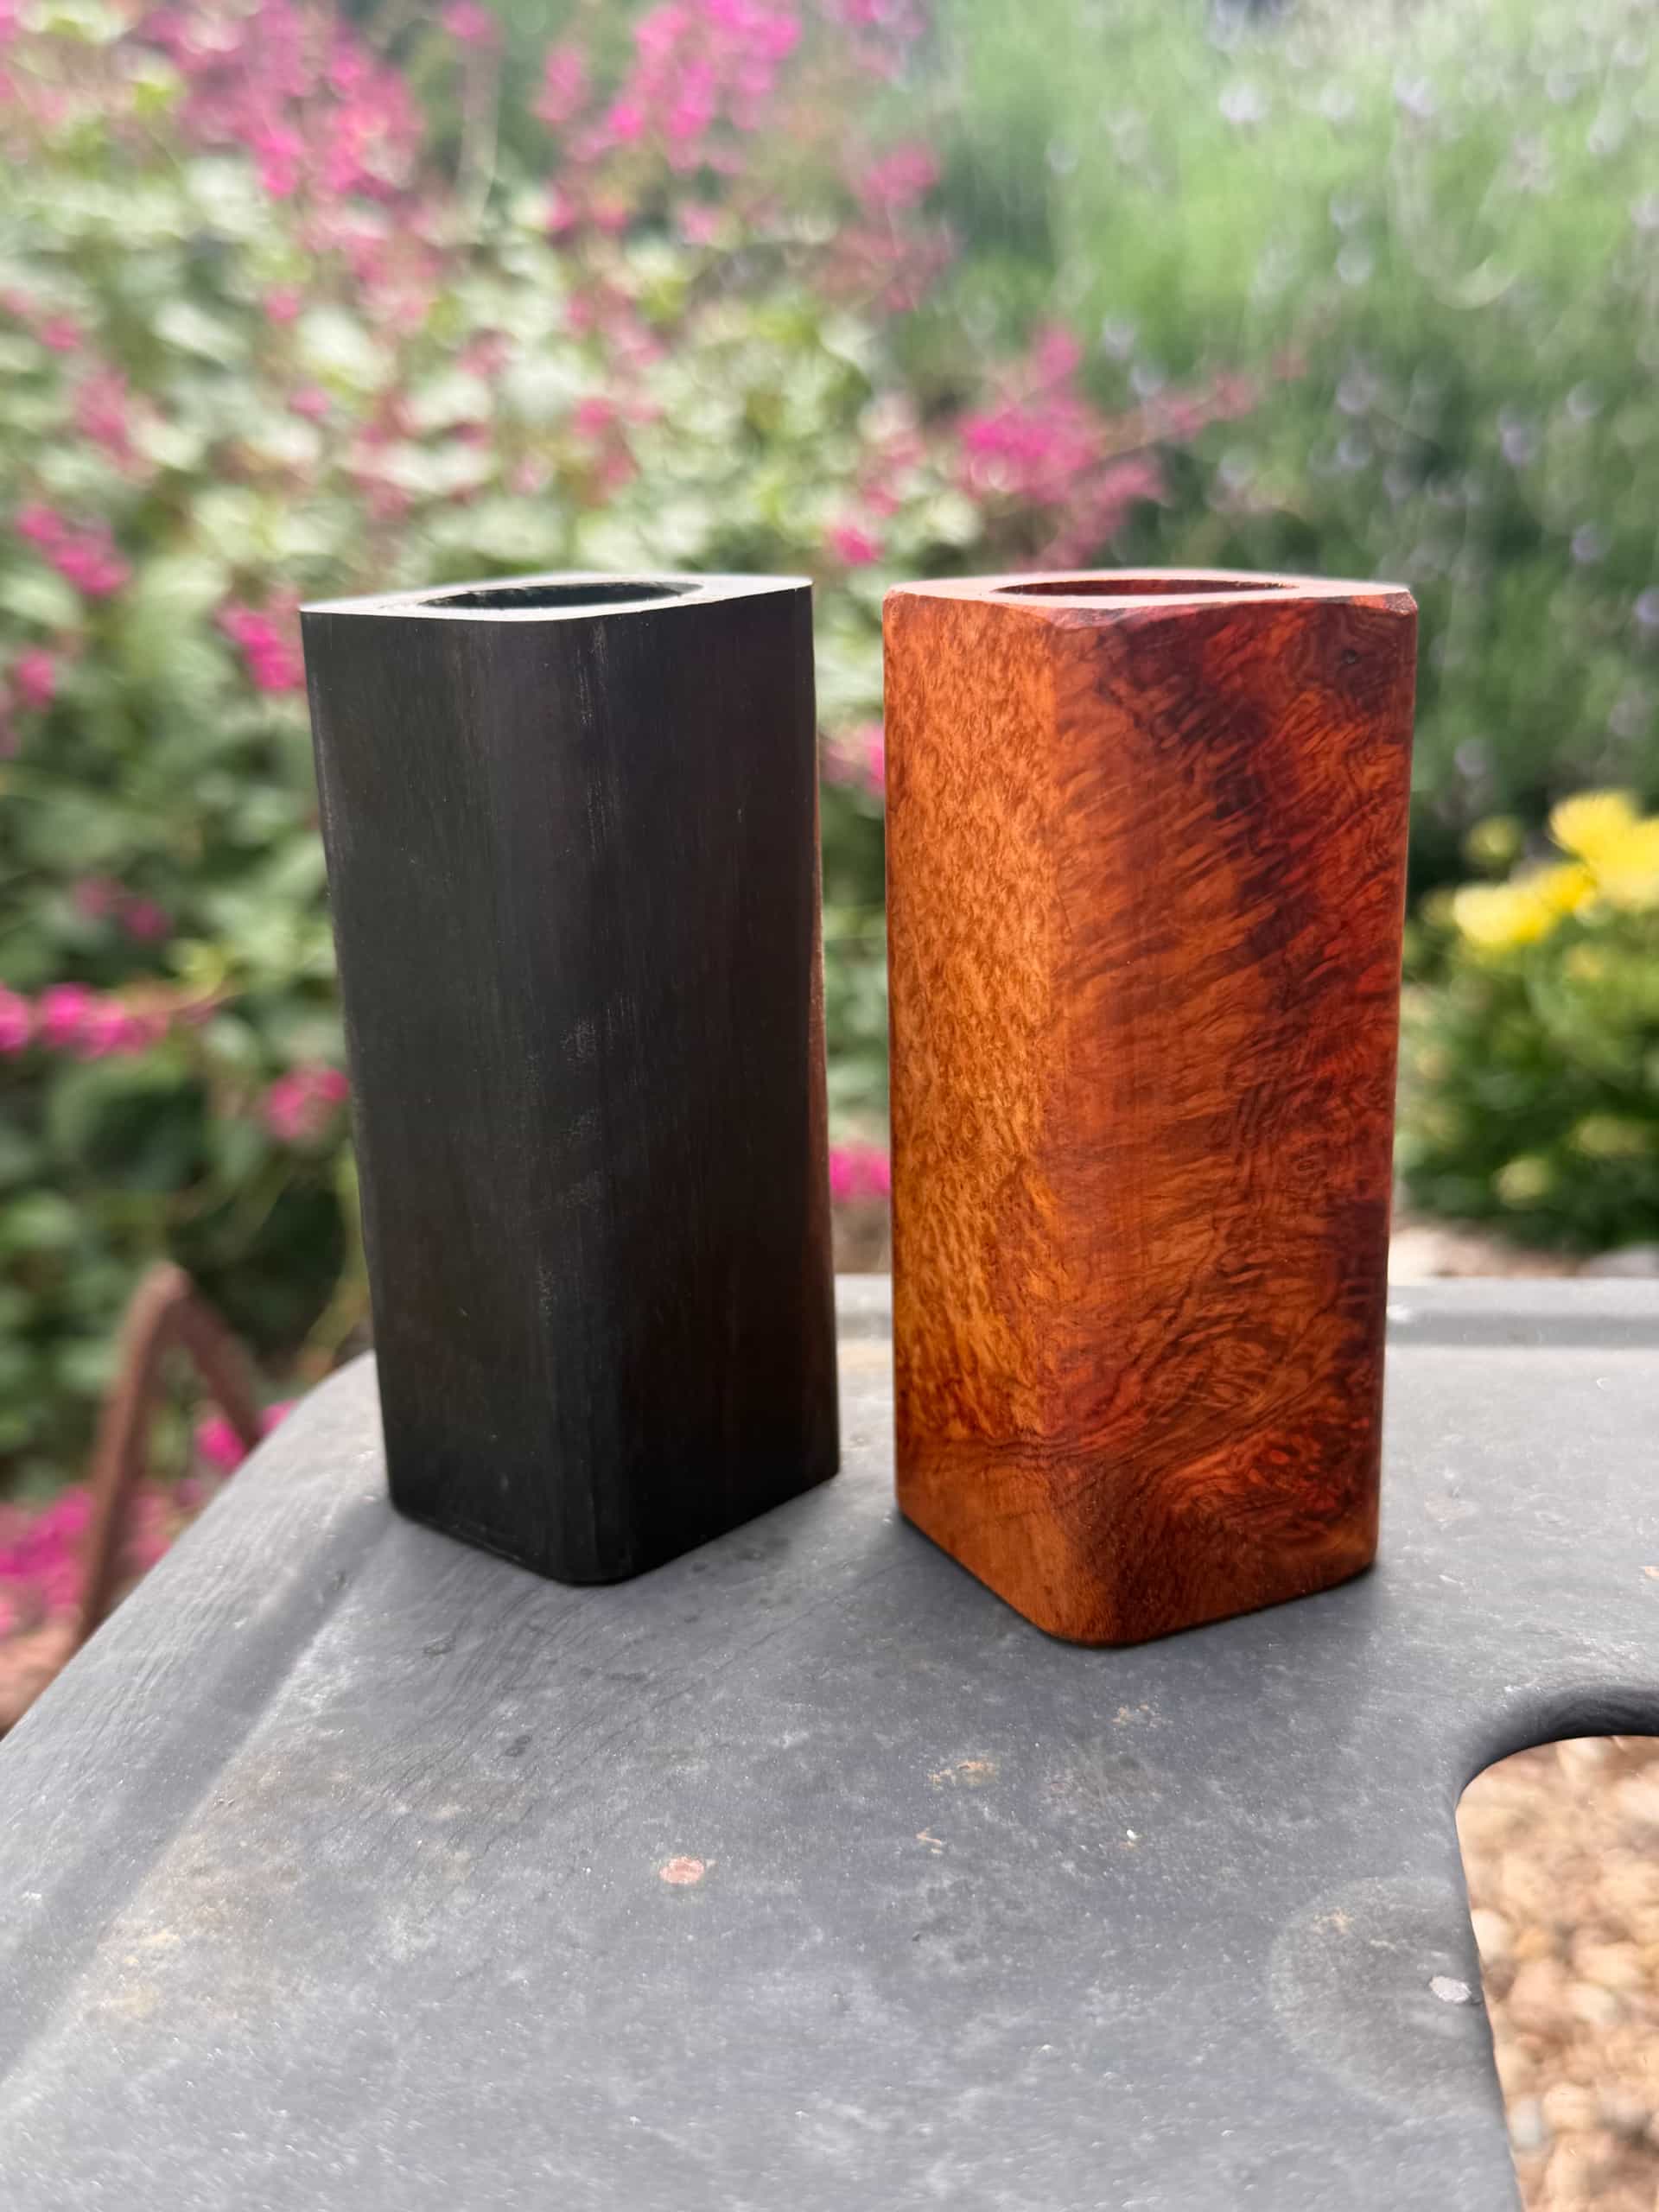
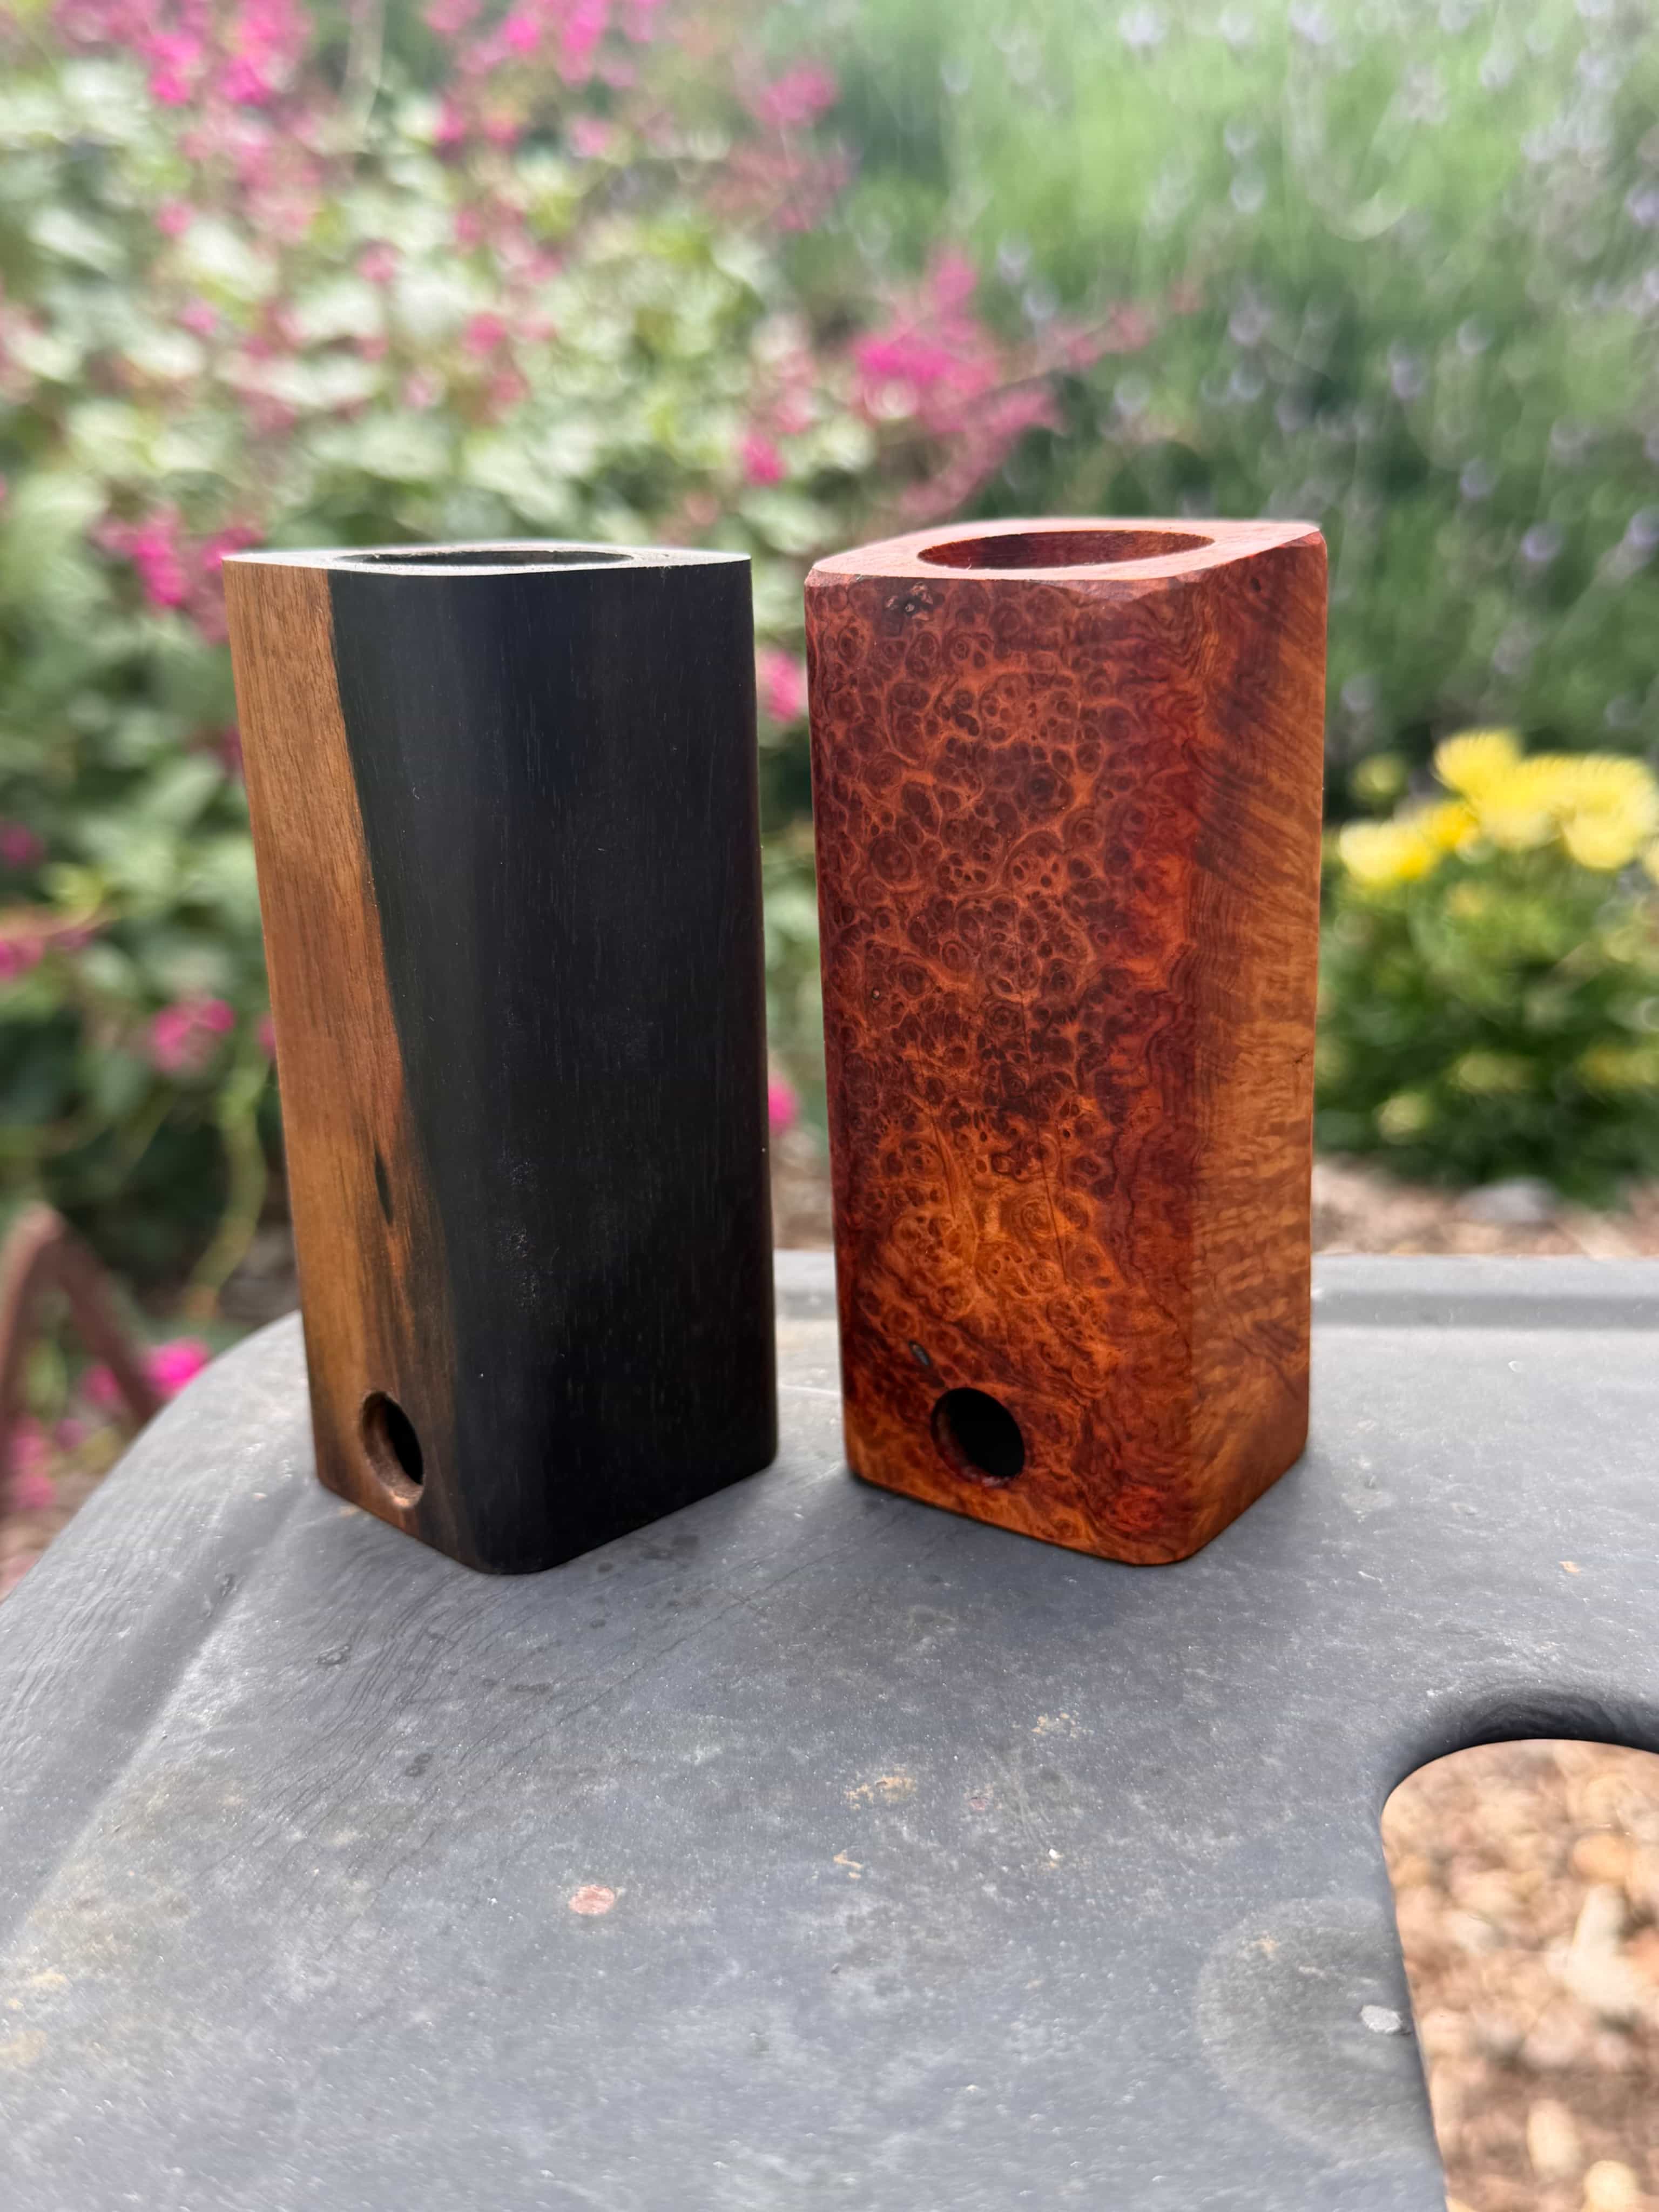
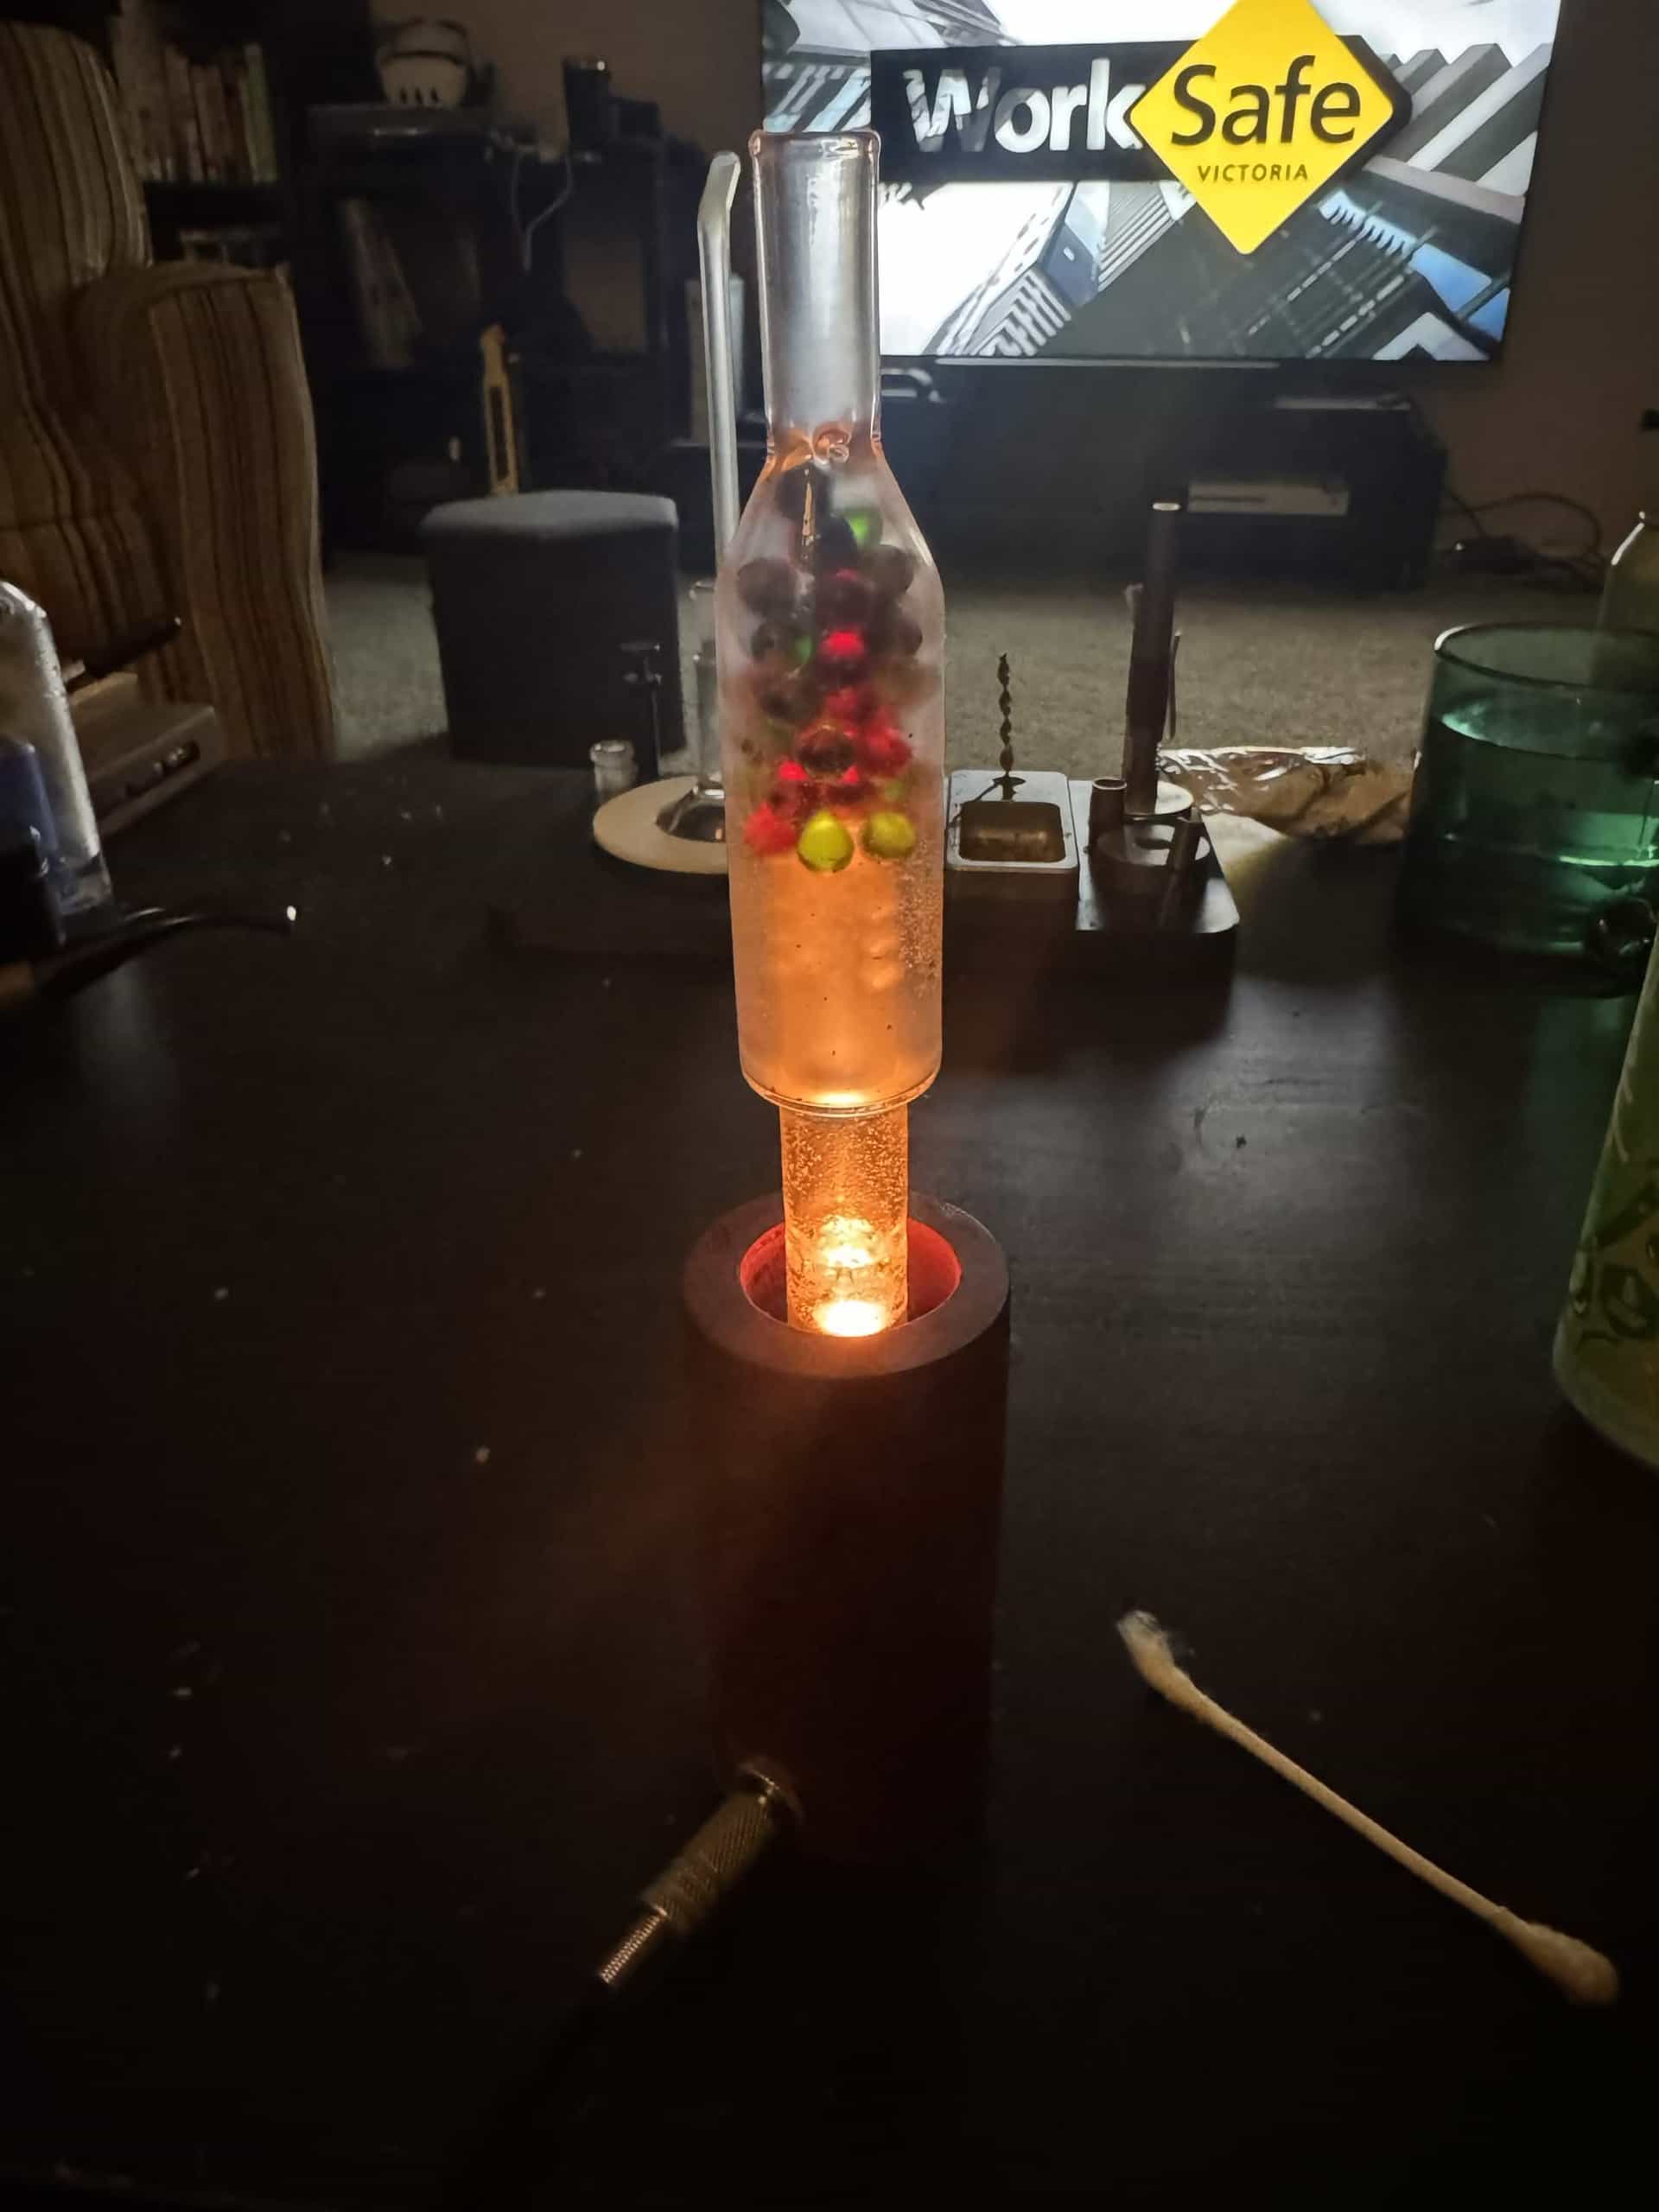
DIY (ish) - jackrod’s log vapes

Hello everyone,

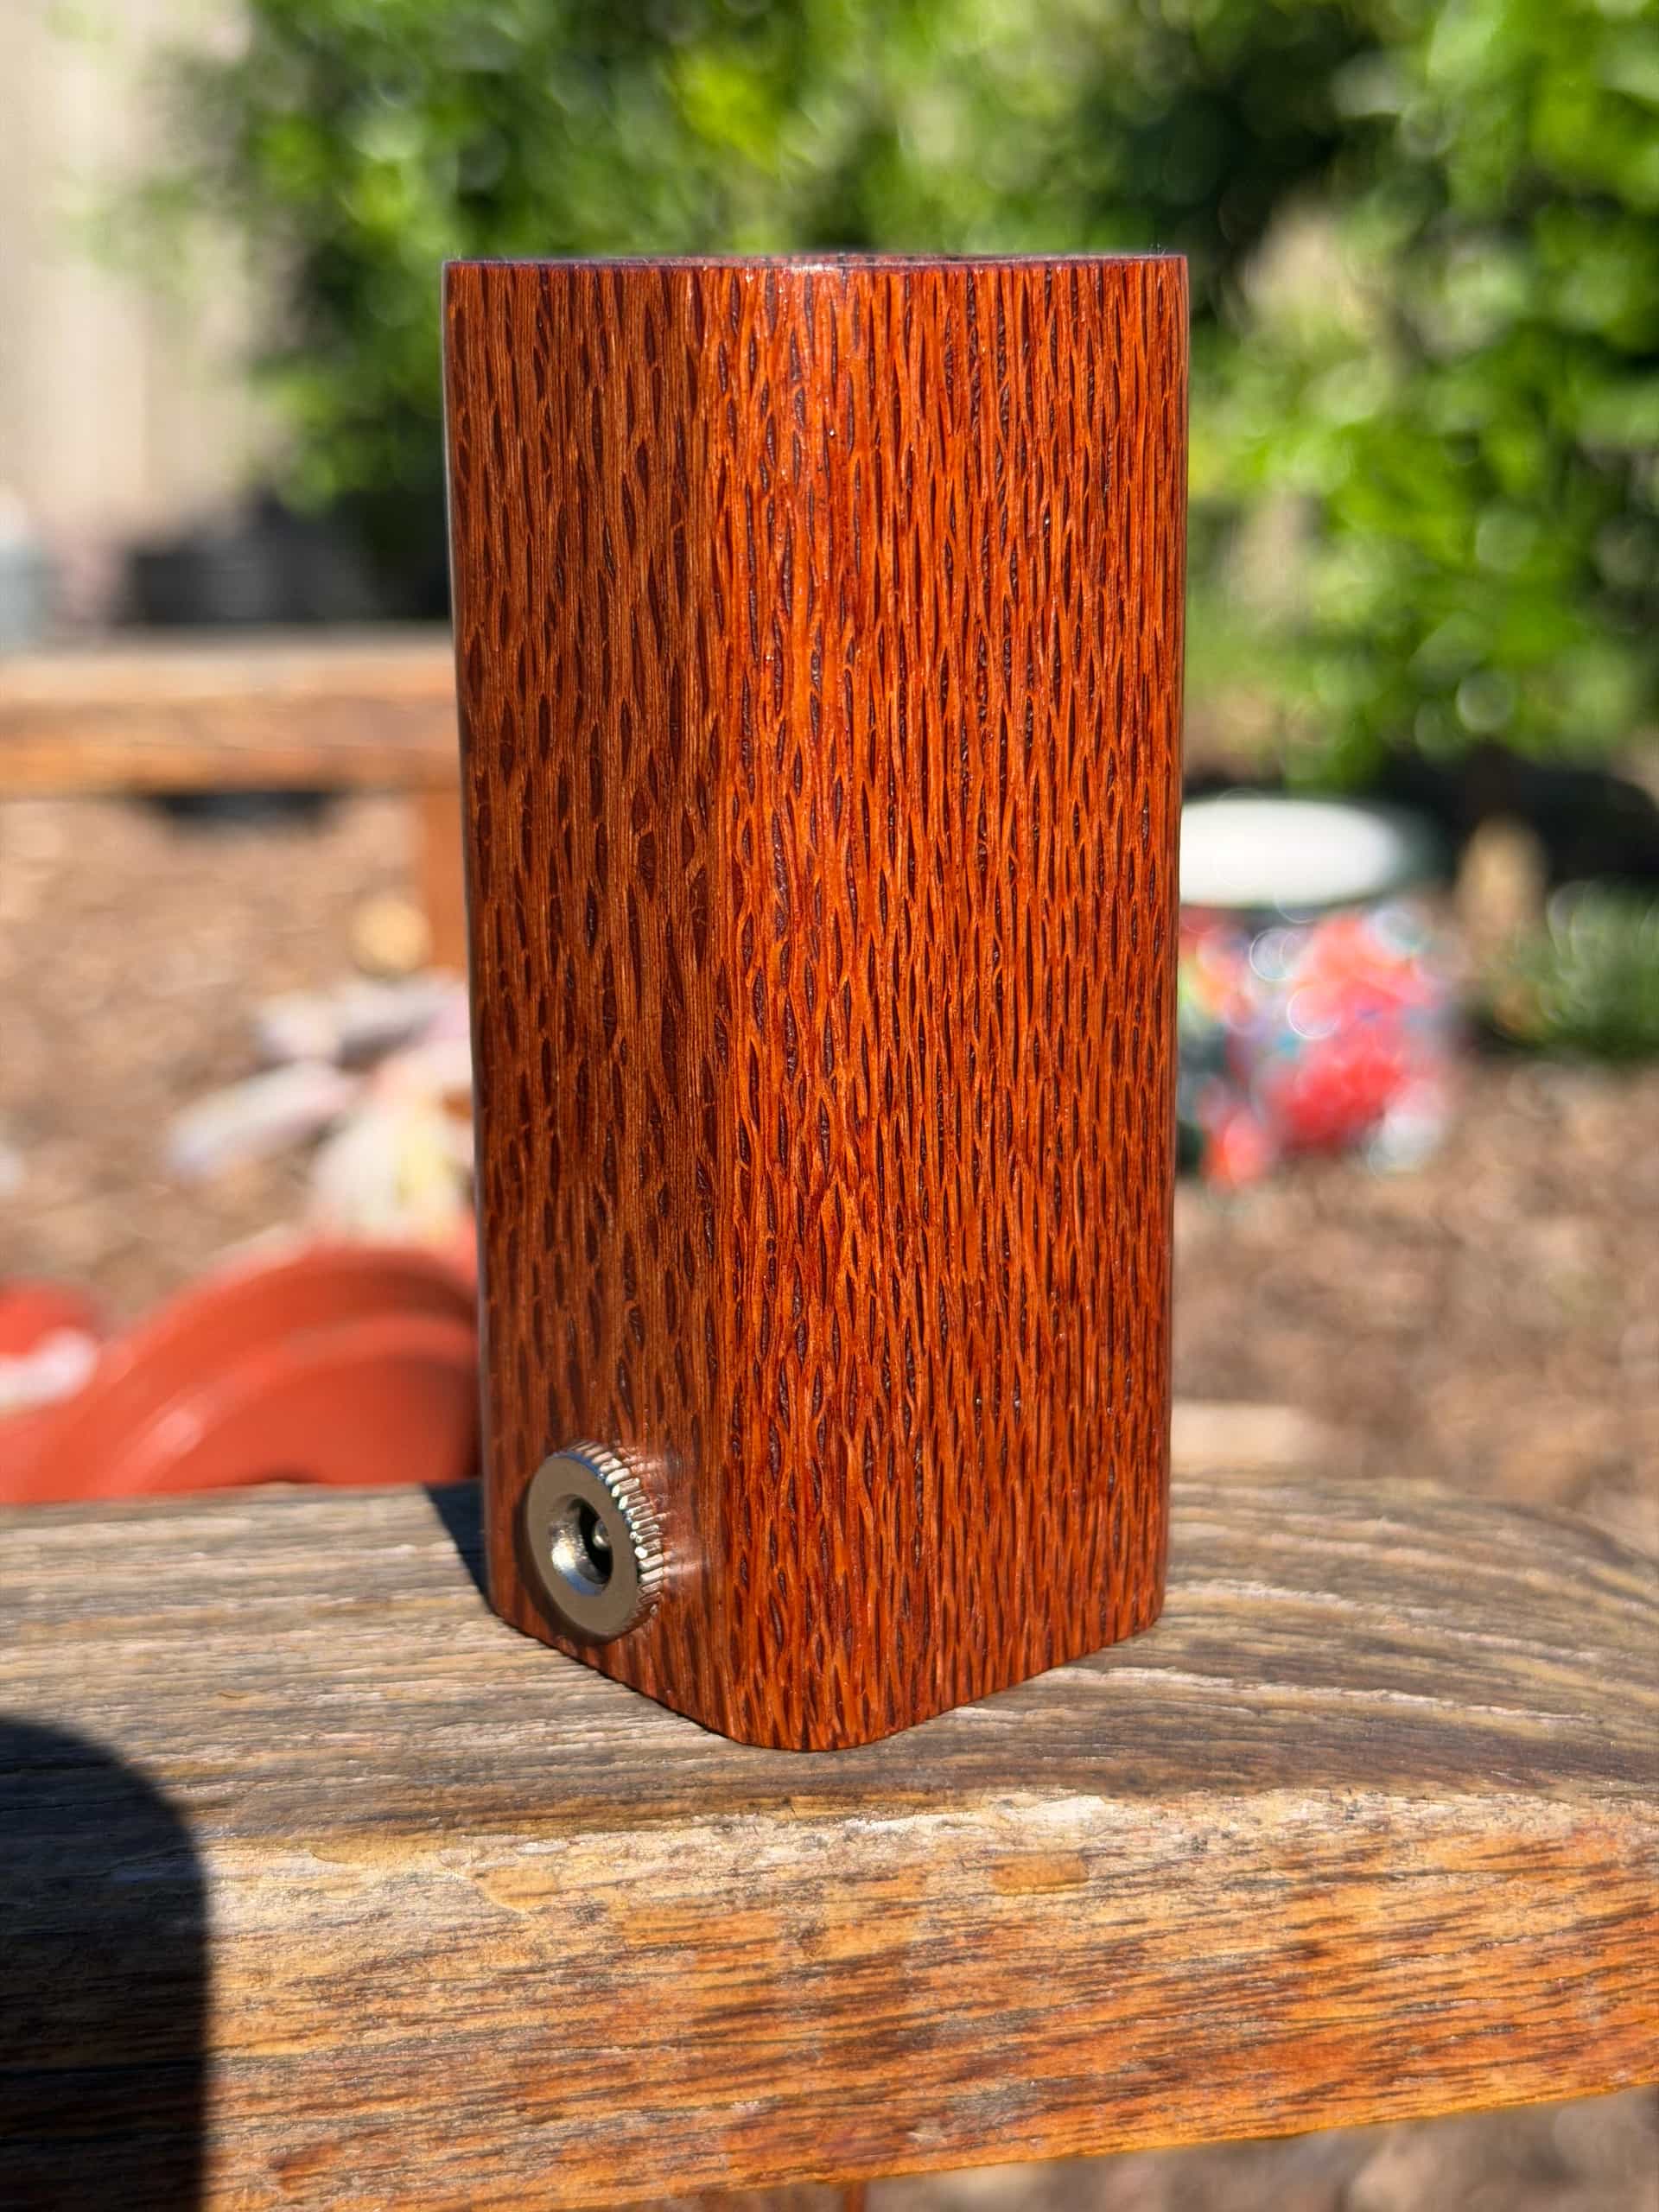
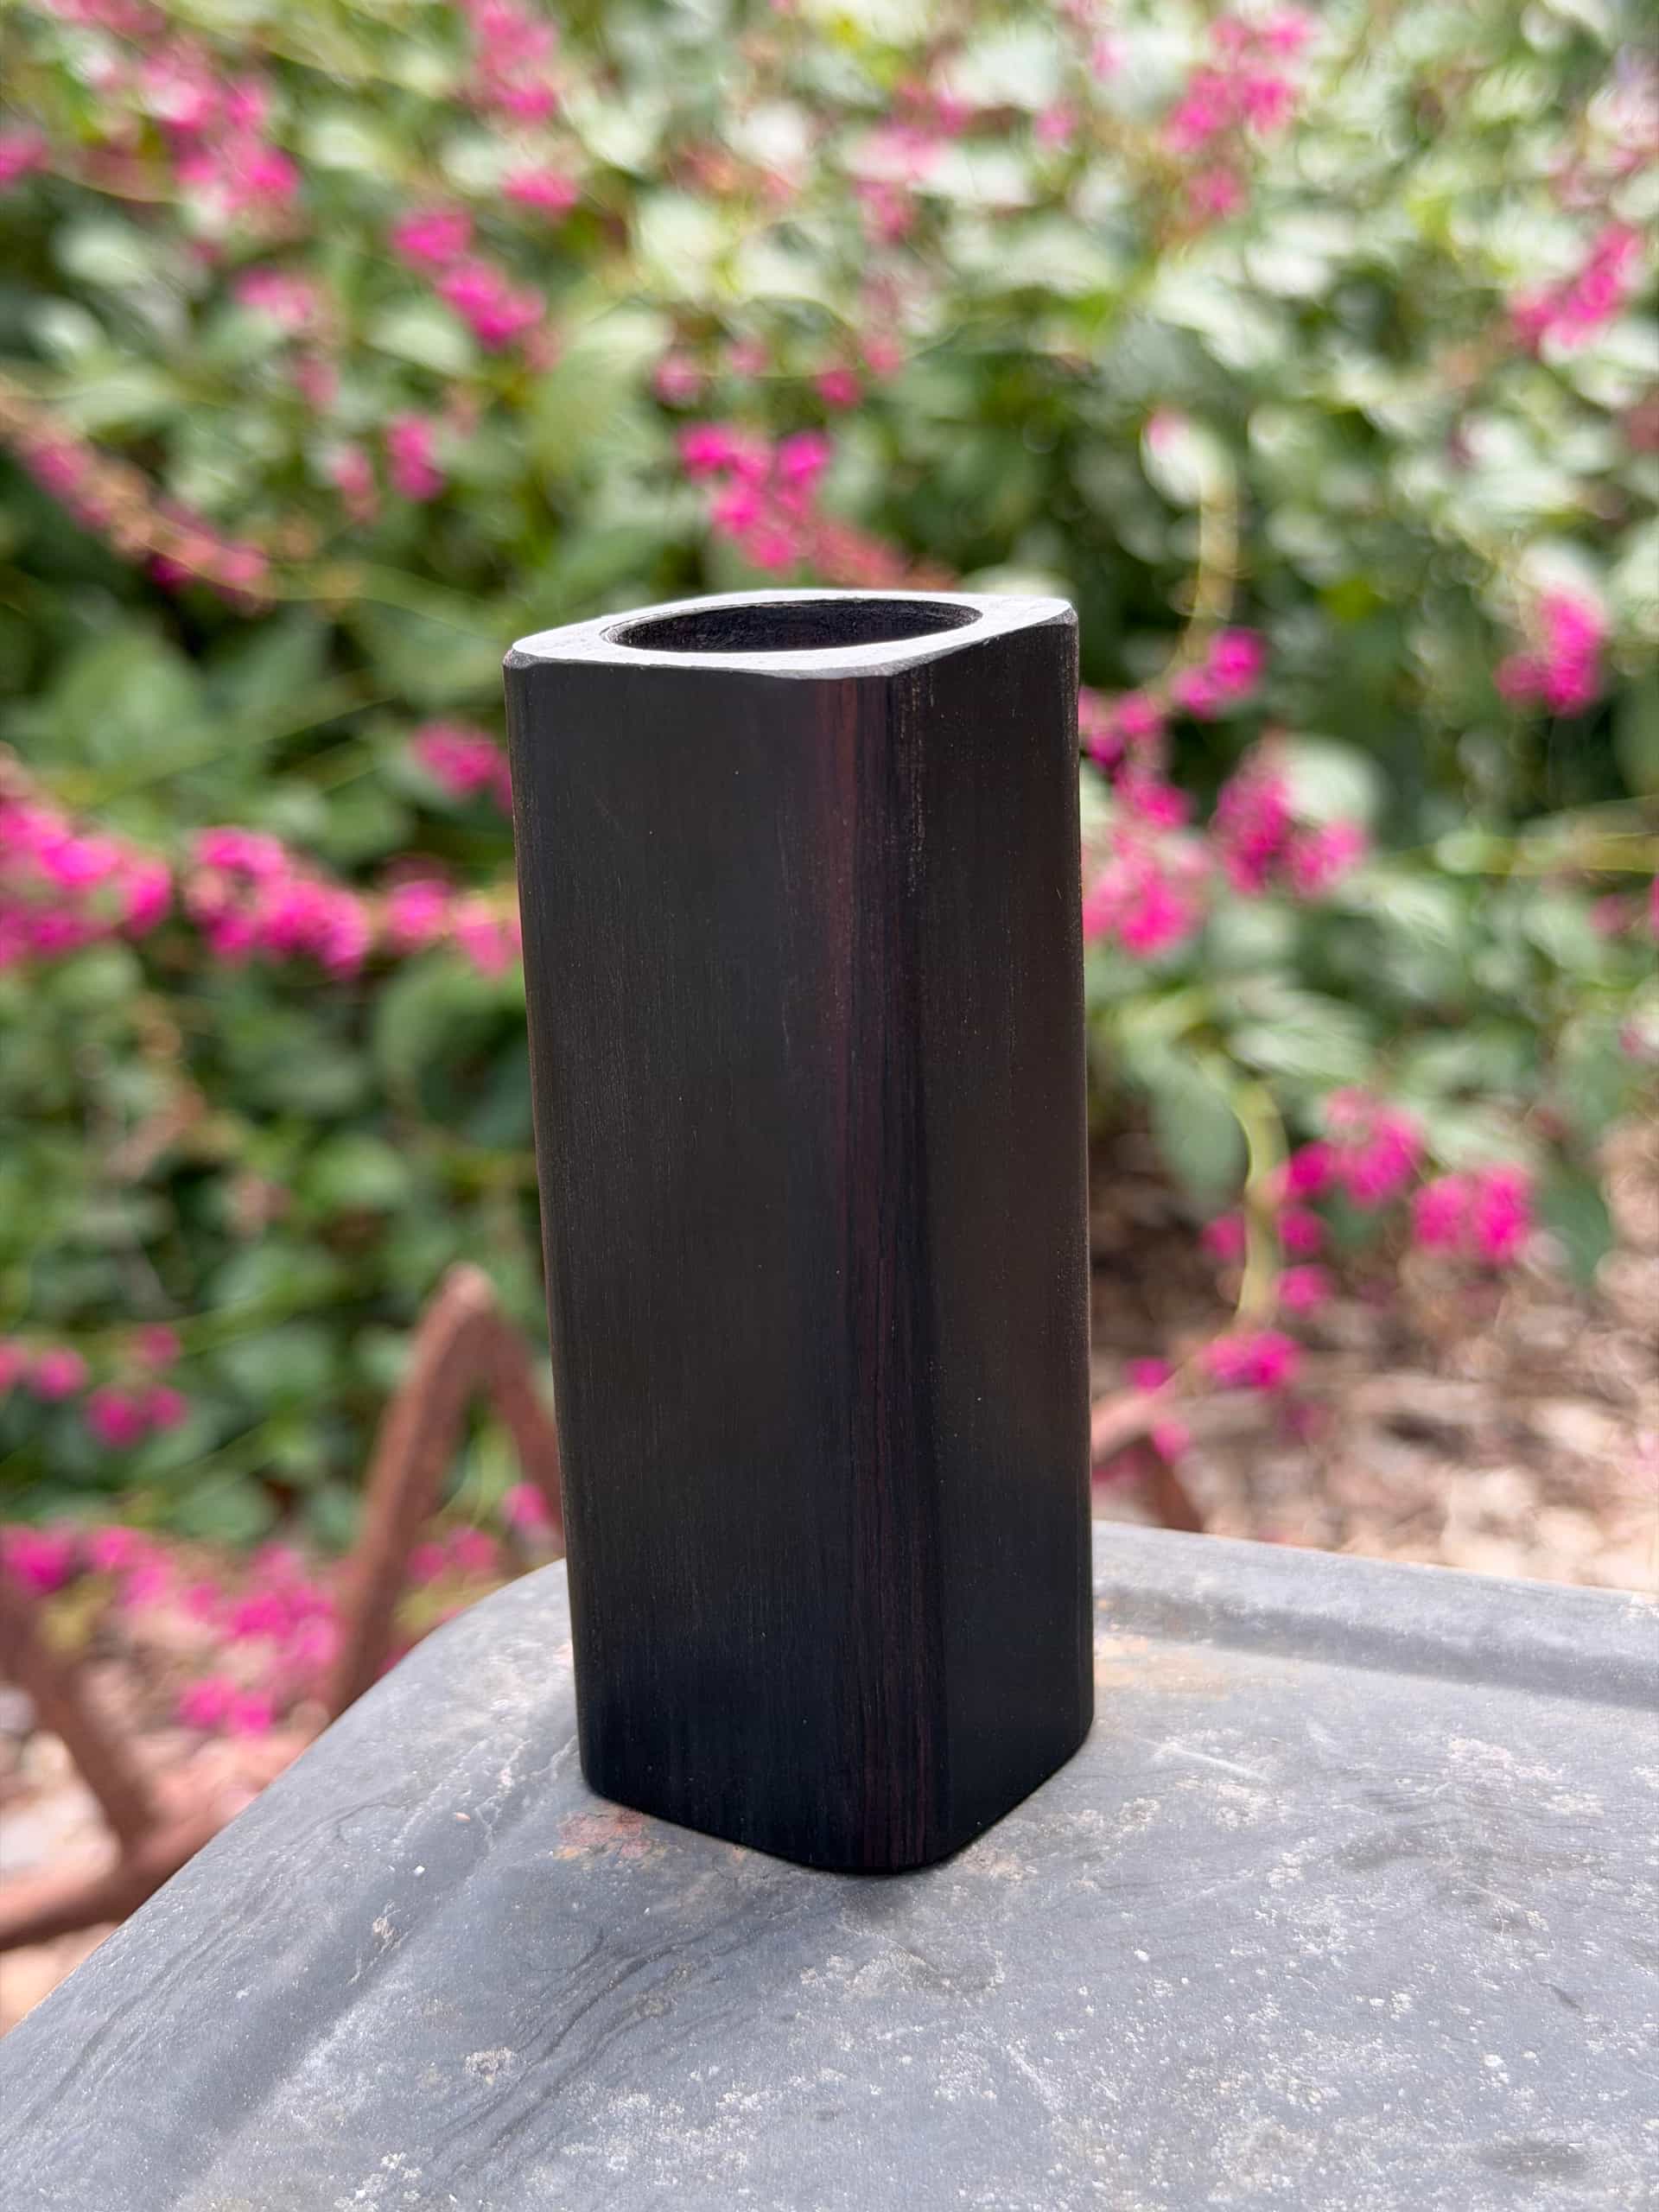
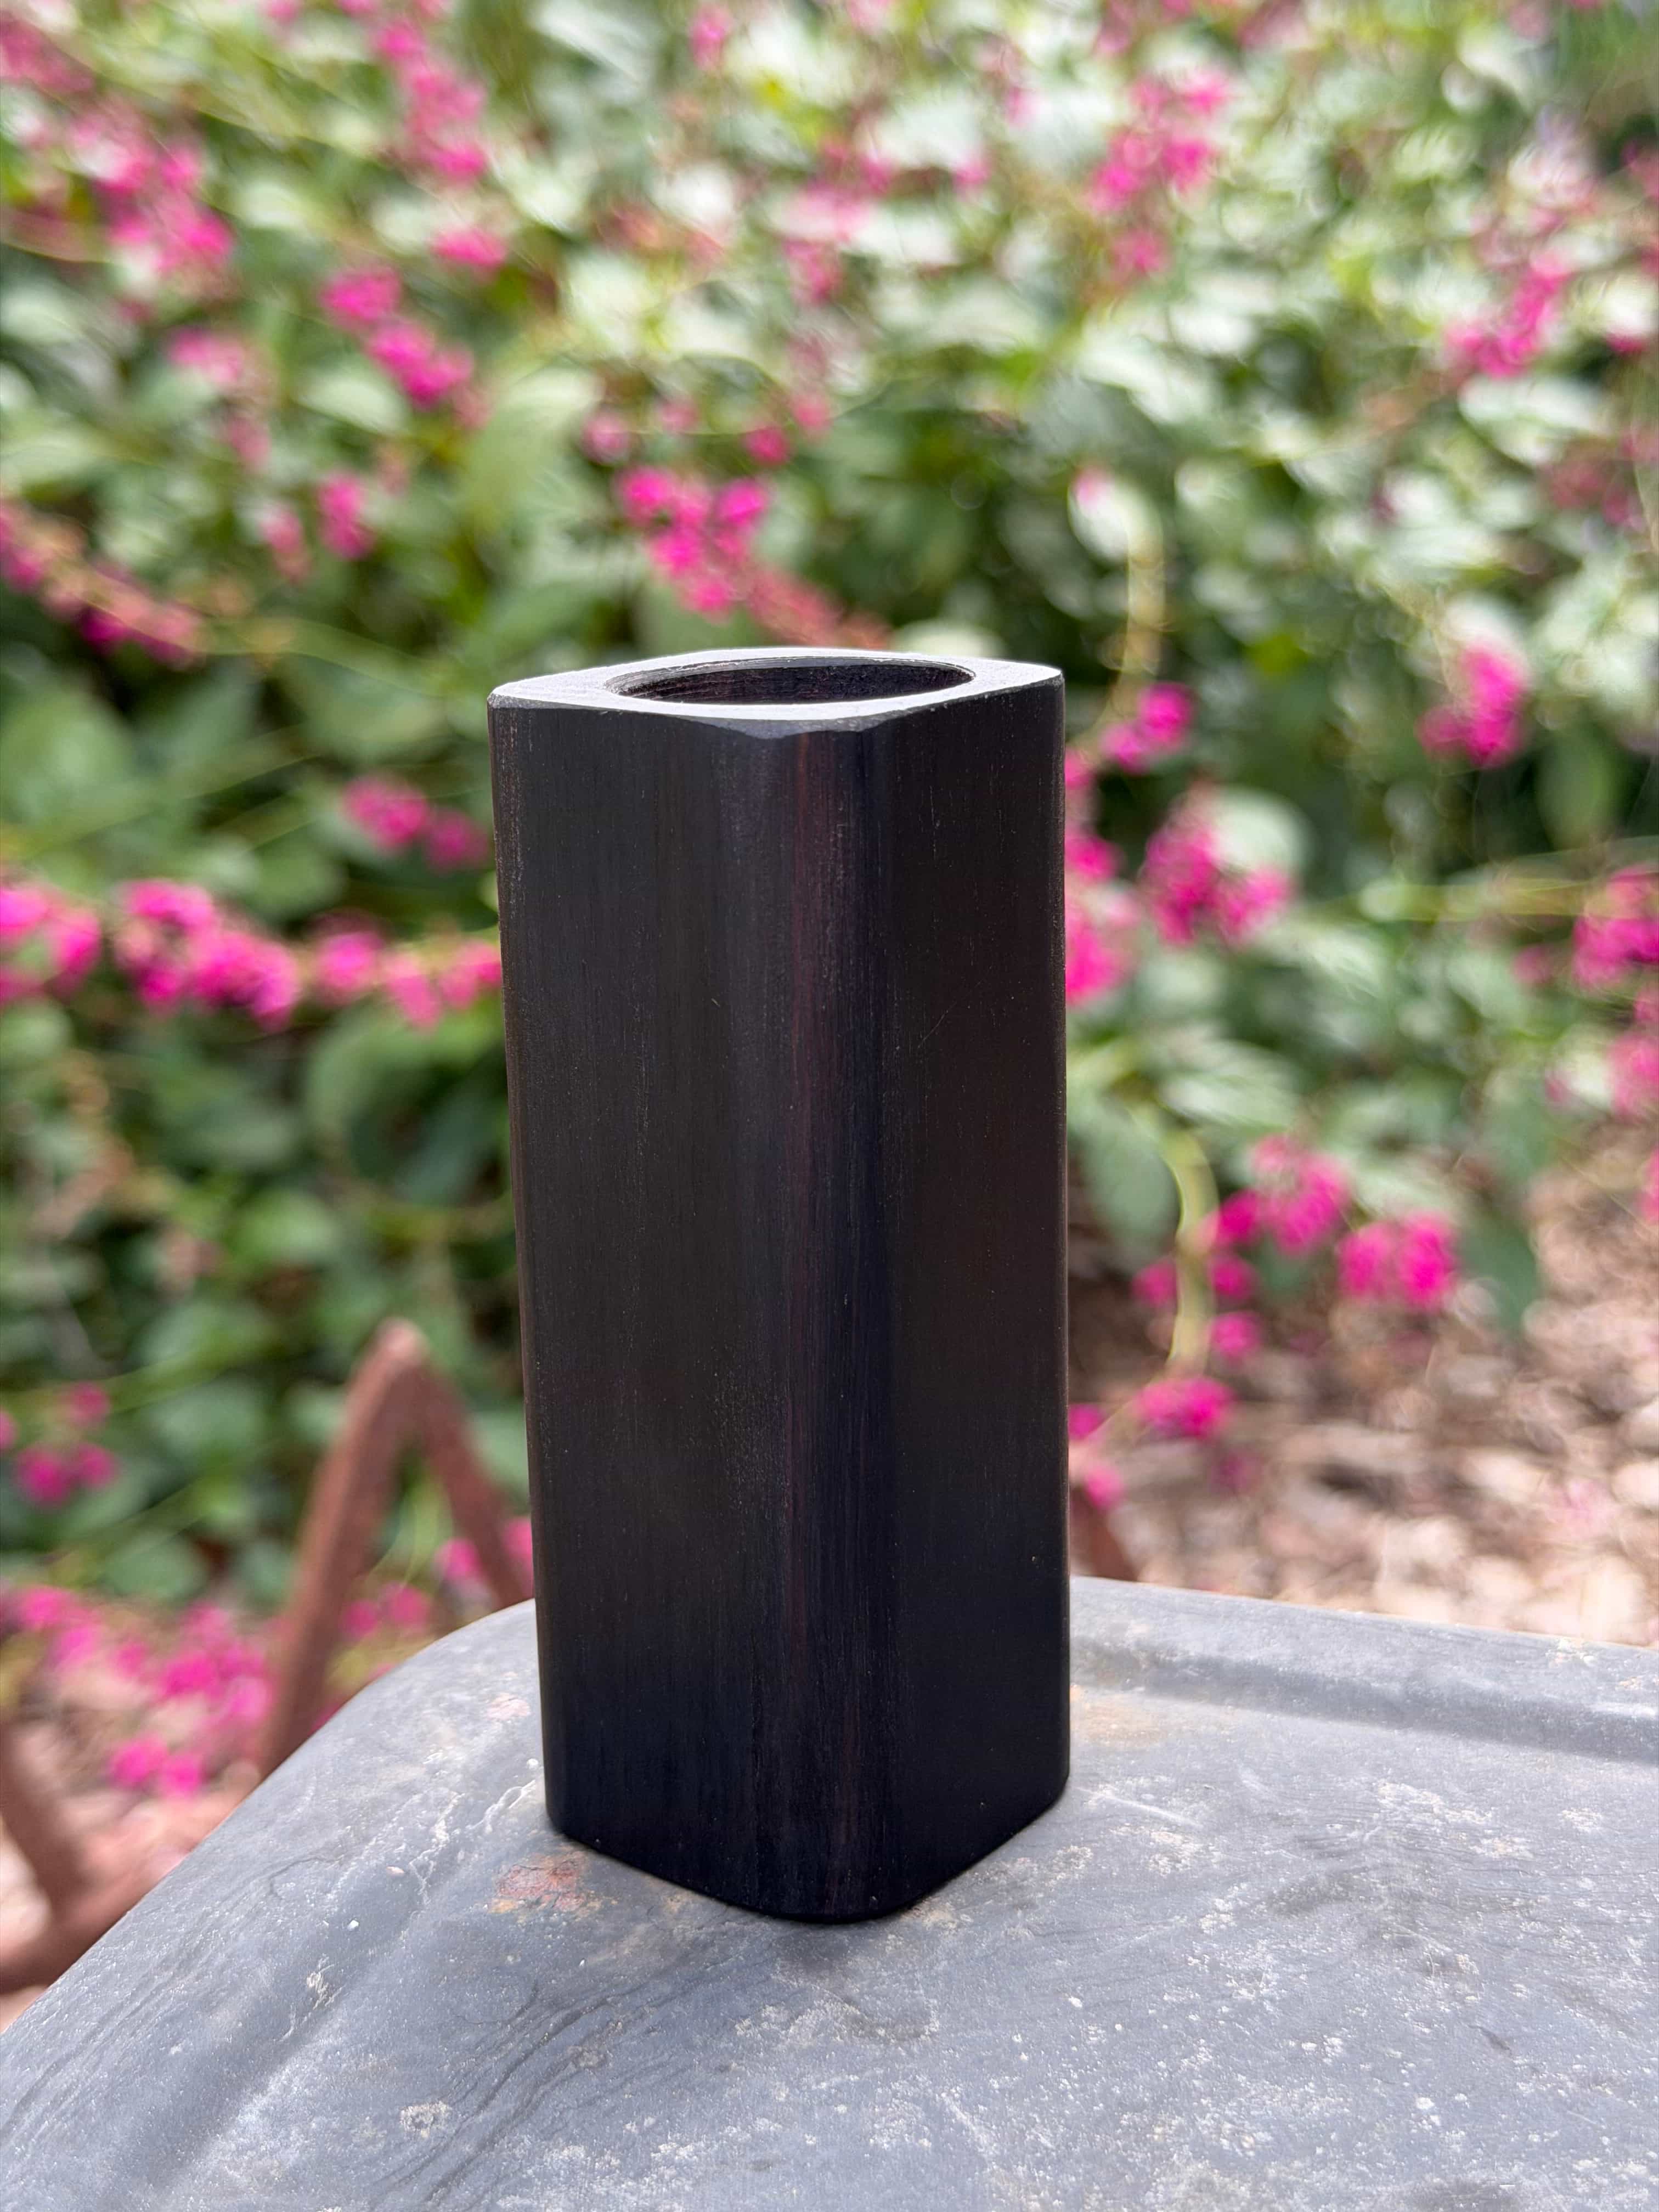
Still missing FC, but I thought I would check out this new forum. I’ve been making log vapes for a little while now. Started on FC and recently moved to some discord groups which have been doing well. Have been fortunate to sell a few to people who have asked. I make them at home individually or in small batches.
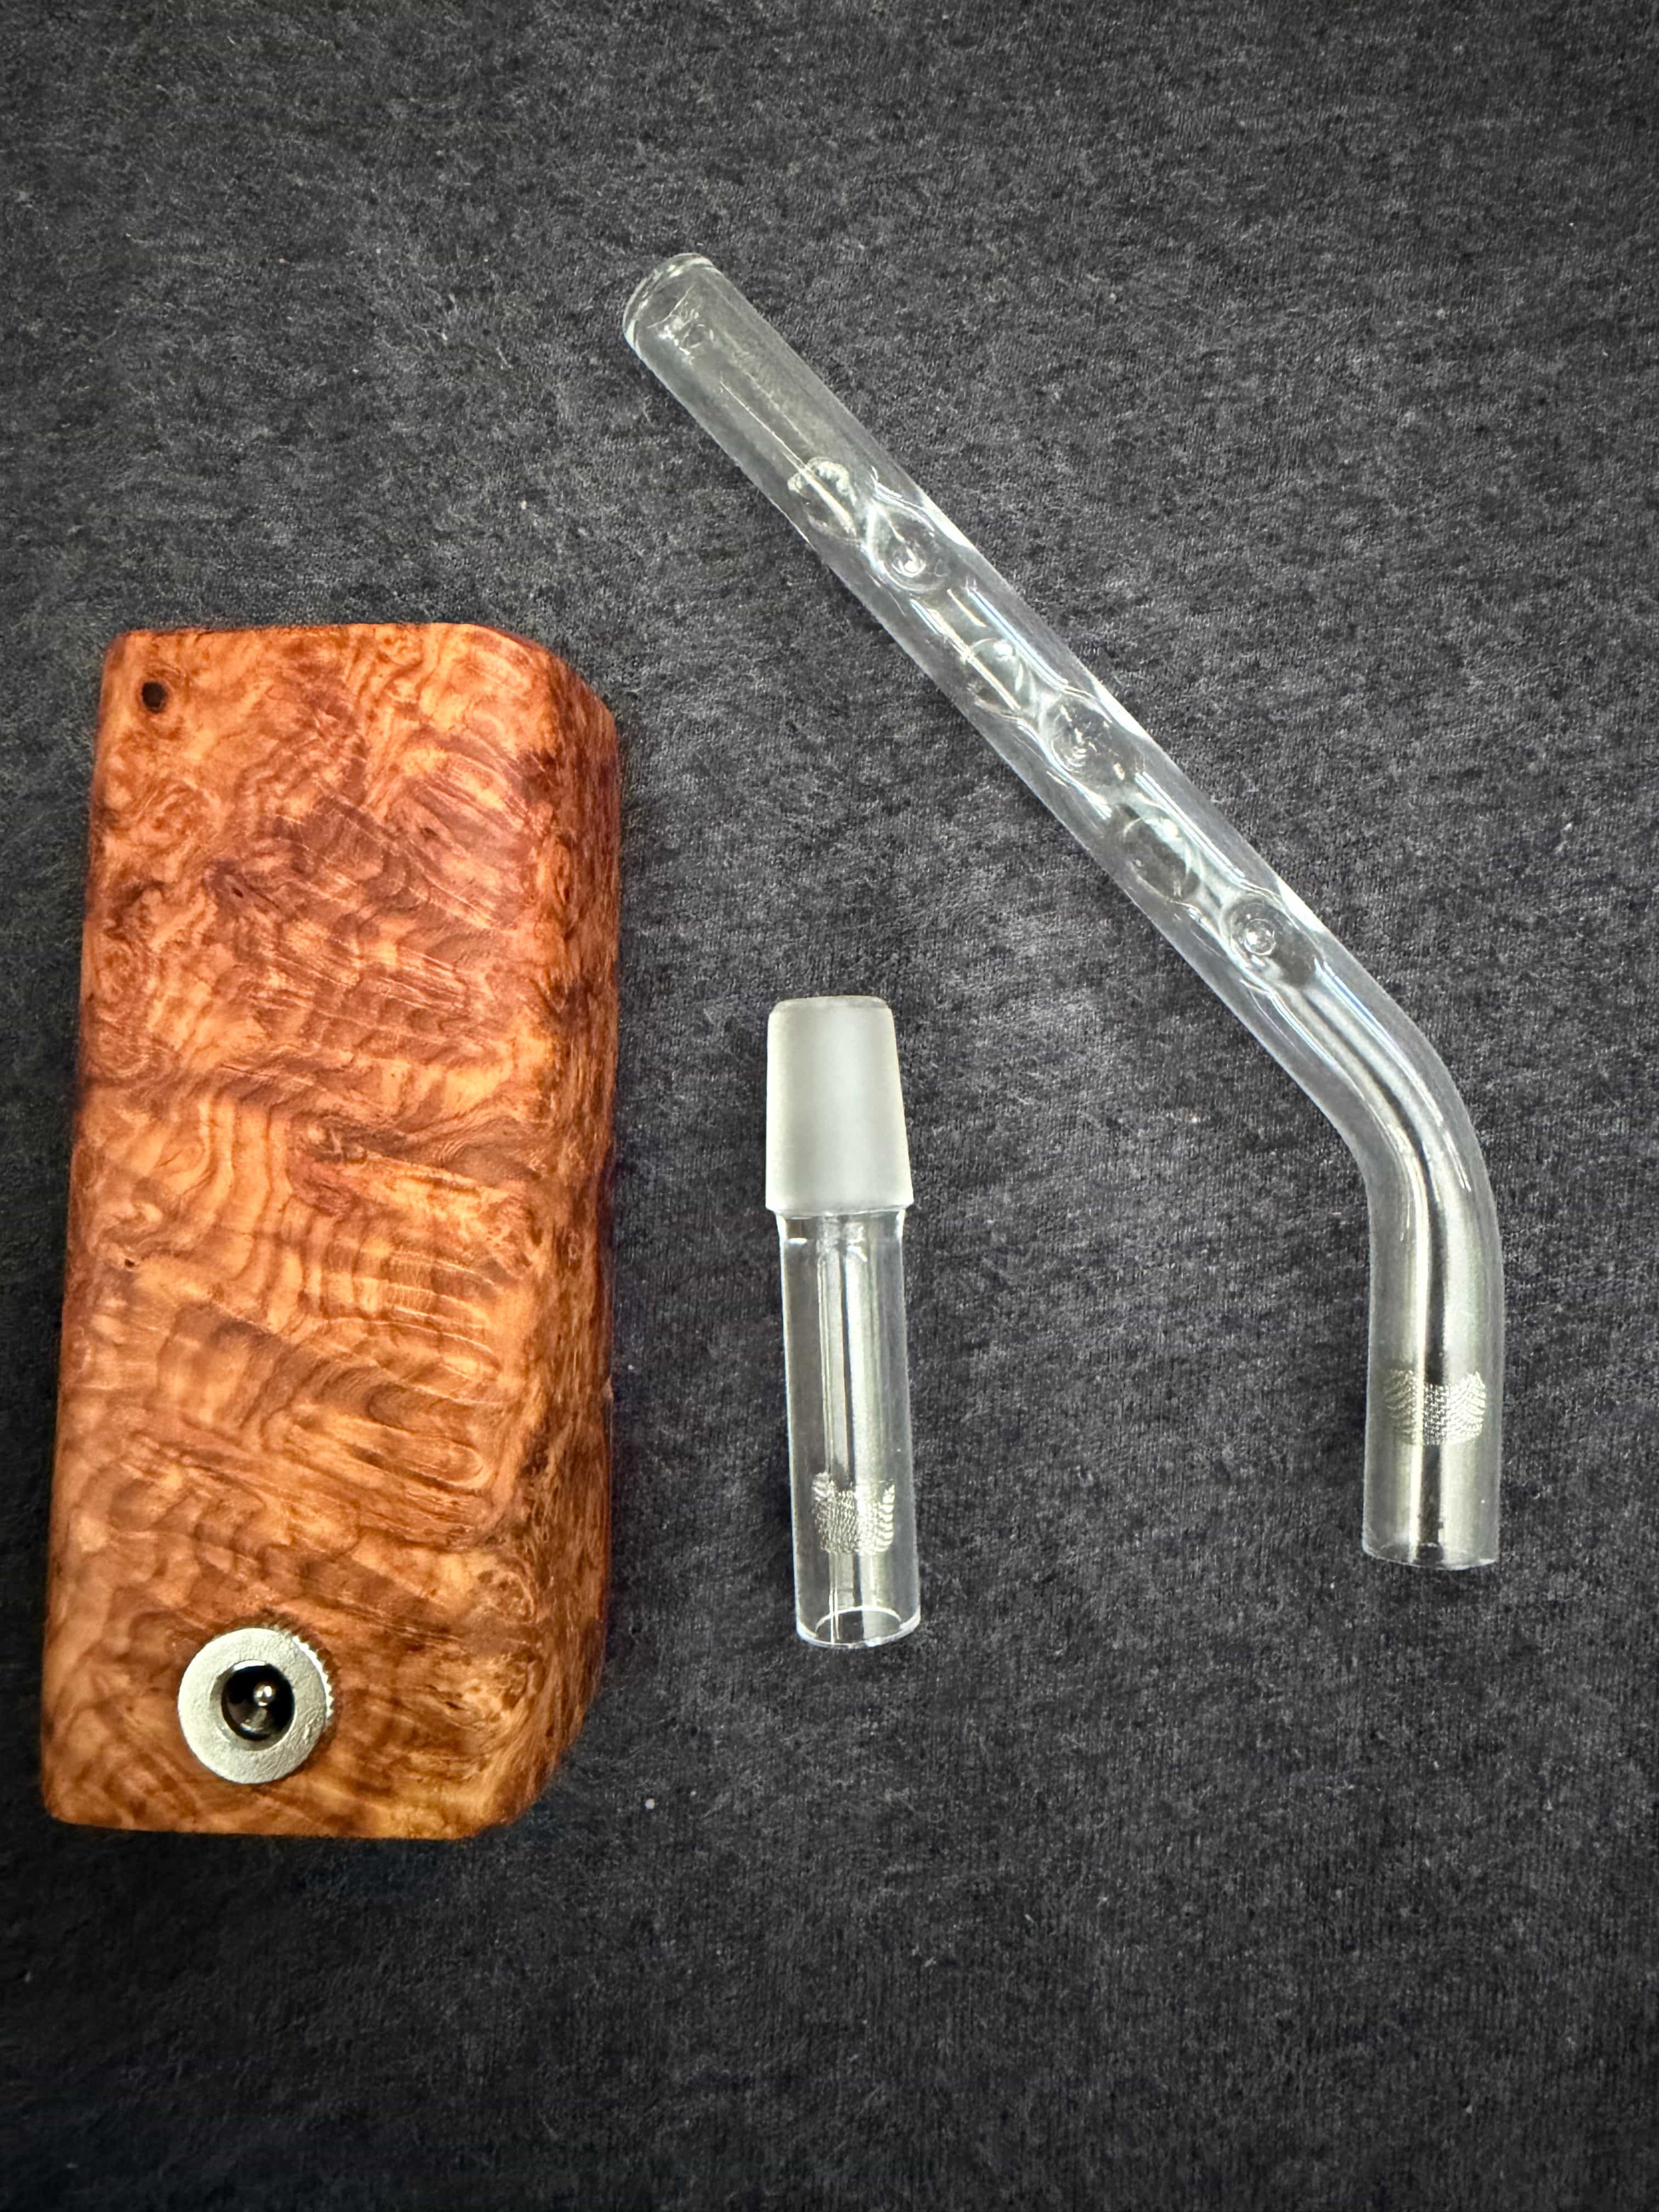
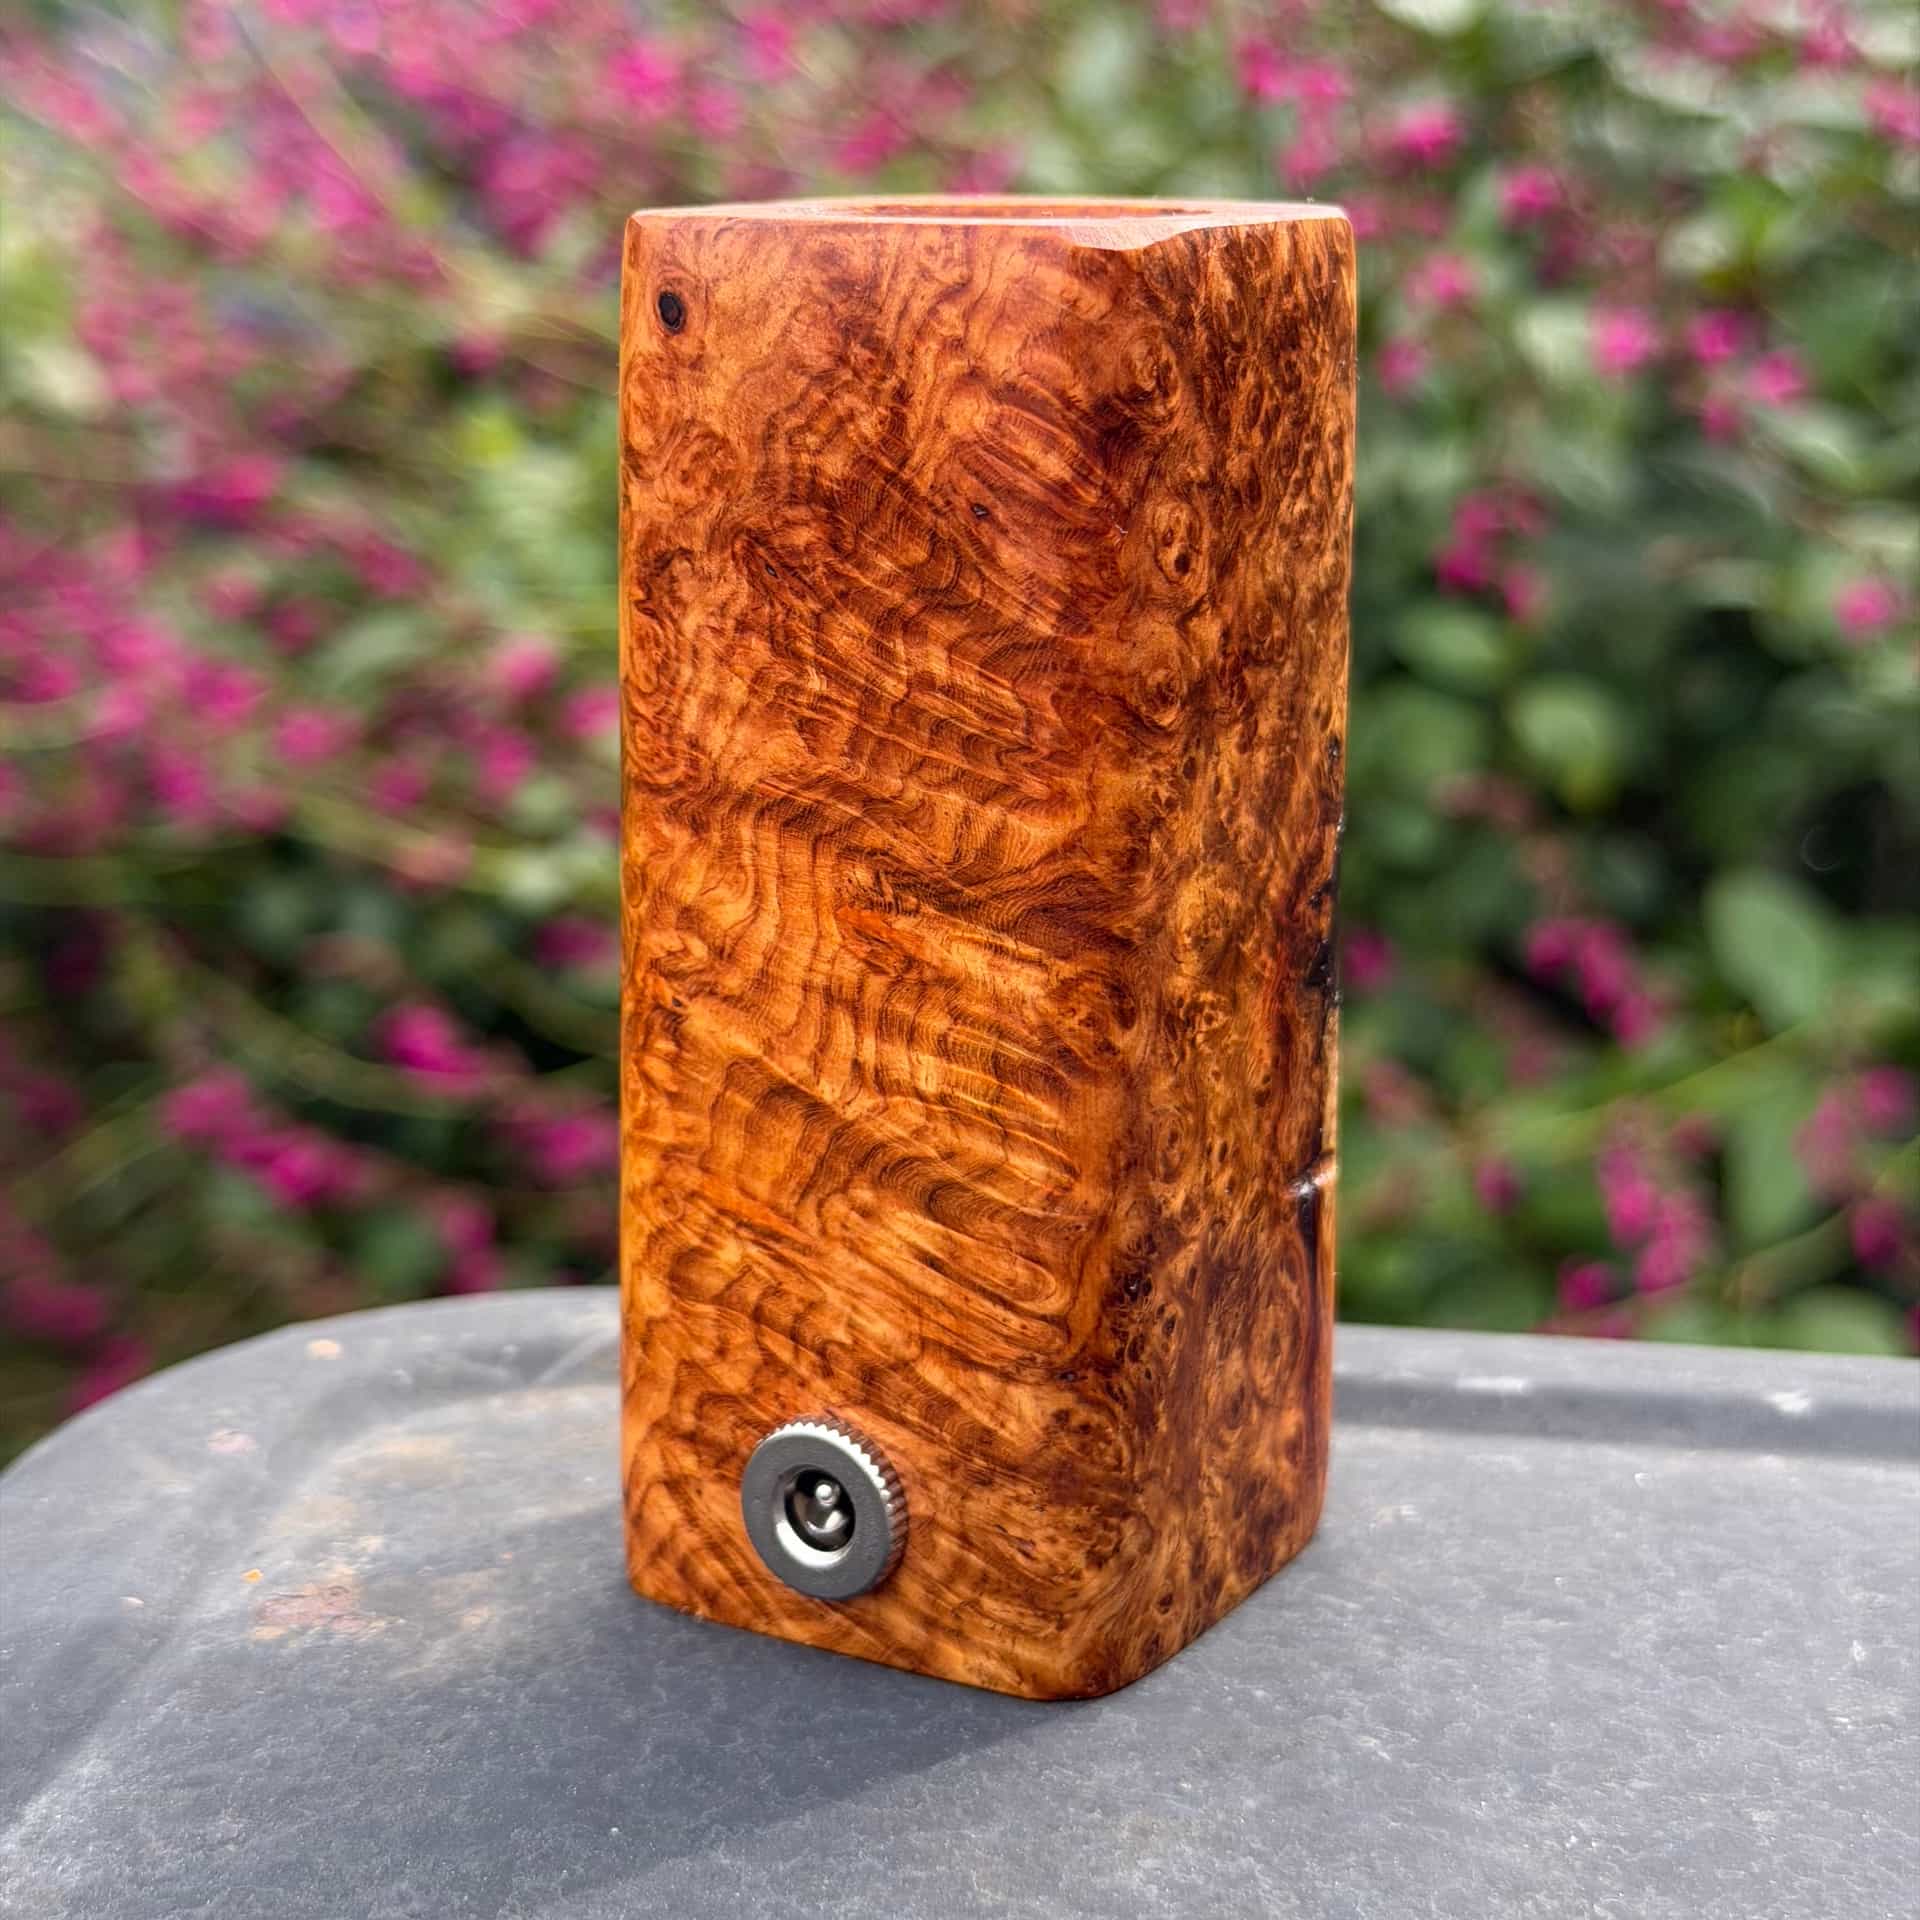
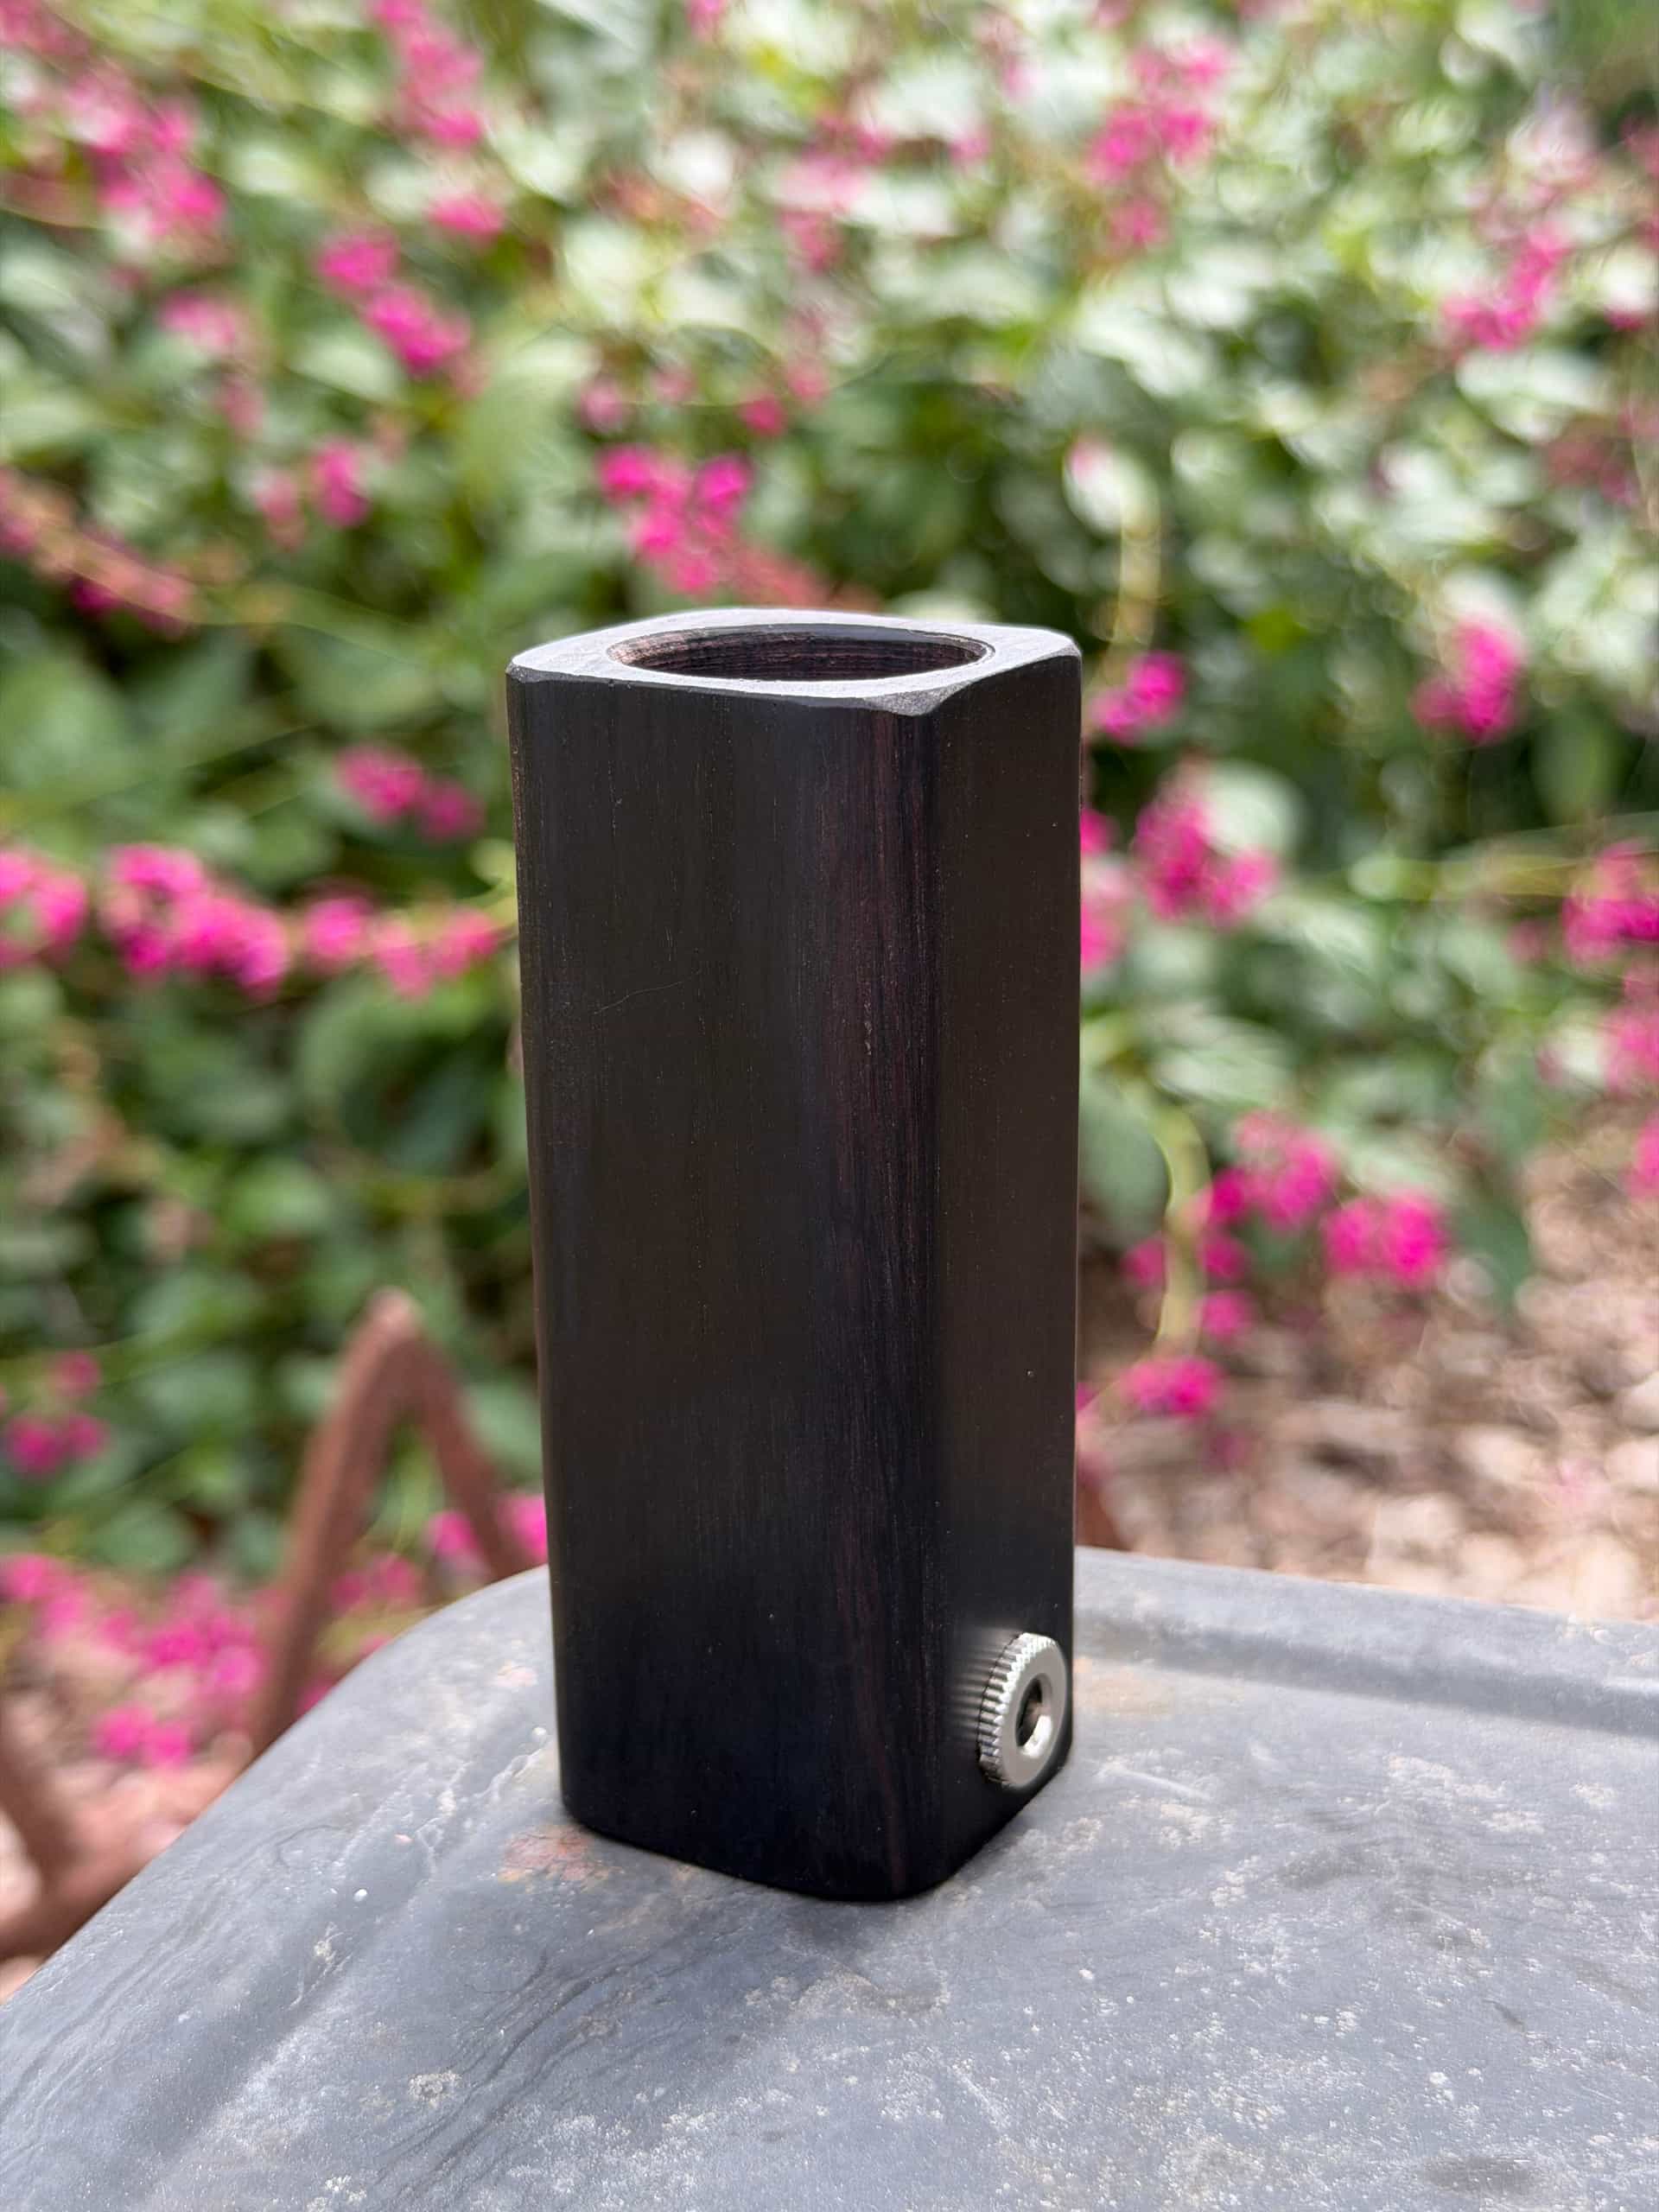
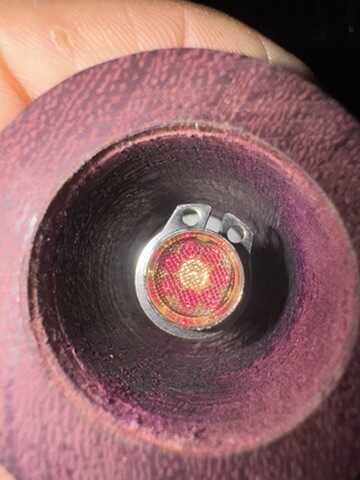
Would post more pics but limited to 1 as a new user.

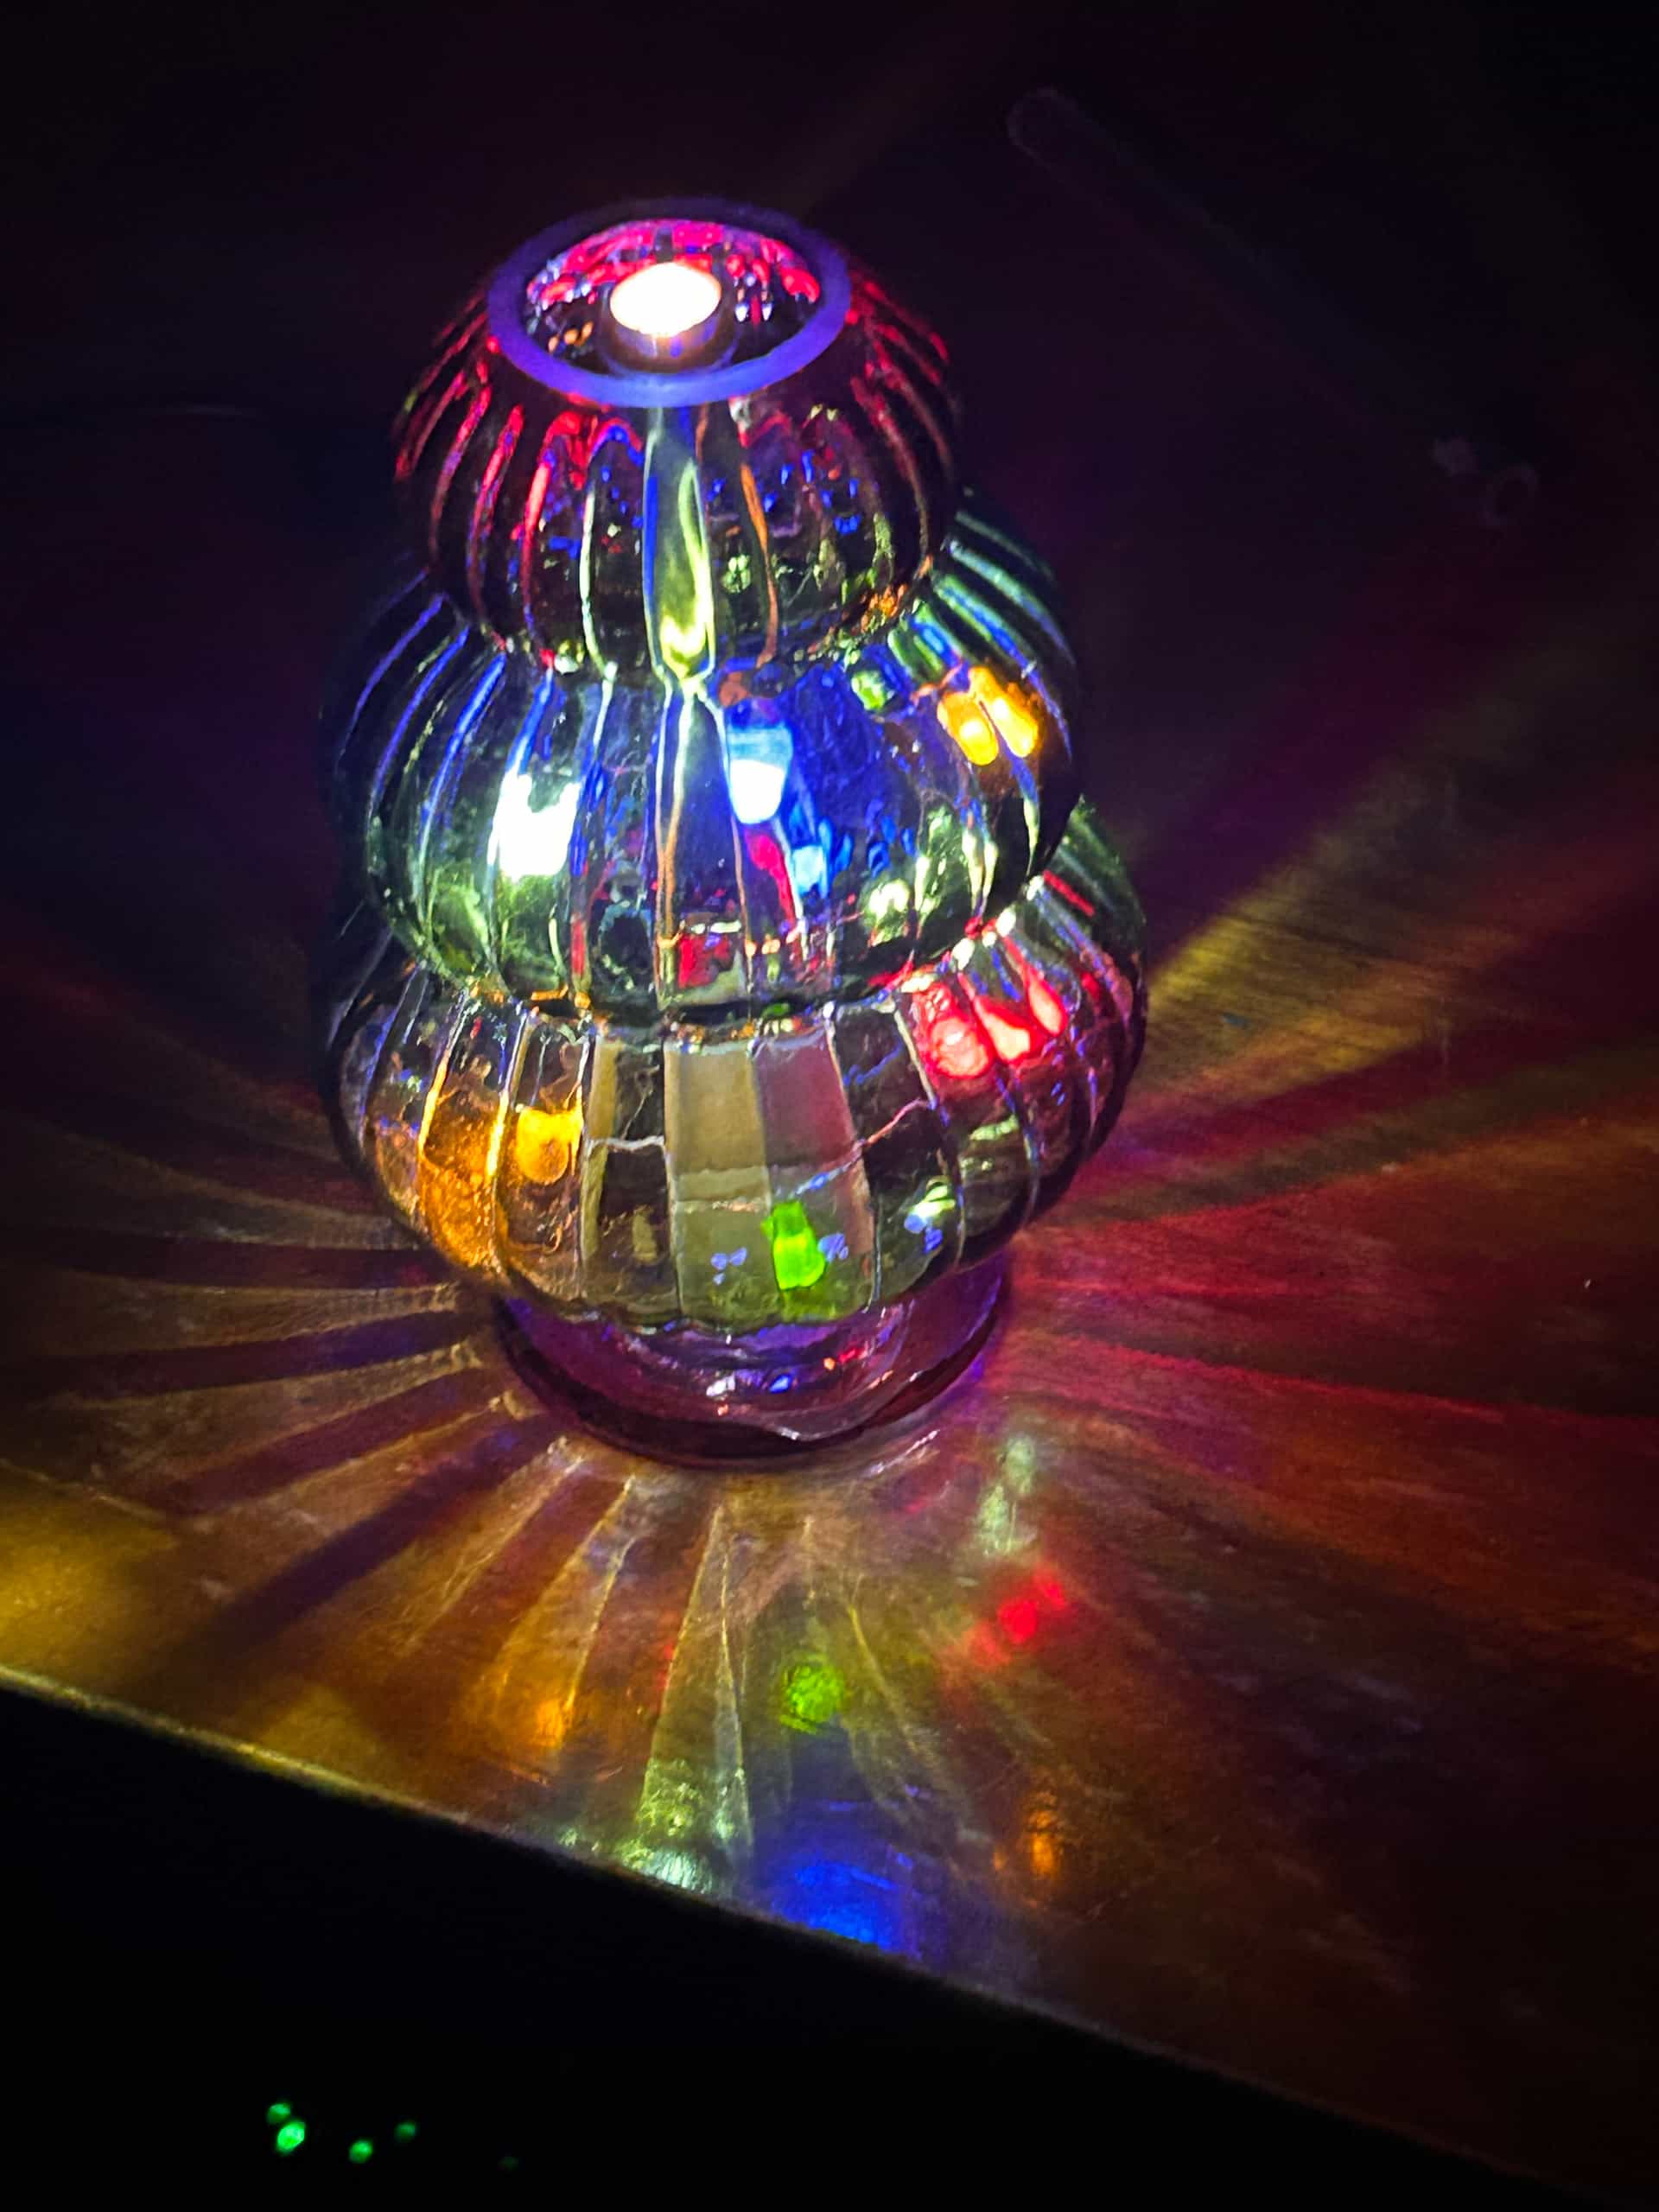
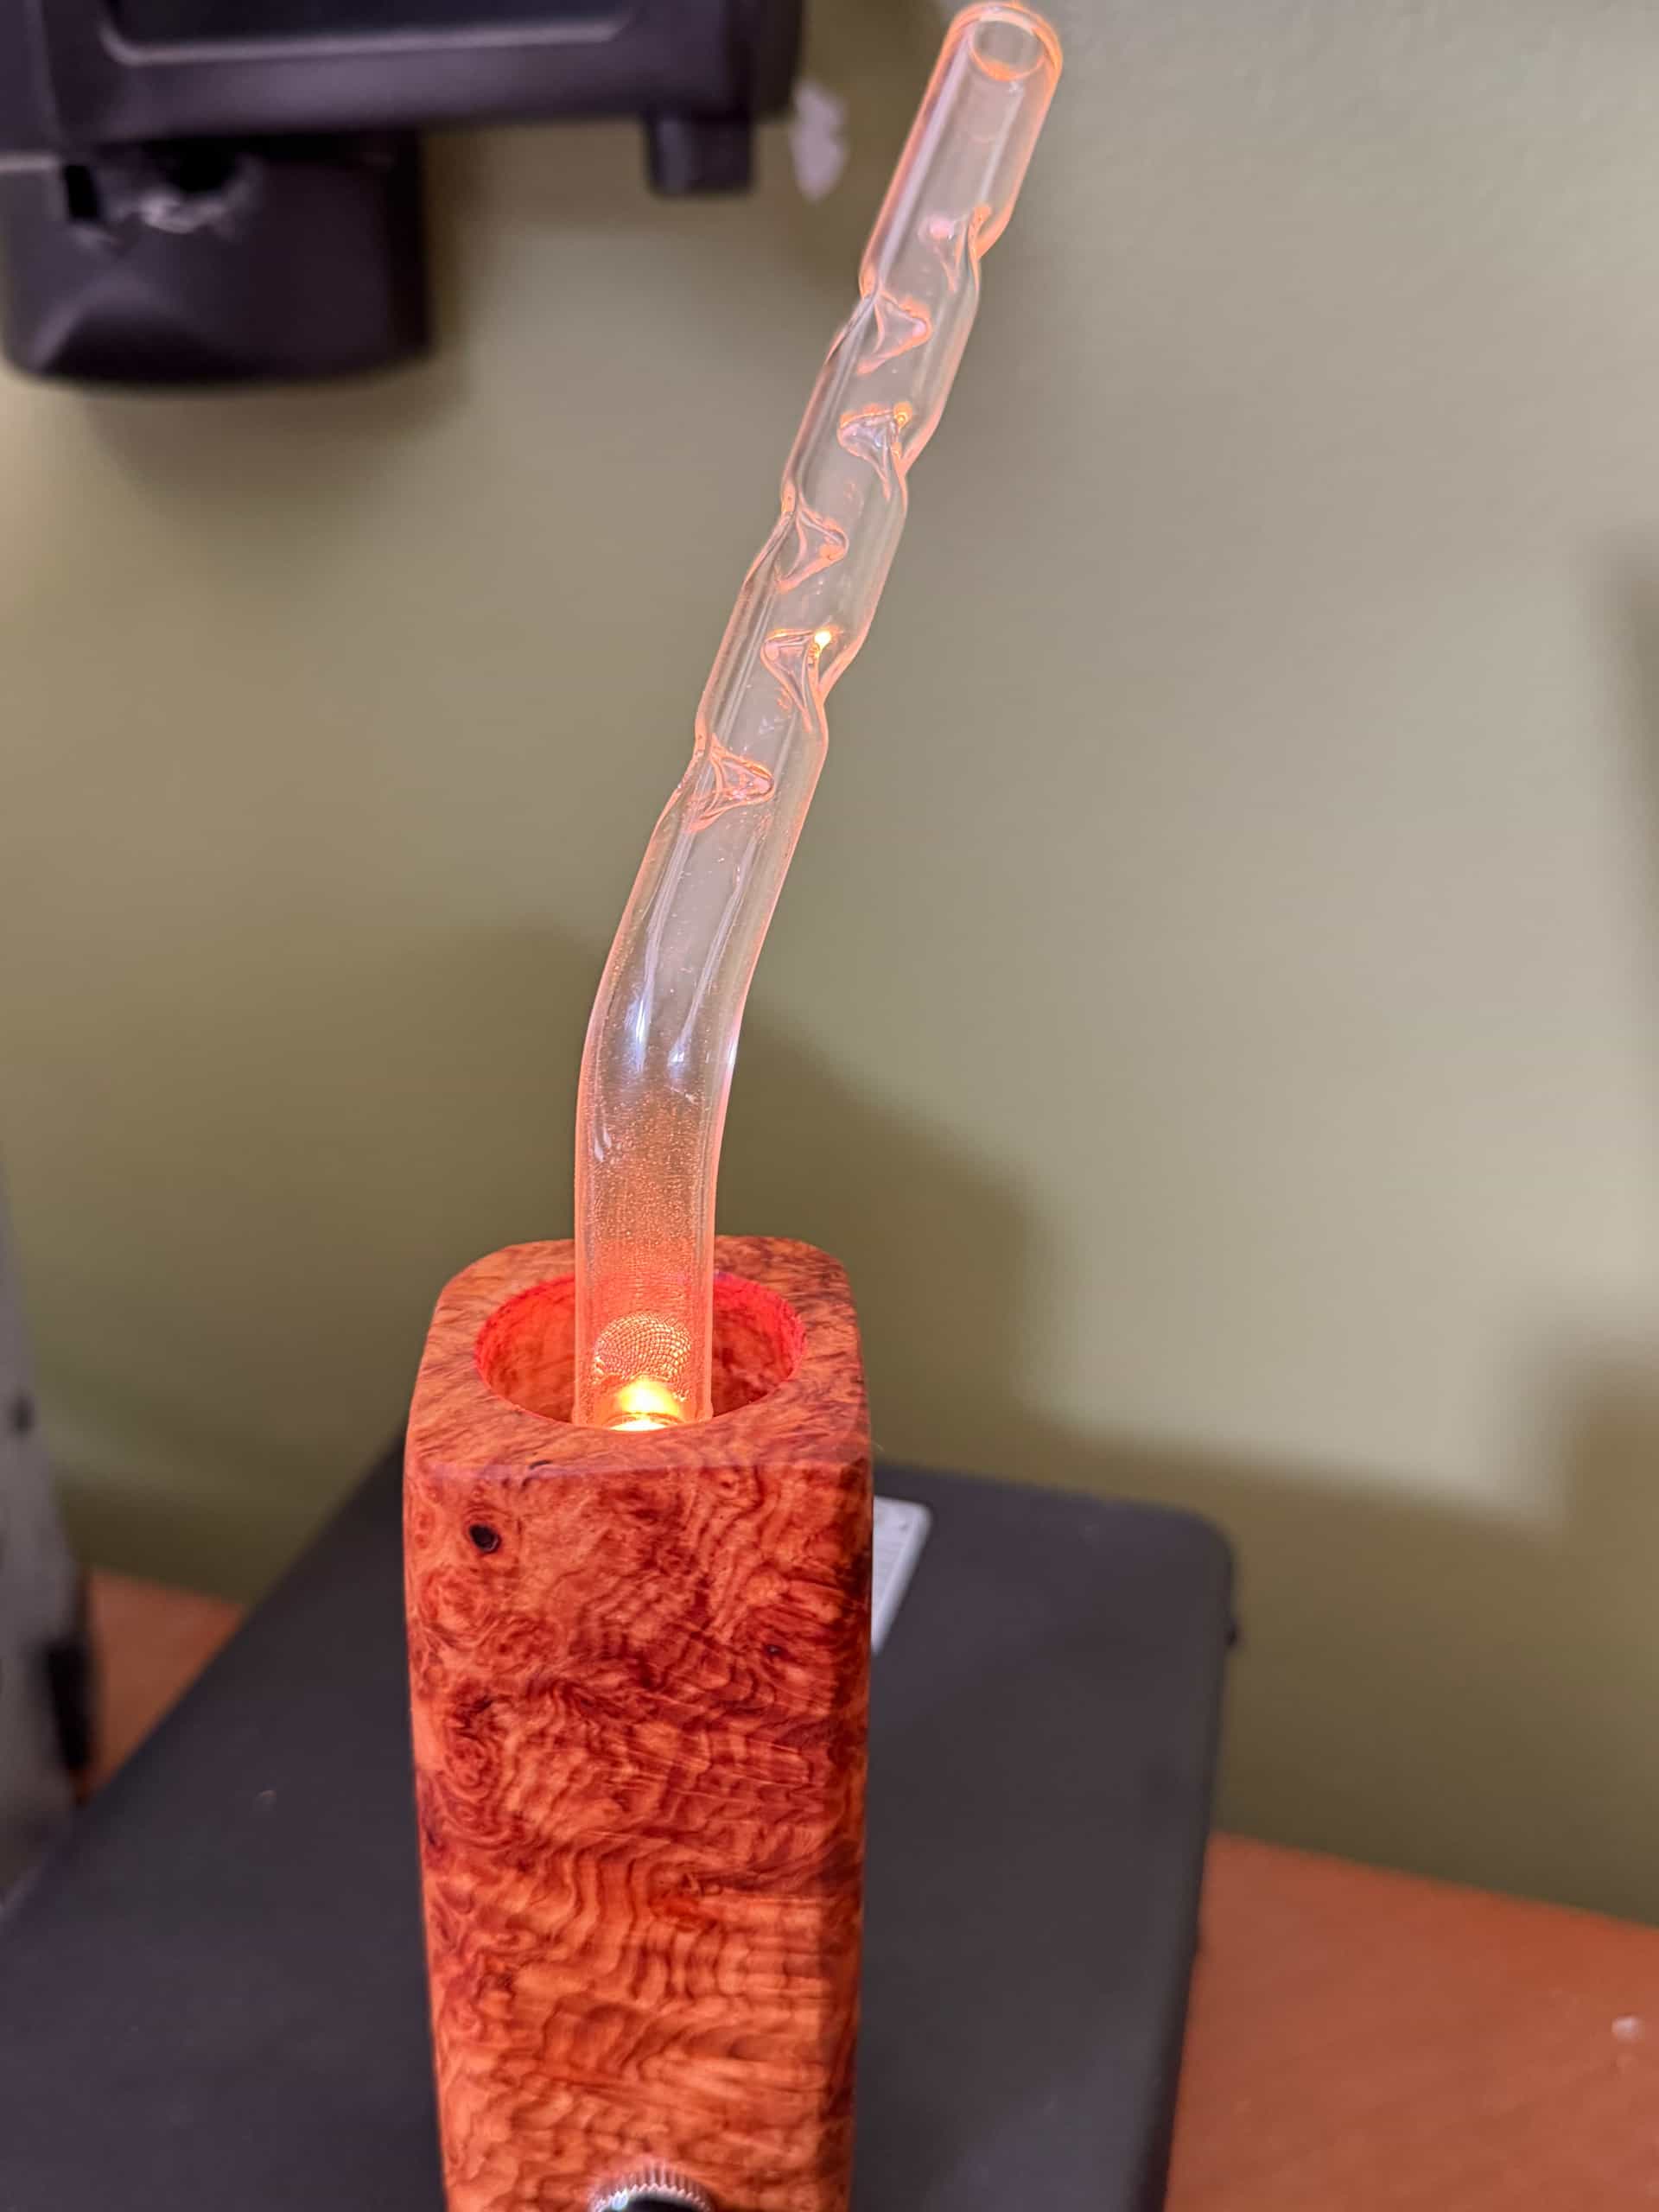
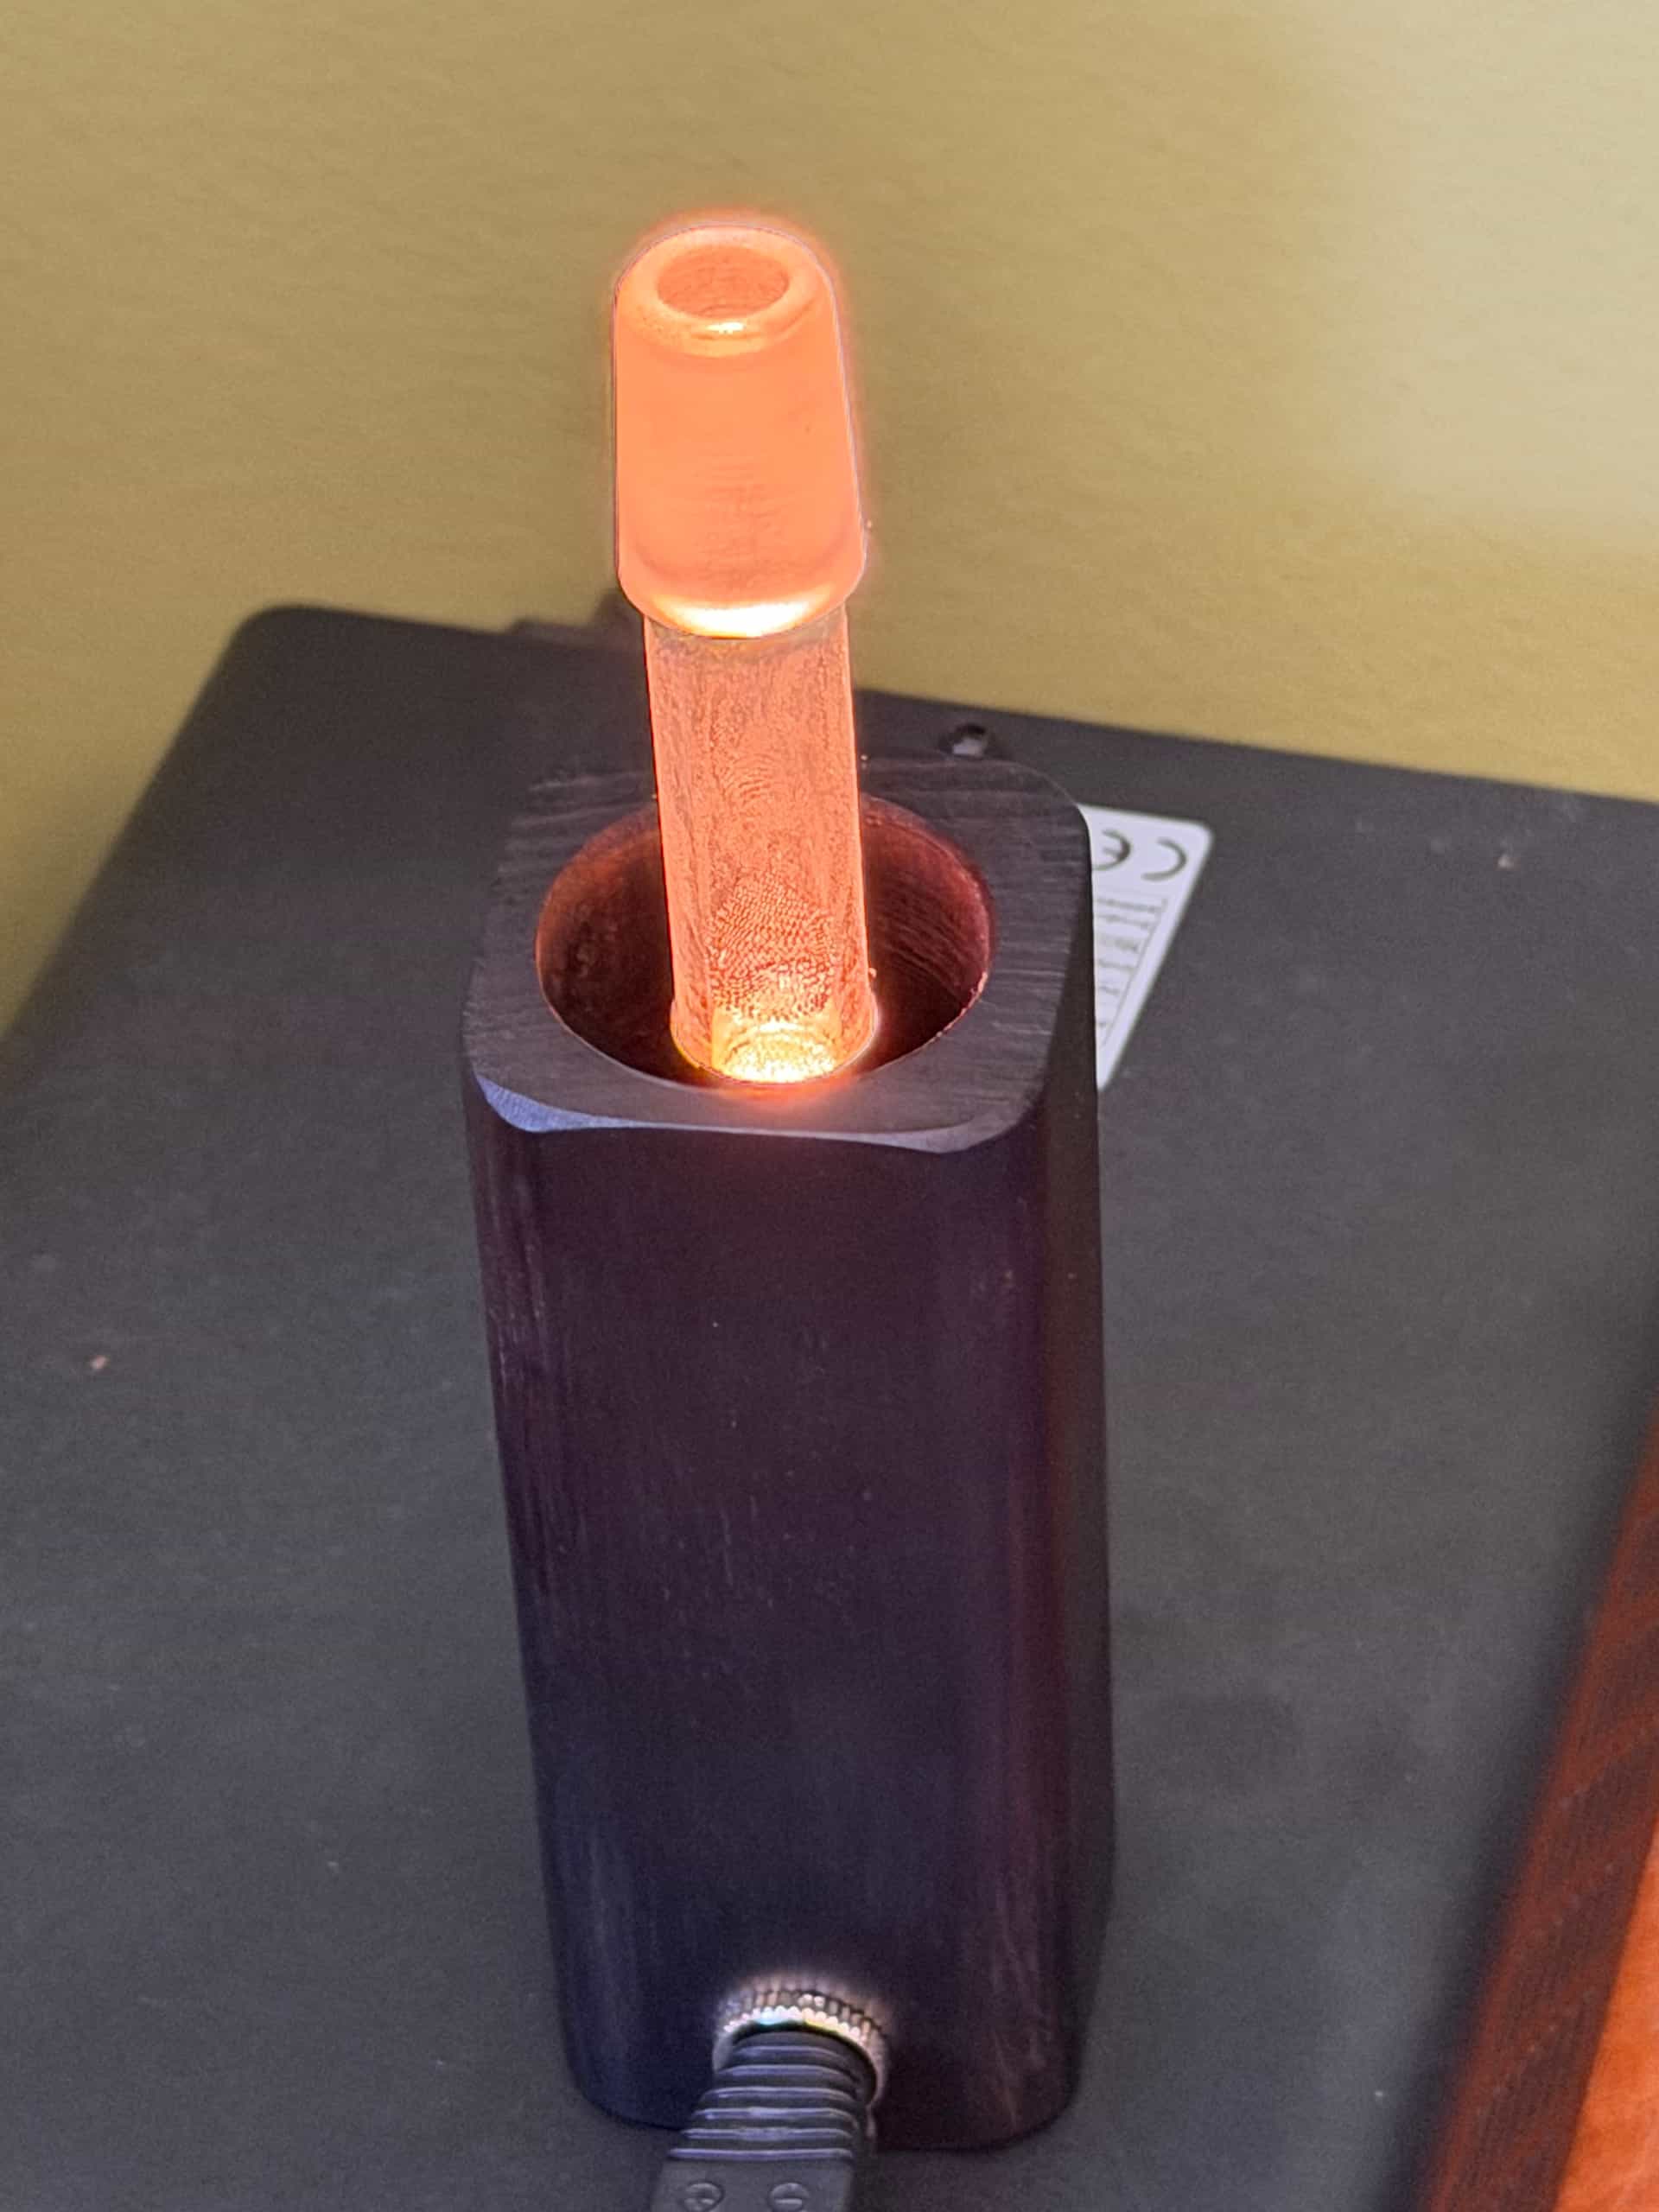
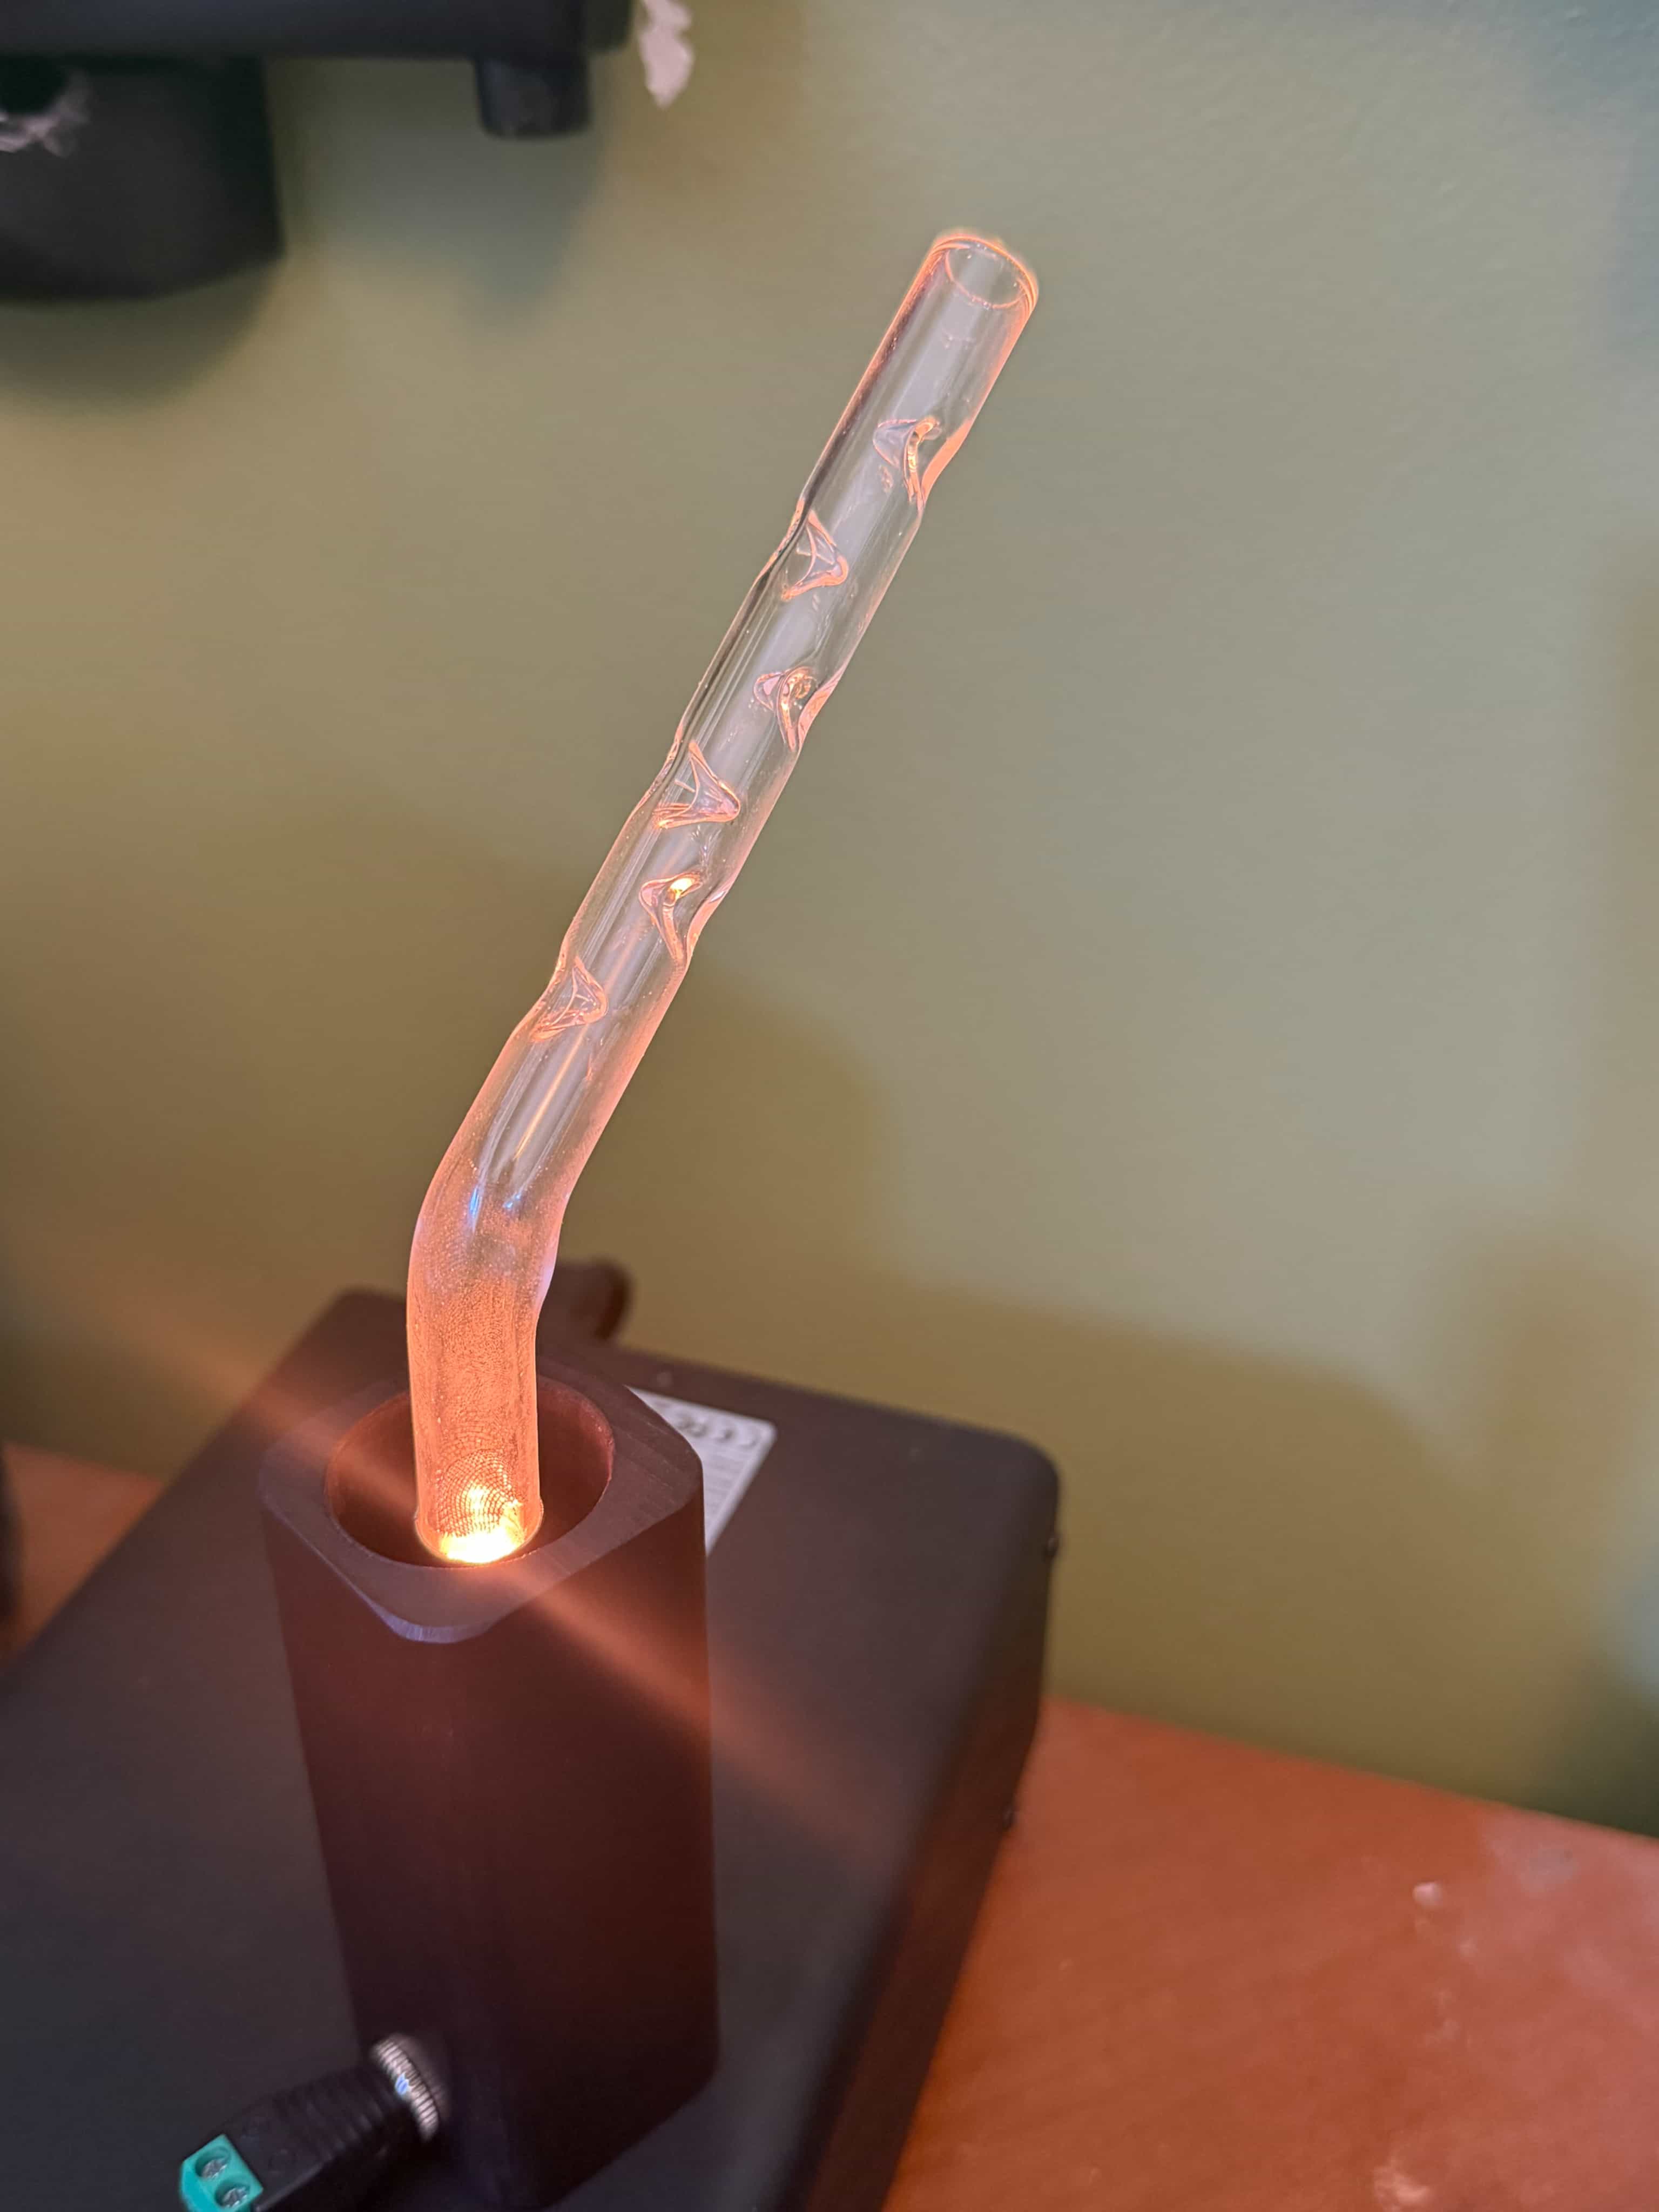
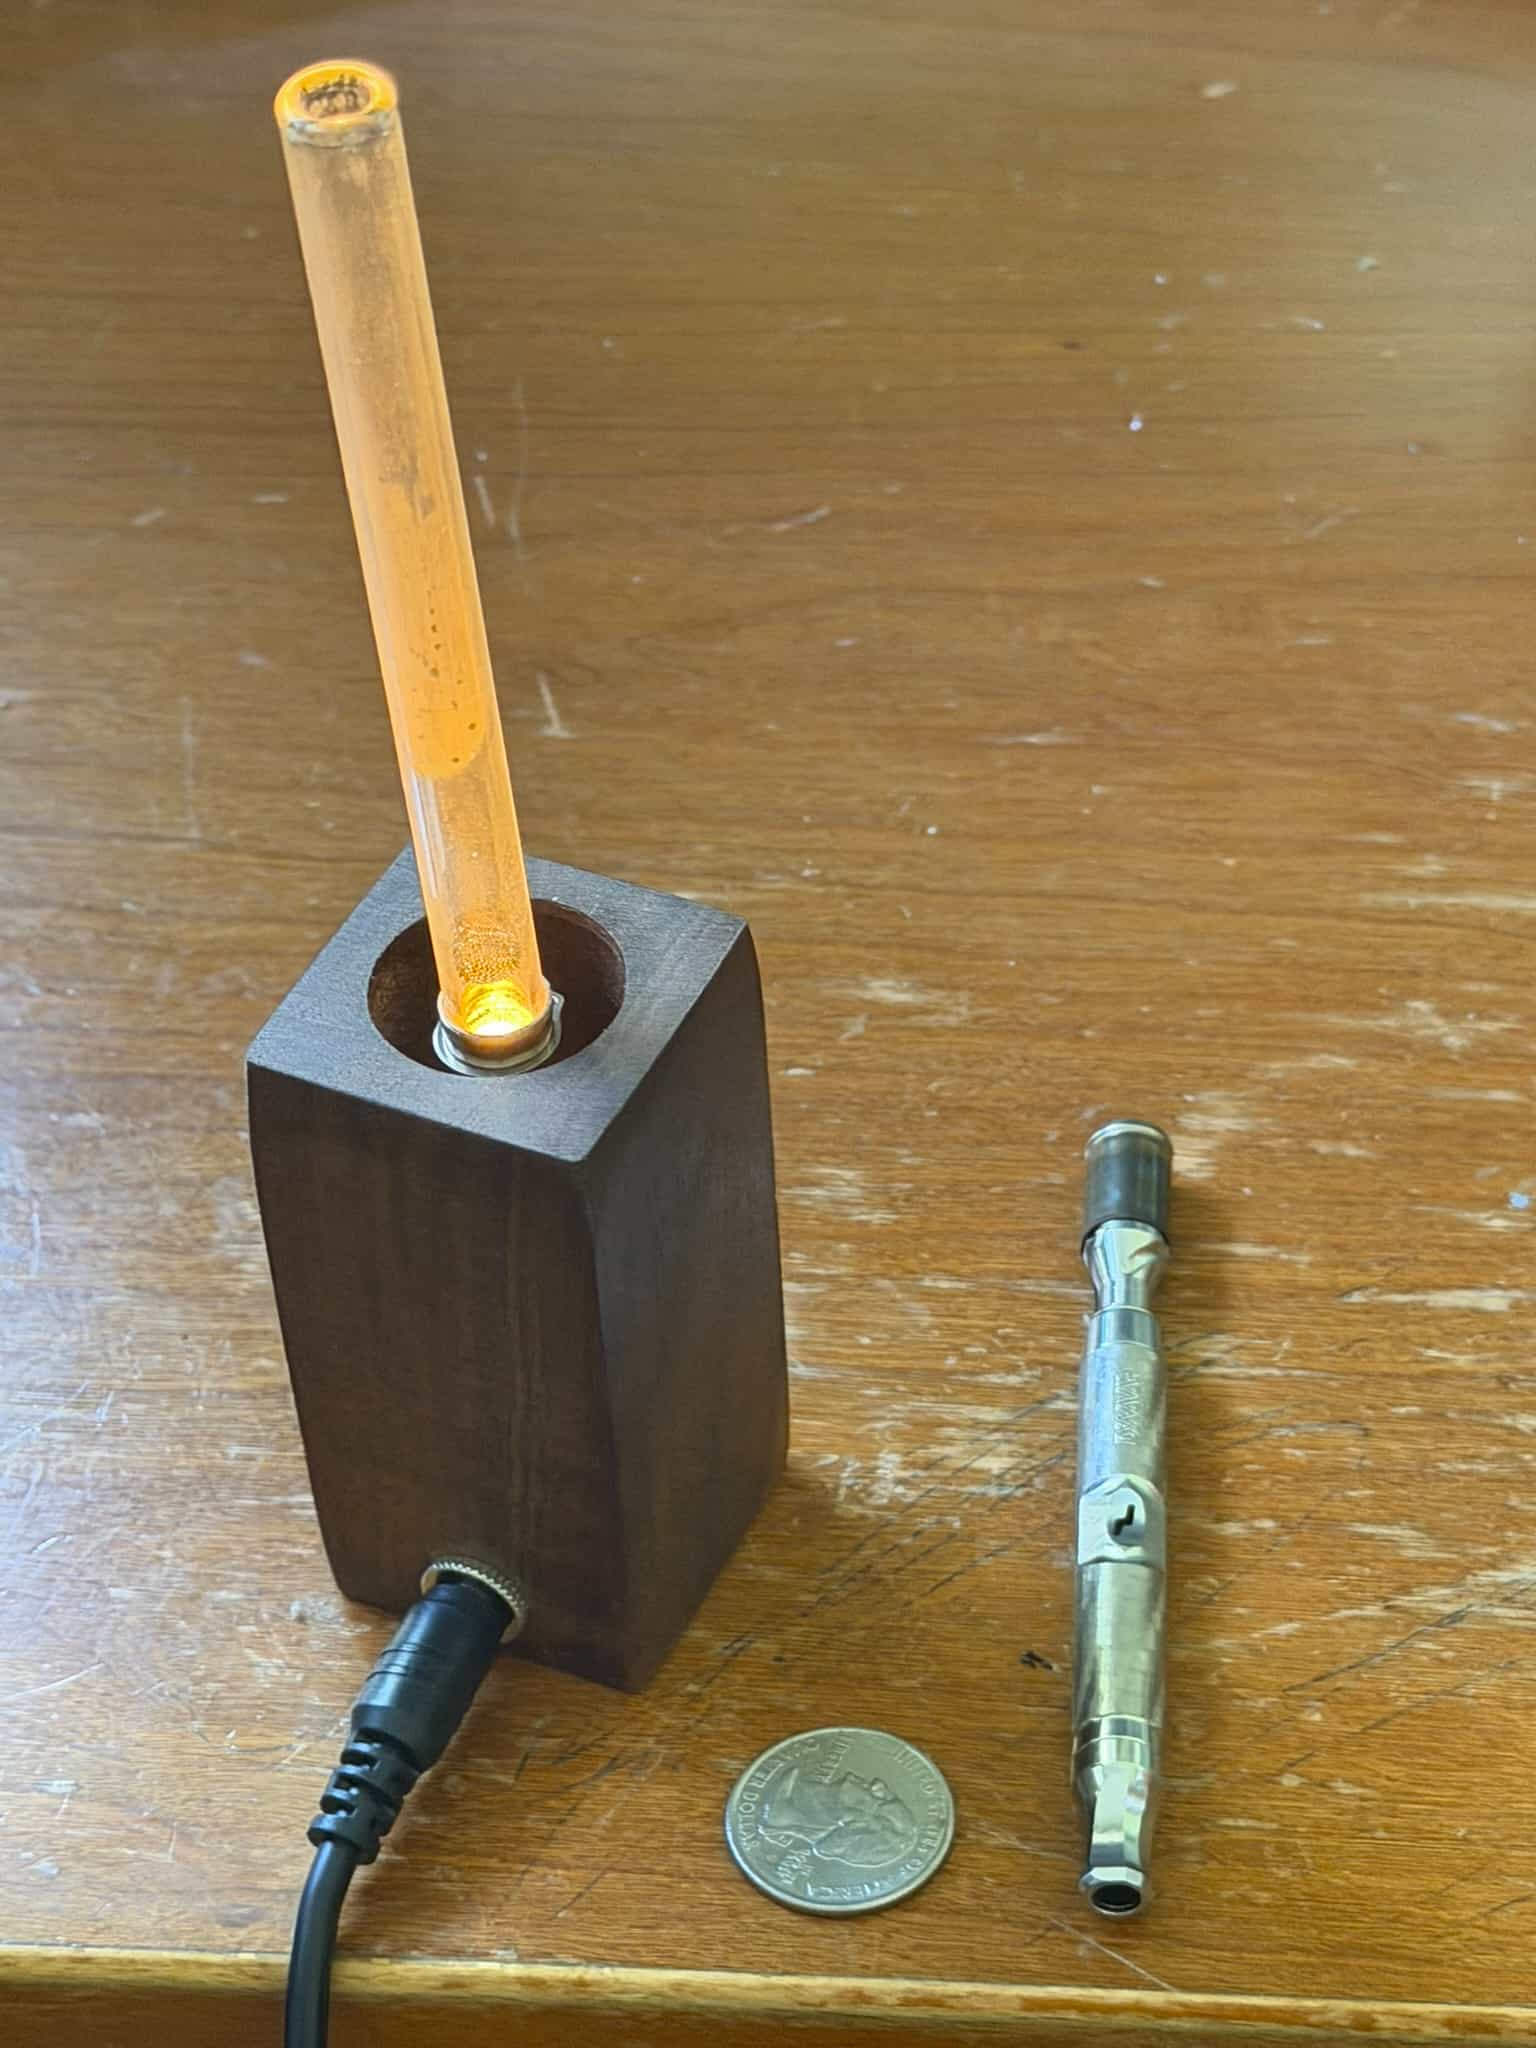
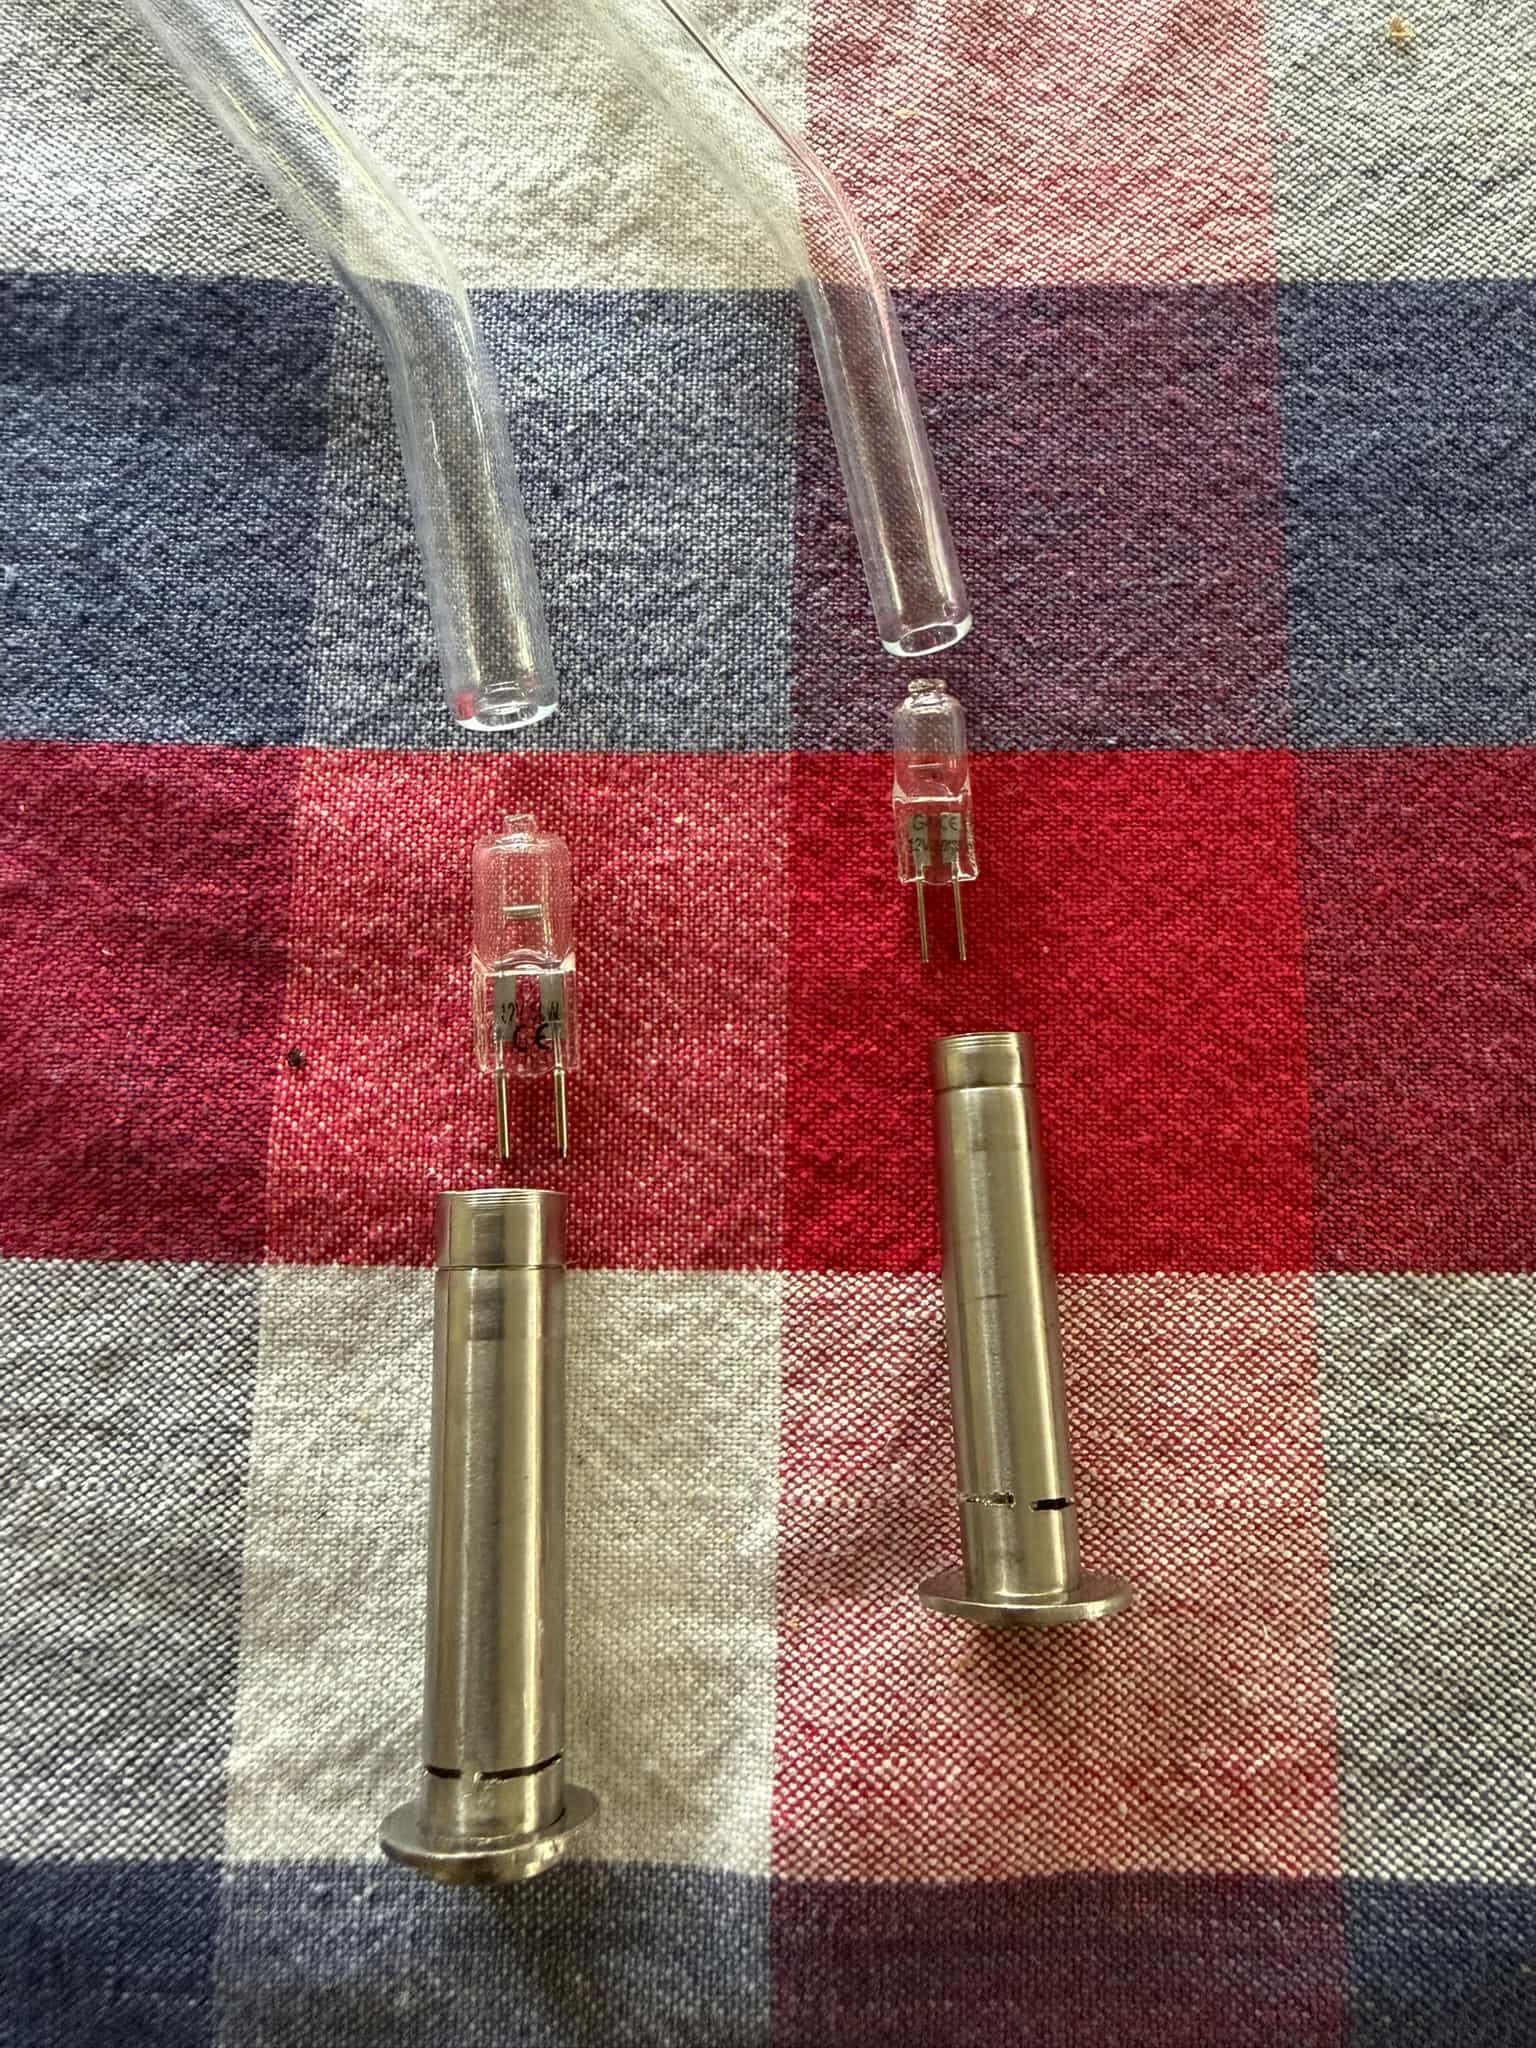
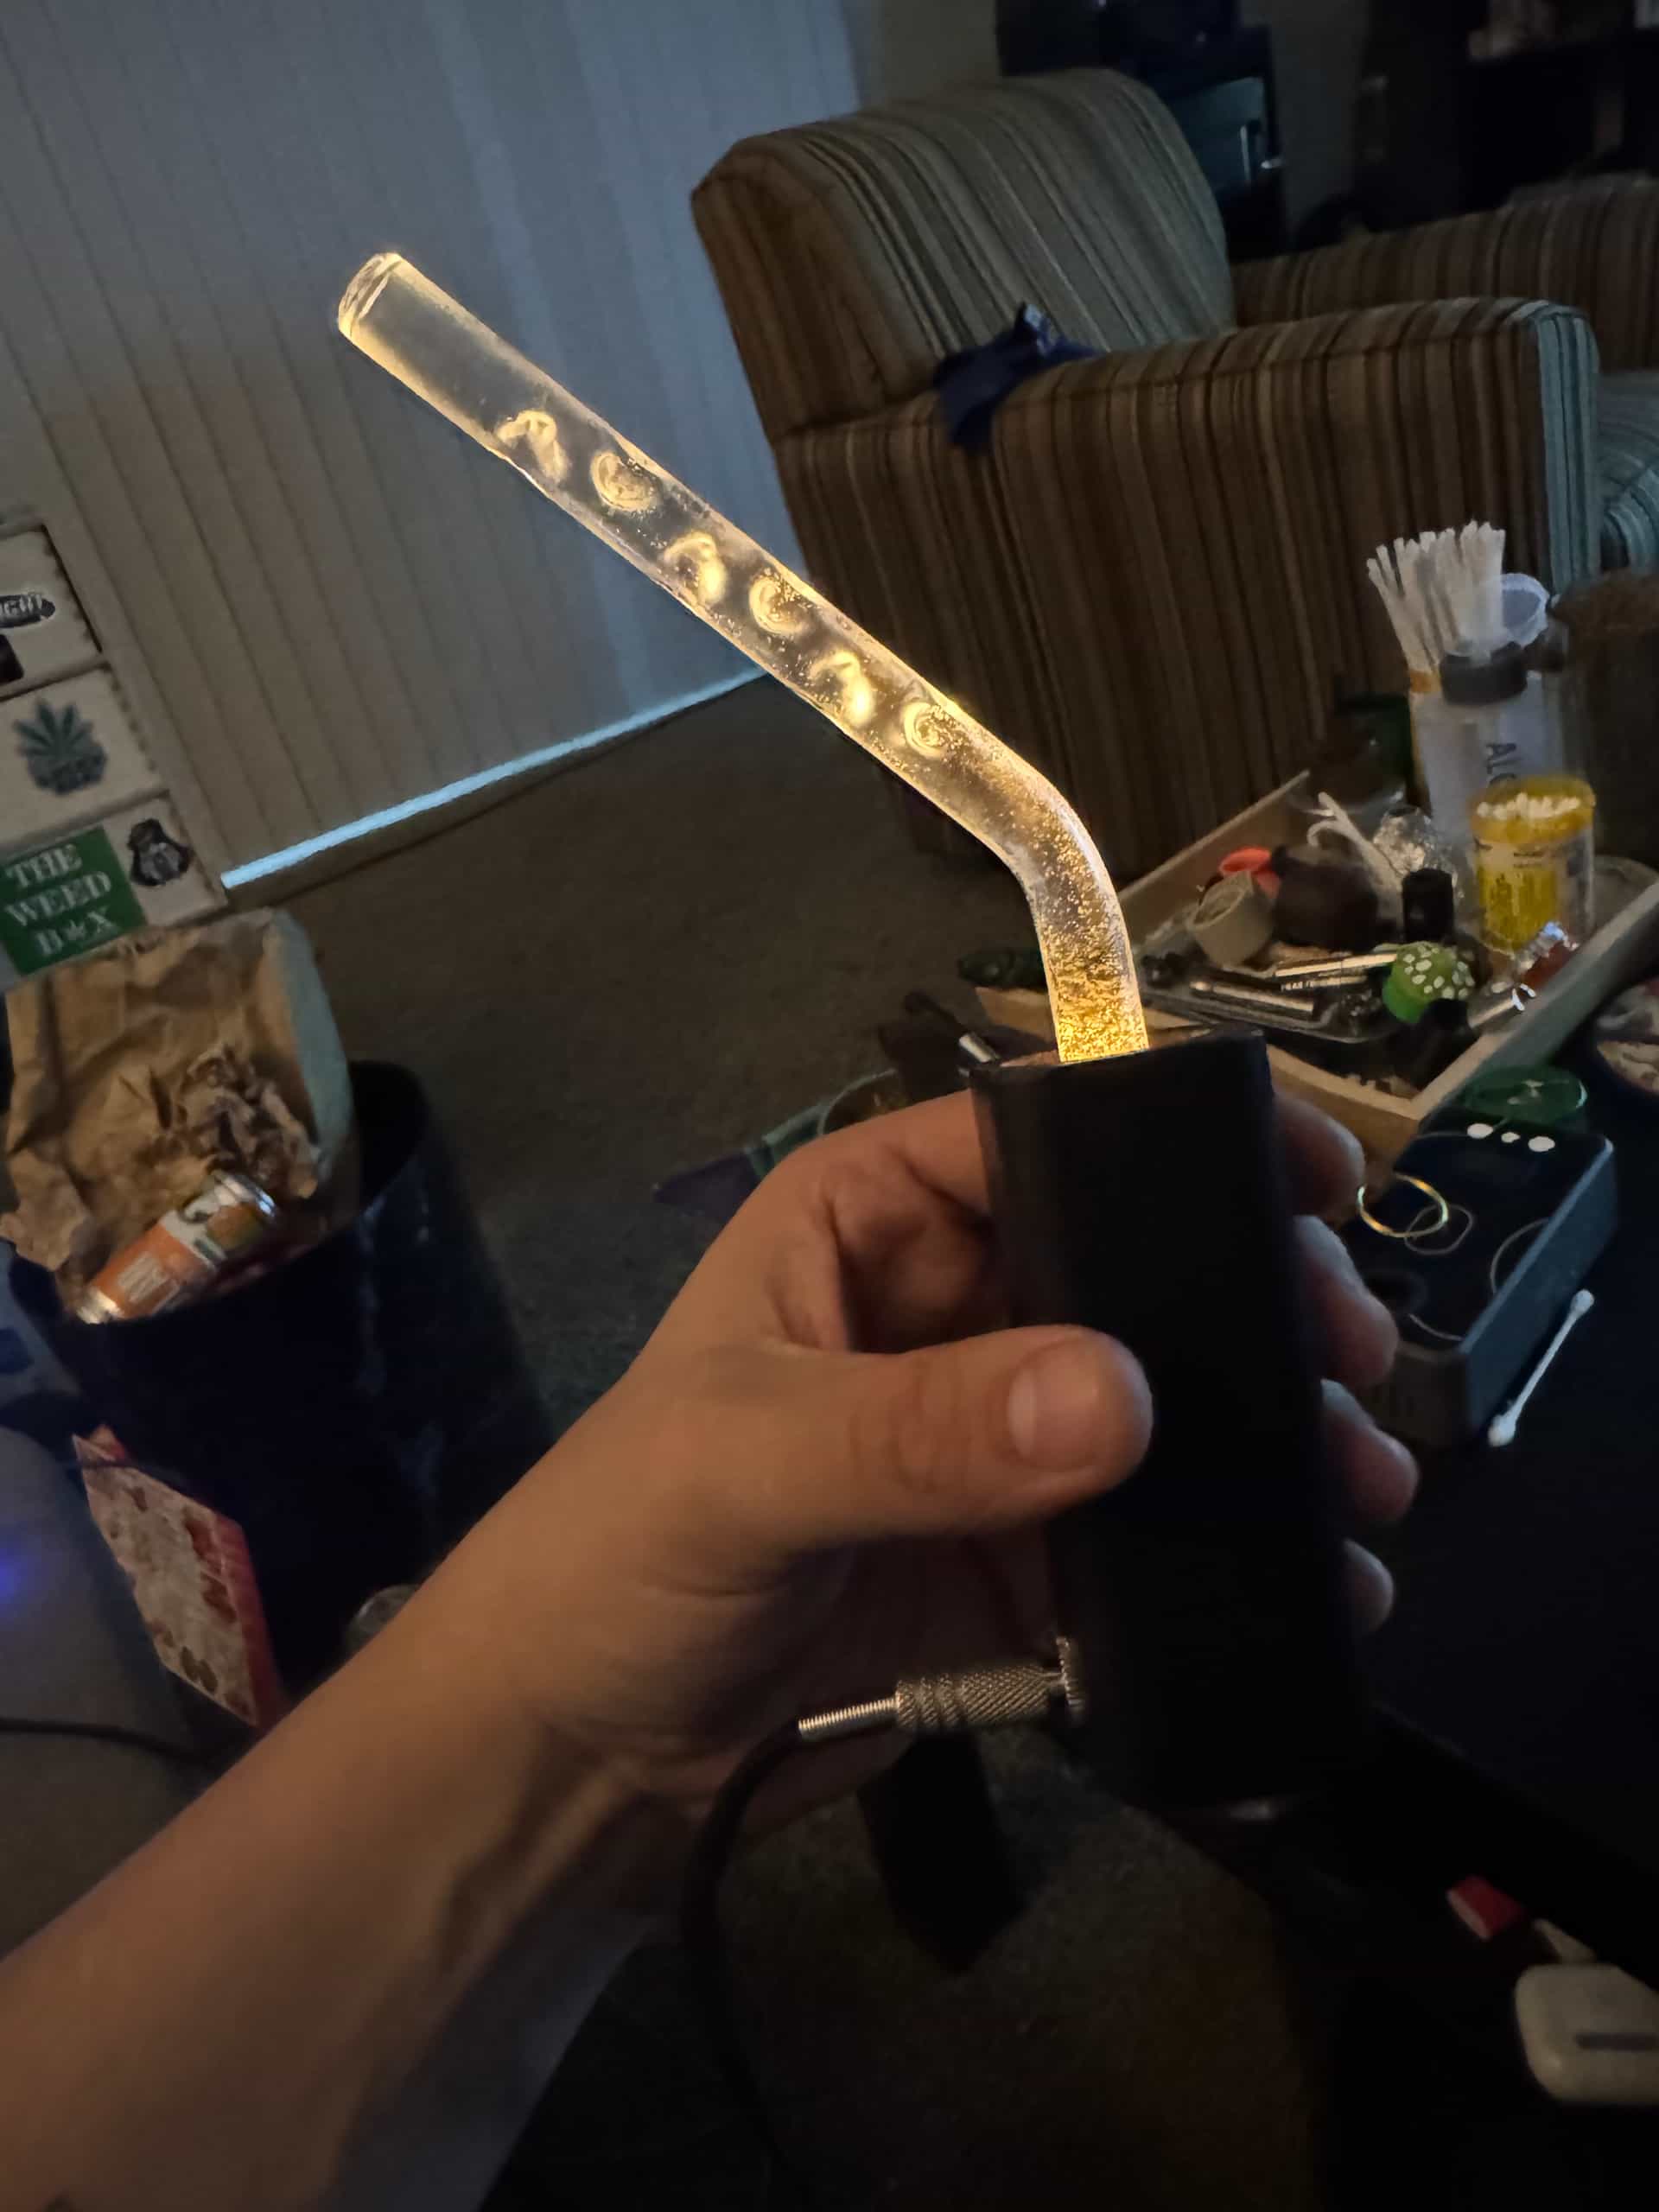
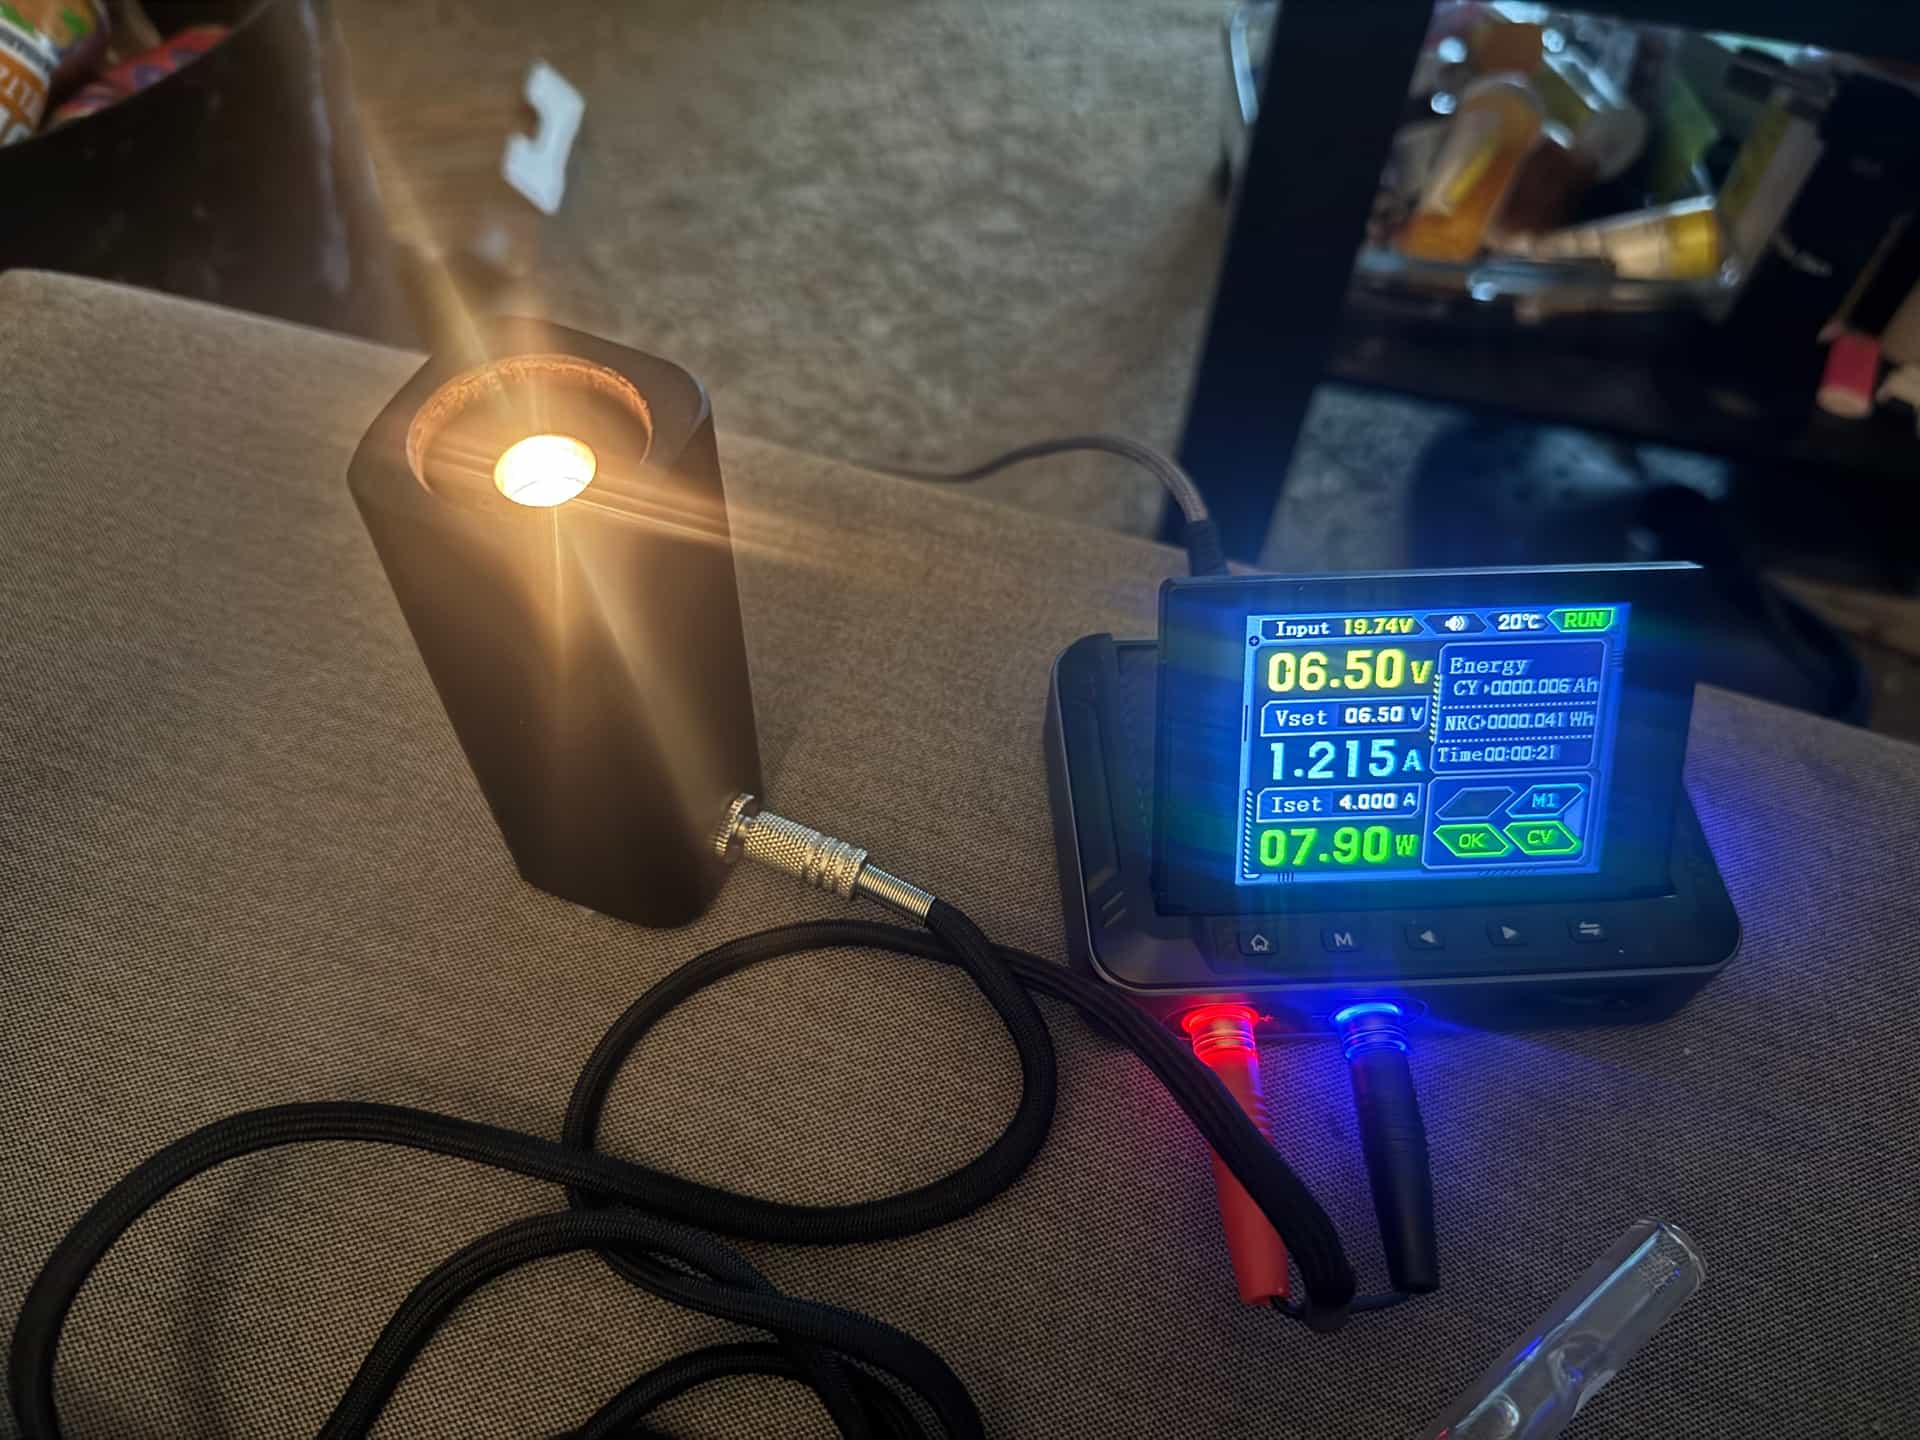
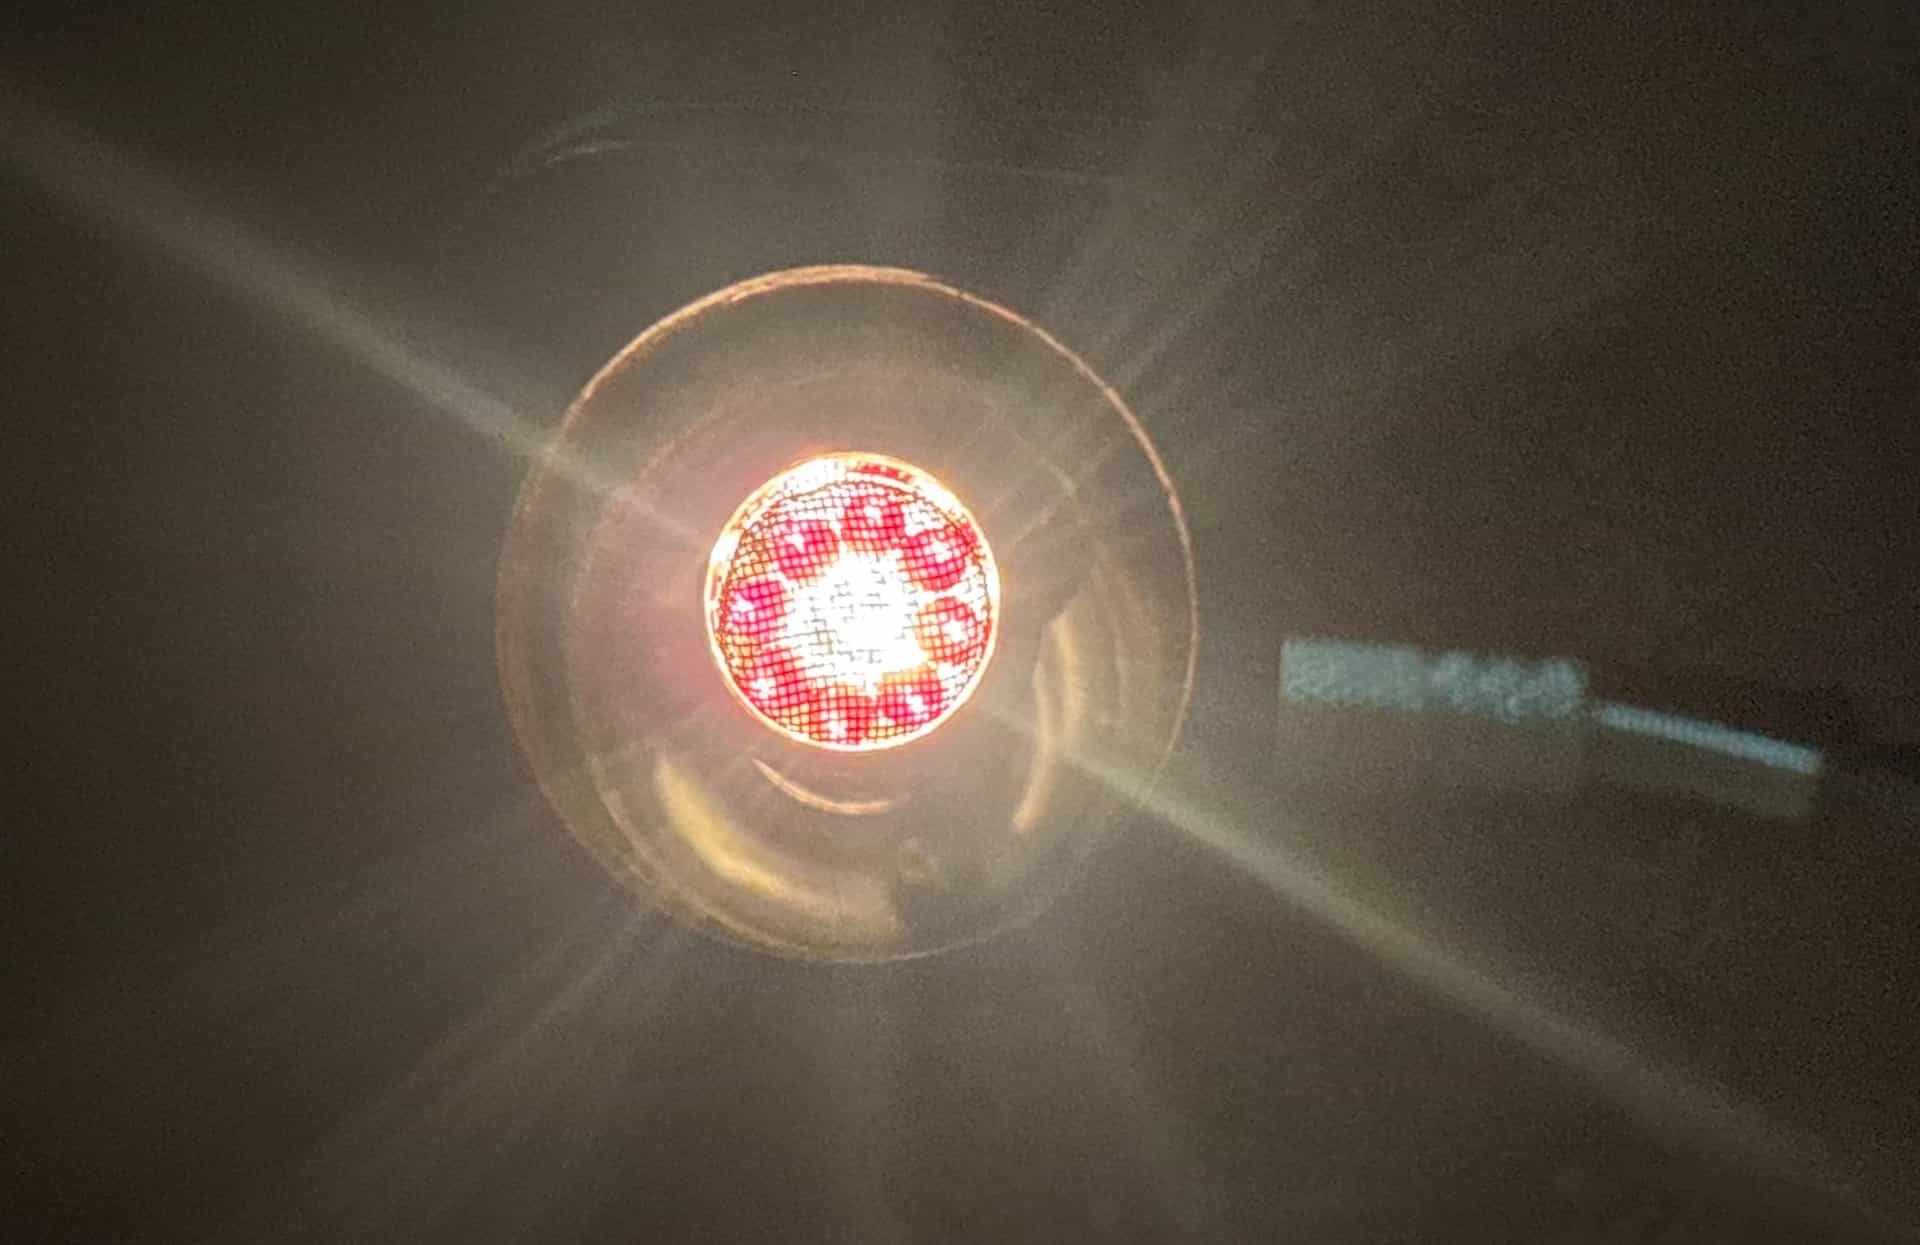
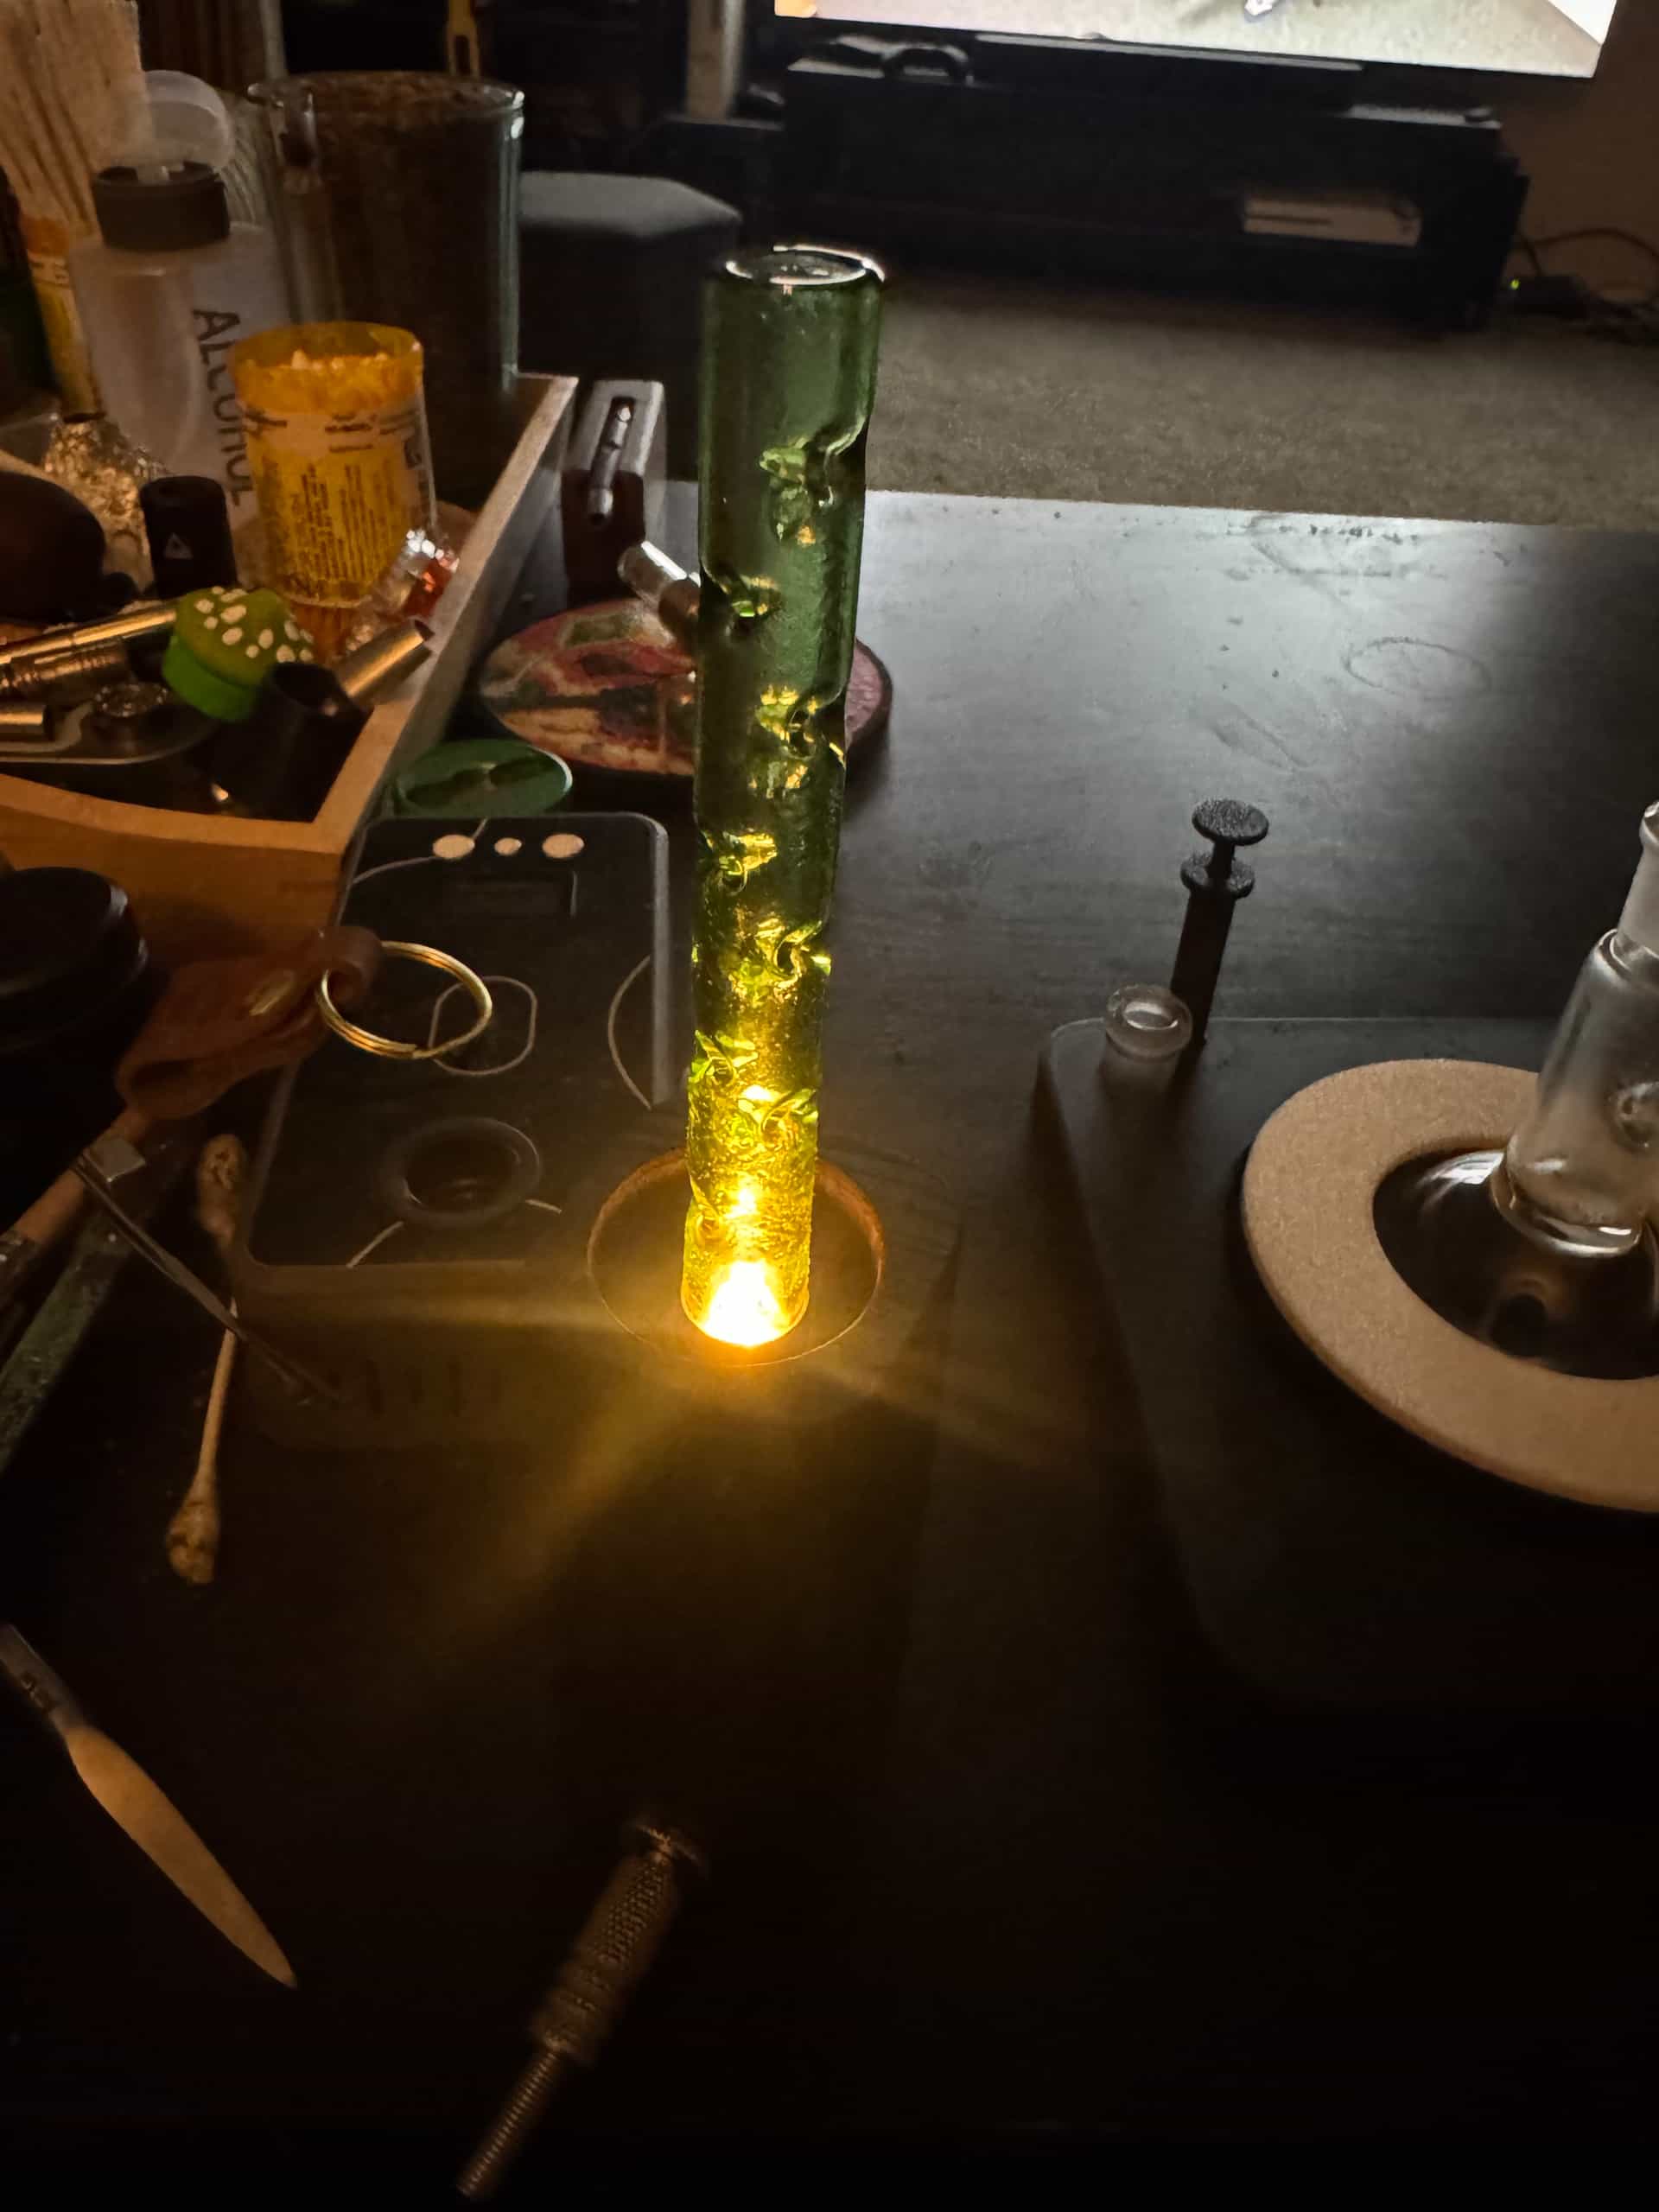
These are mostly halogen powered. I name them based on the wattage of the bulb and the size of the “heater cover”. So the two that I’m currently making are the “2012” (20W bulb, 12mm stem) and the “1010” (10W, 10mm). The airpath is all stainless steel, the bulb, and the wood body and sealing wood plug. I can post a cross section if people are curious. The bulb is replaceable. These run at a low, safe DC voltage of about 6-10V from a variable power supply, depending on the core size and desired temp. No ball vape power, but more than you would expect from a humble log. Airflow is pretty open due to the core design. I believe that the halogen radiant heat assists with getting the heater cover evenly hot, though heater cartridge logs perform relatively similarly. Halogen looks cool though, especially with some glass stems and the light shining through.

As logs these would be most similar to the Heat Islands by Alan that are a big inspiration. The 1010 is kind of a classic log size or a little bigger, and the 2012 is a heavy hitter probably most comparable to the underdog alpha.

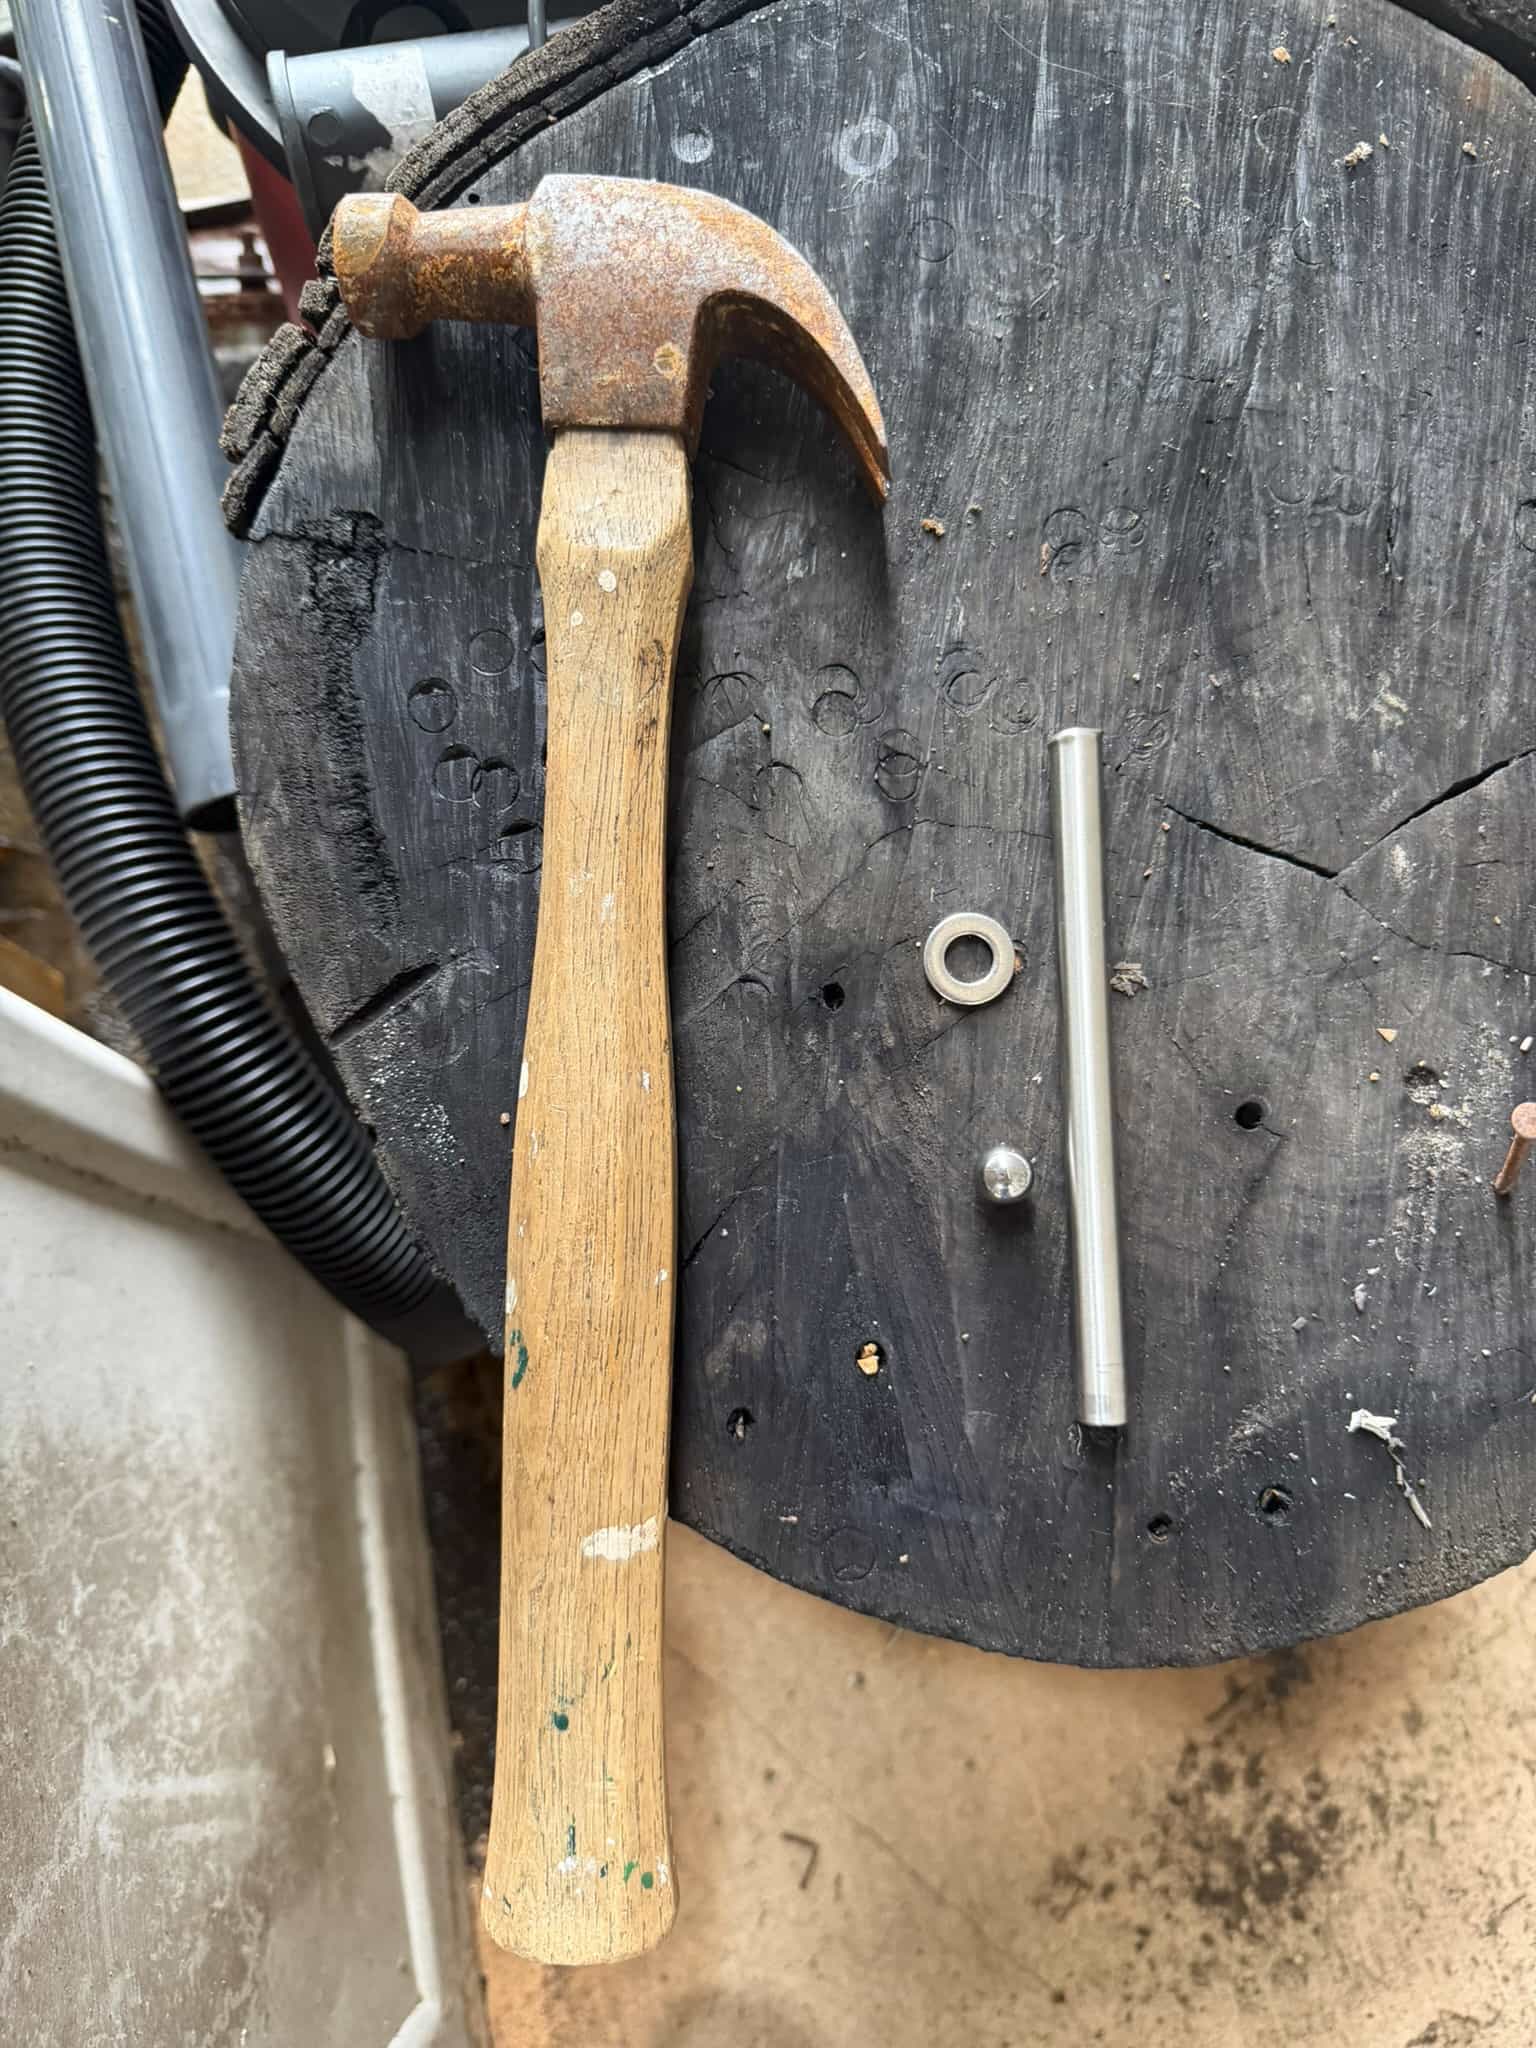
Anyone else try making logs DIY? It’s pretty easy, relatively speaking. I don’t have a lathe but I just use a drill press, but I even made some with a hand drill before. And making the heater covers is not too bad either, can be done with just a hammer and hacksaw and tubing cutter. You do have to solder the jack.

What are the rules for manufacturers on this forum? On FC I had a manufacturer tag, because I had sold a few on the platform. These are available, if I’m allowed to say that. Not the one in the picture specifically, but the logs in general. Also on instagram at jackrod.logs. Mods can delete this part if not allowed.

Happy to answer any questions about the build, especially if anyone wants to try making their own. I have a bit of a guide in PDF form, but I’ve updated my design since making it.

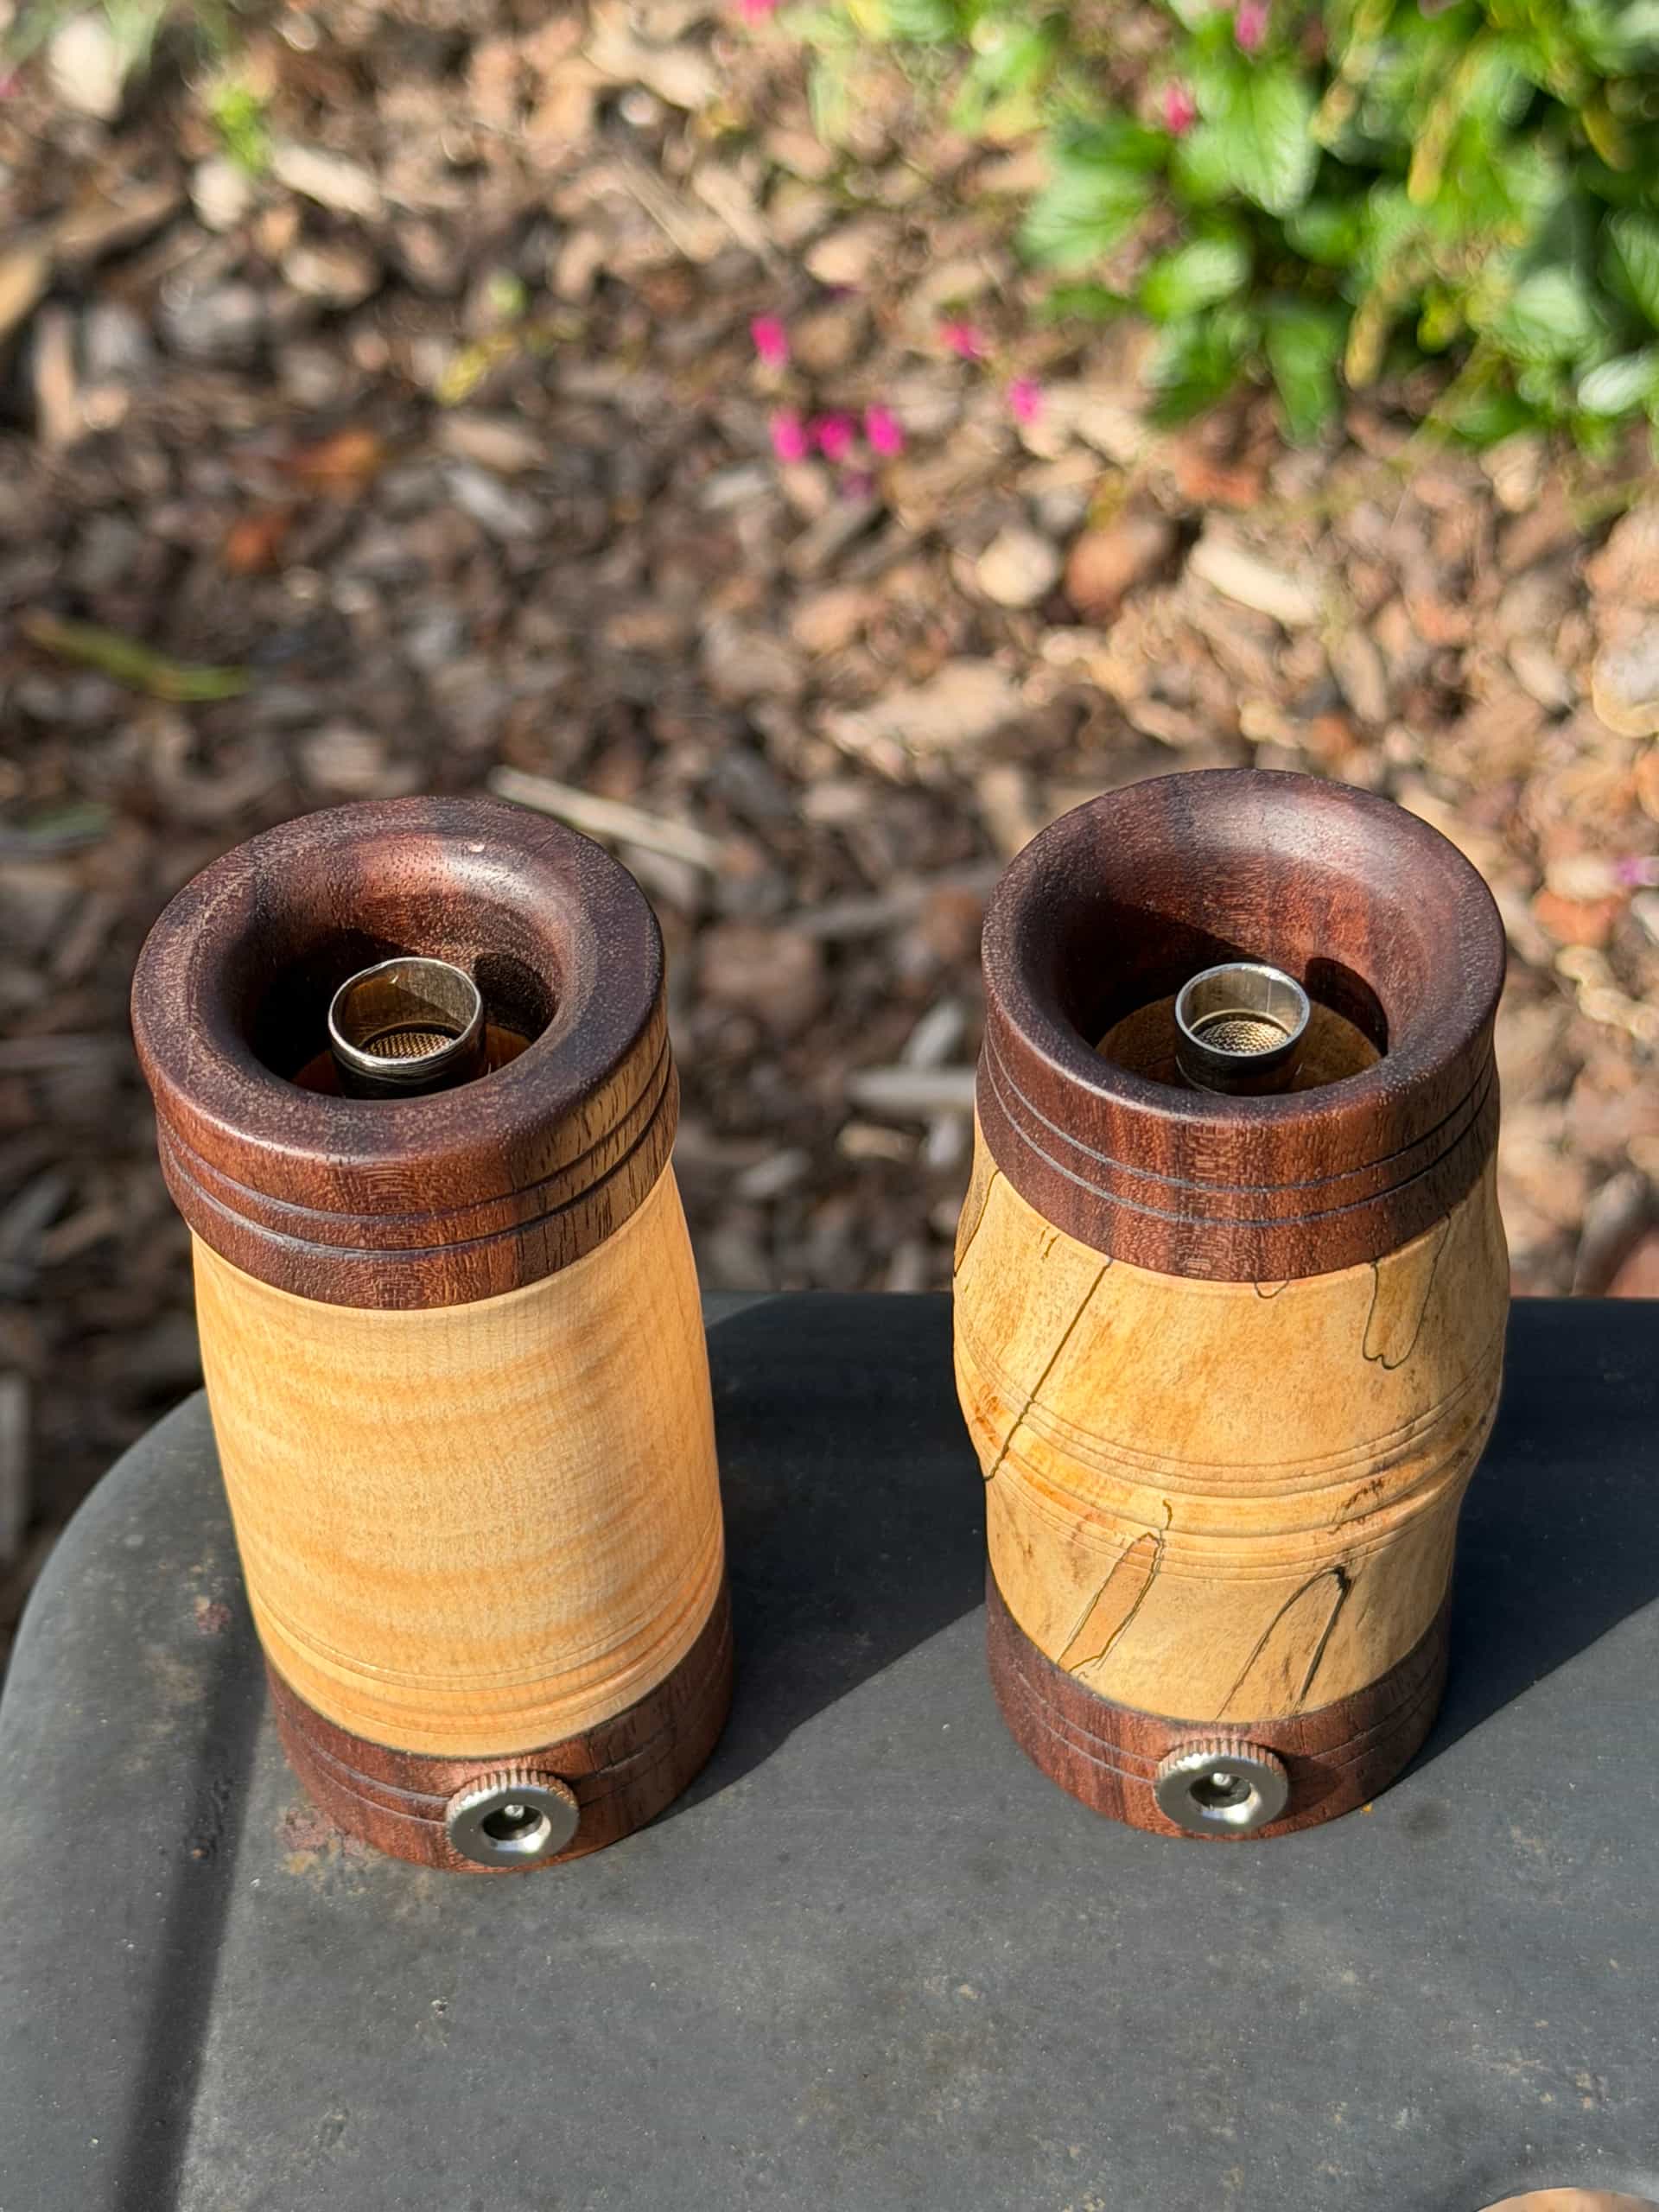
16 Likes

Very very lovely looking. Would you be able to share some very rough pricing (I’m sure it depends a lot on the wood though)? If not that’s okay, just curious.

I plan on sending you a DM on instagram :slight_smile:

Happy to see development still continuing in this space.

2 Likes

Yes depends on the wood. I’ll wait to hear back on the manufacturer rules before posting a price. I sent you one on IG though. Thanks for looking.

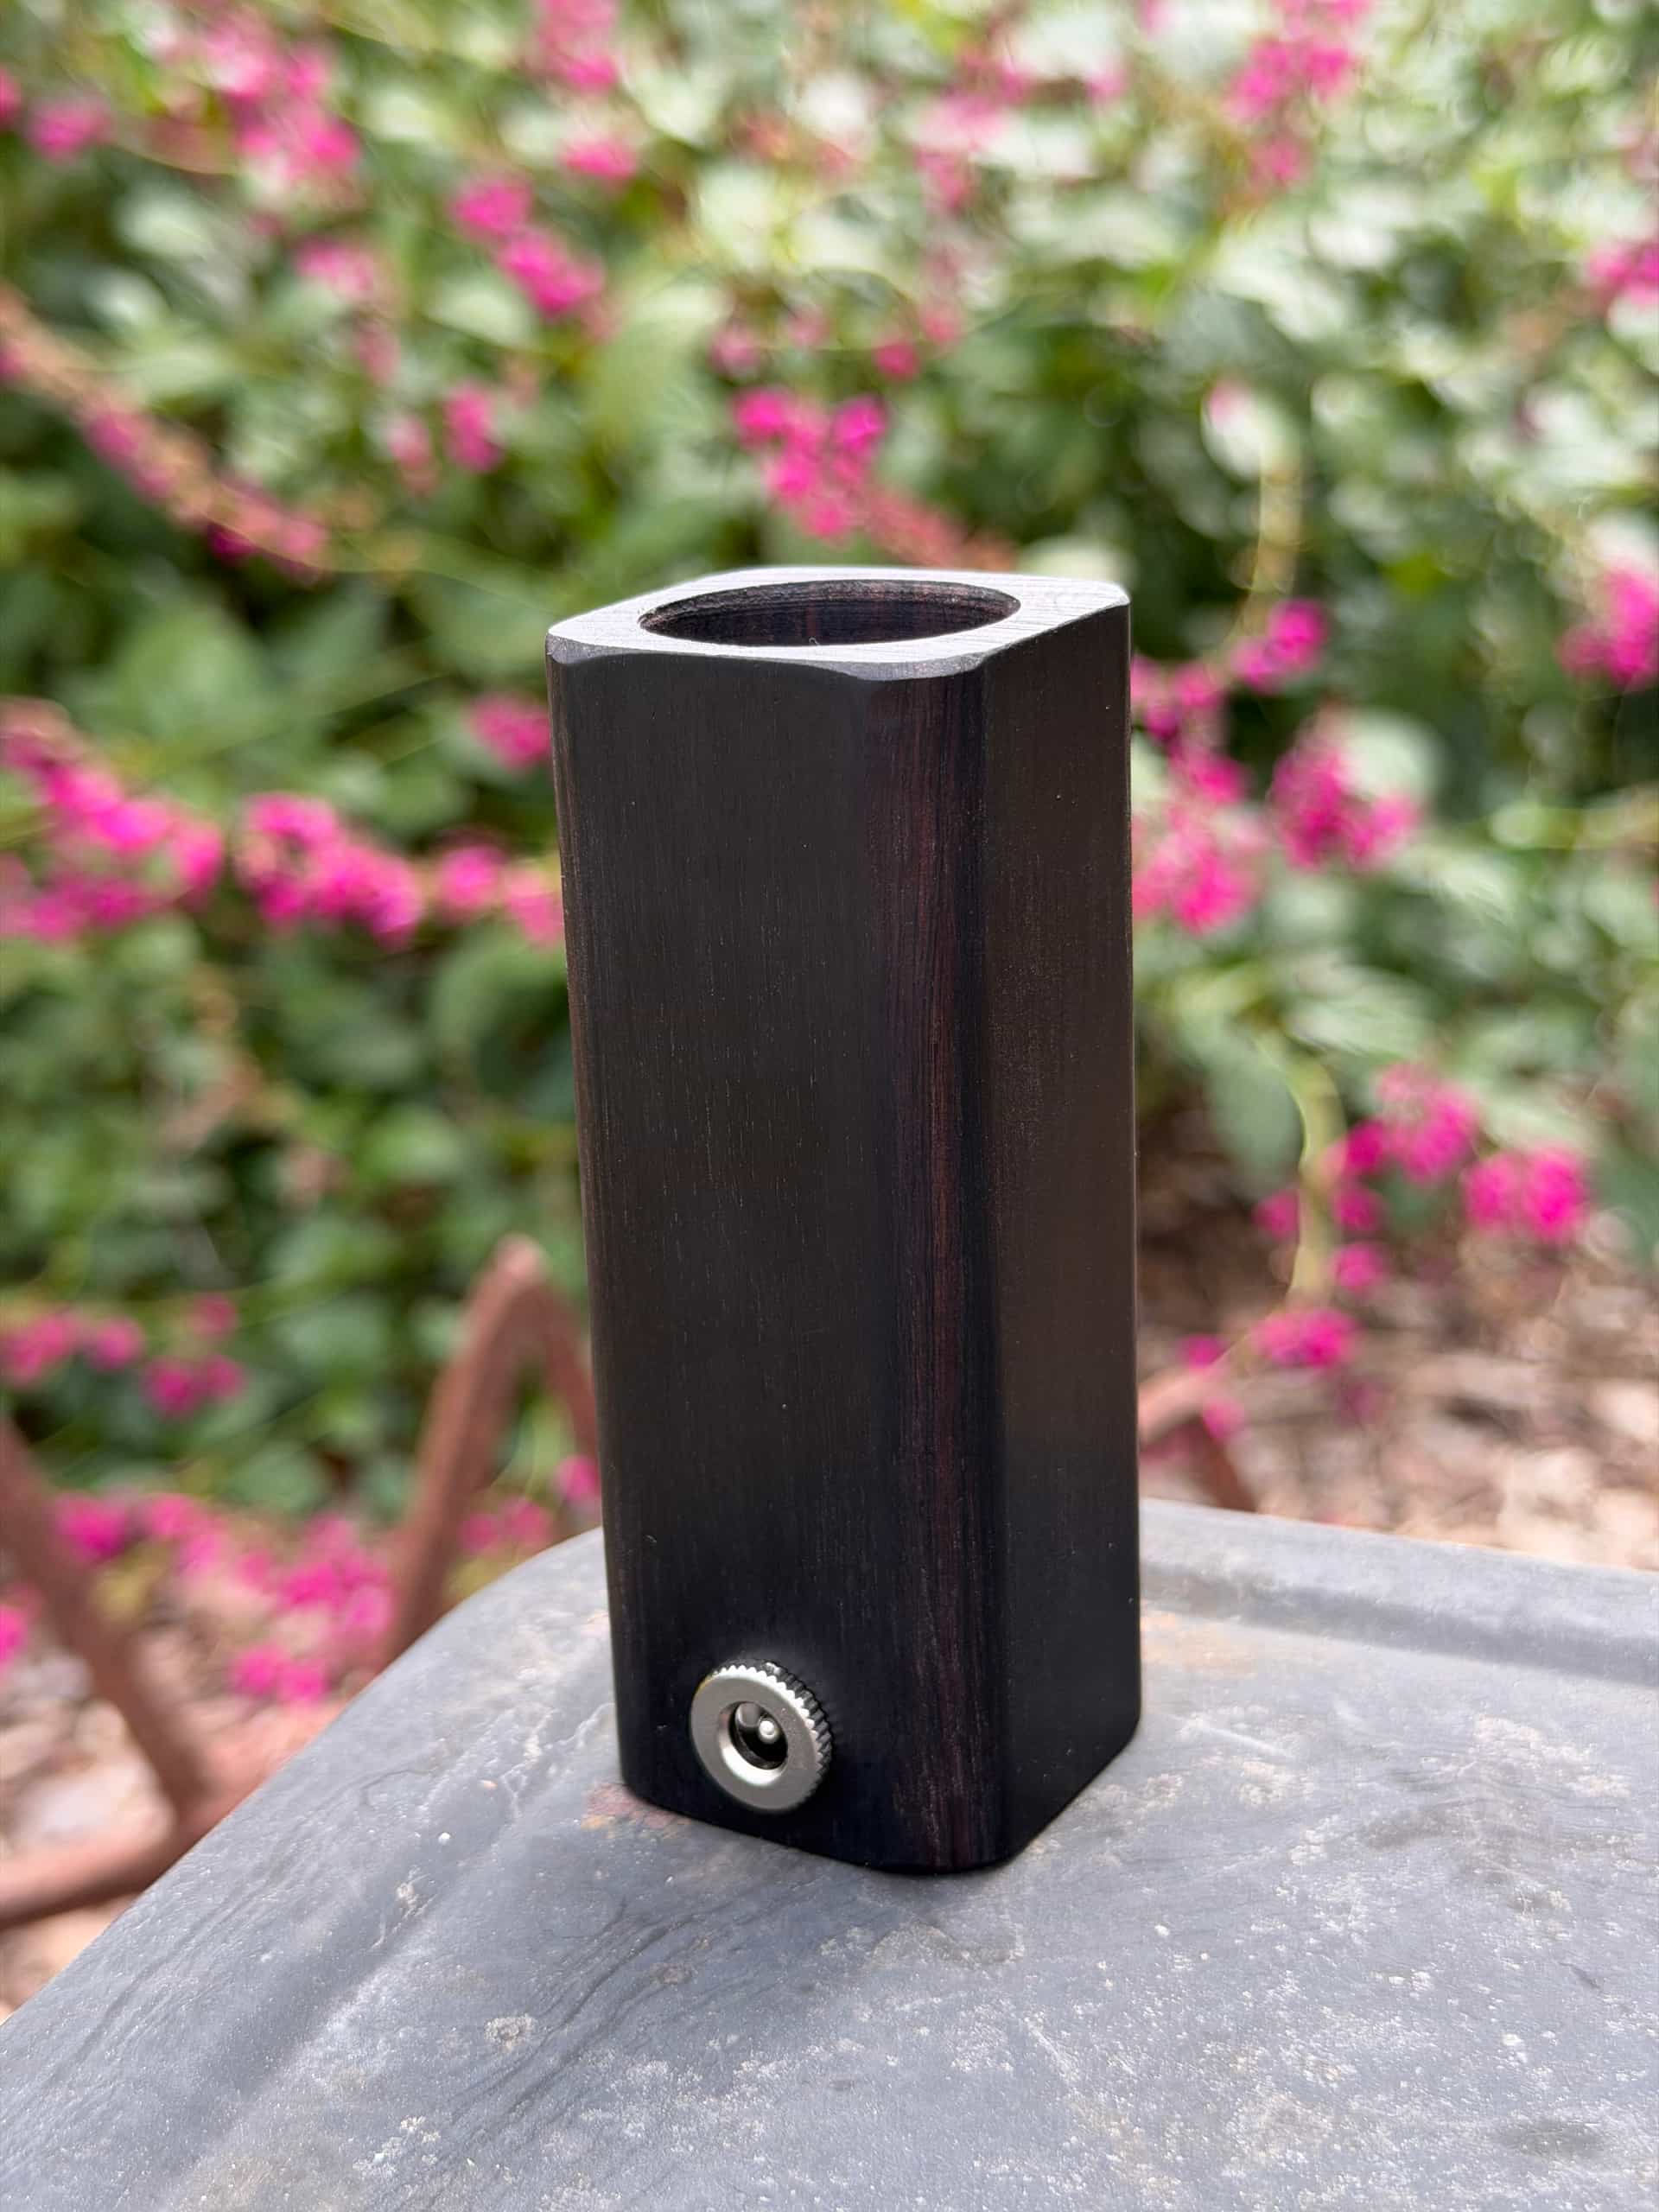
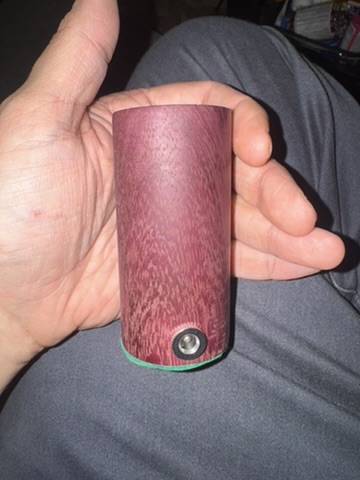
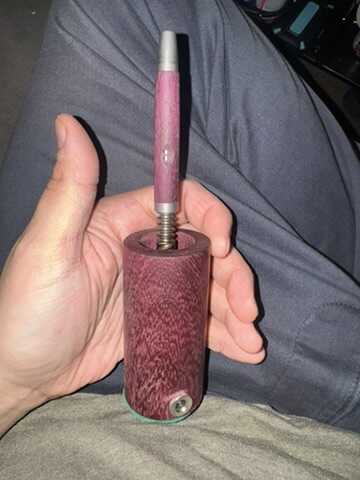
Another pic from recent ones, this was a collaboration.

9 Likes

Welcome to the club!

All are welcome here. One of the mods will get you set up with the appropriate badge.

Our rules are simple, keep it respectful and objective. :slight_smile:

4 Likes

Cool, glad to be here. I’ll share a few more pics of the logs I have made before now that I have the right trust level.

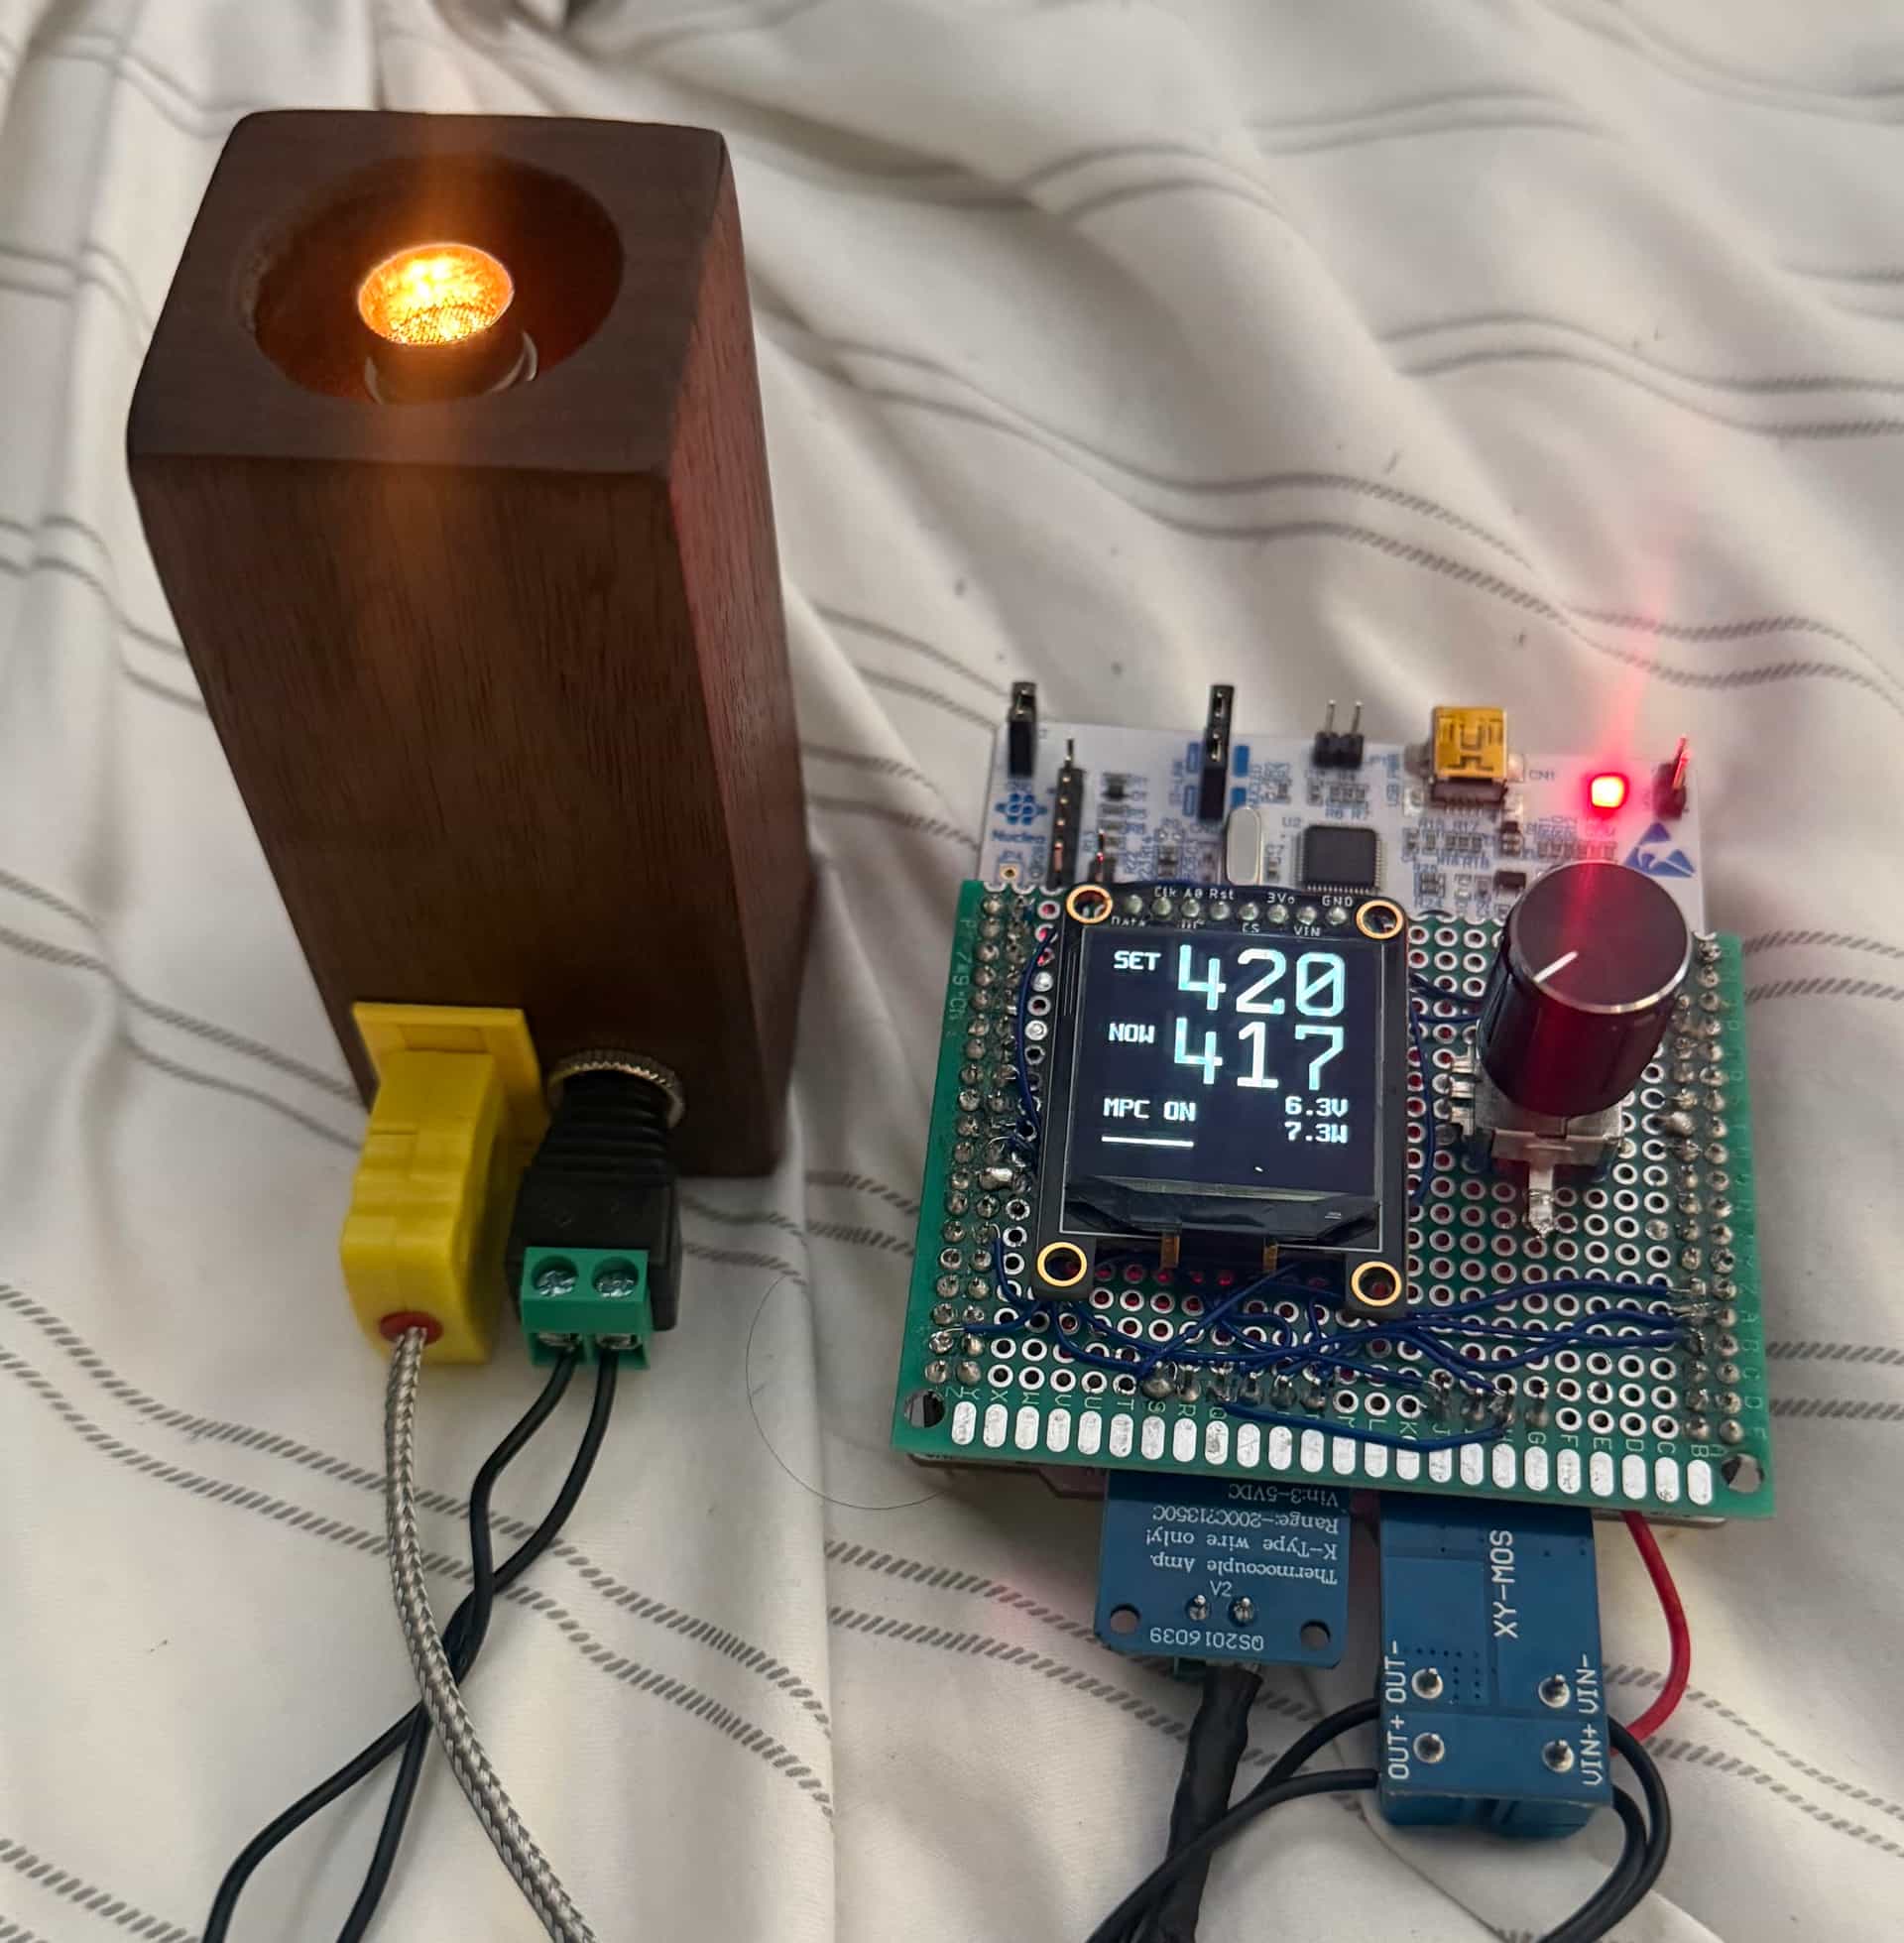
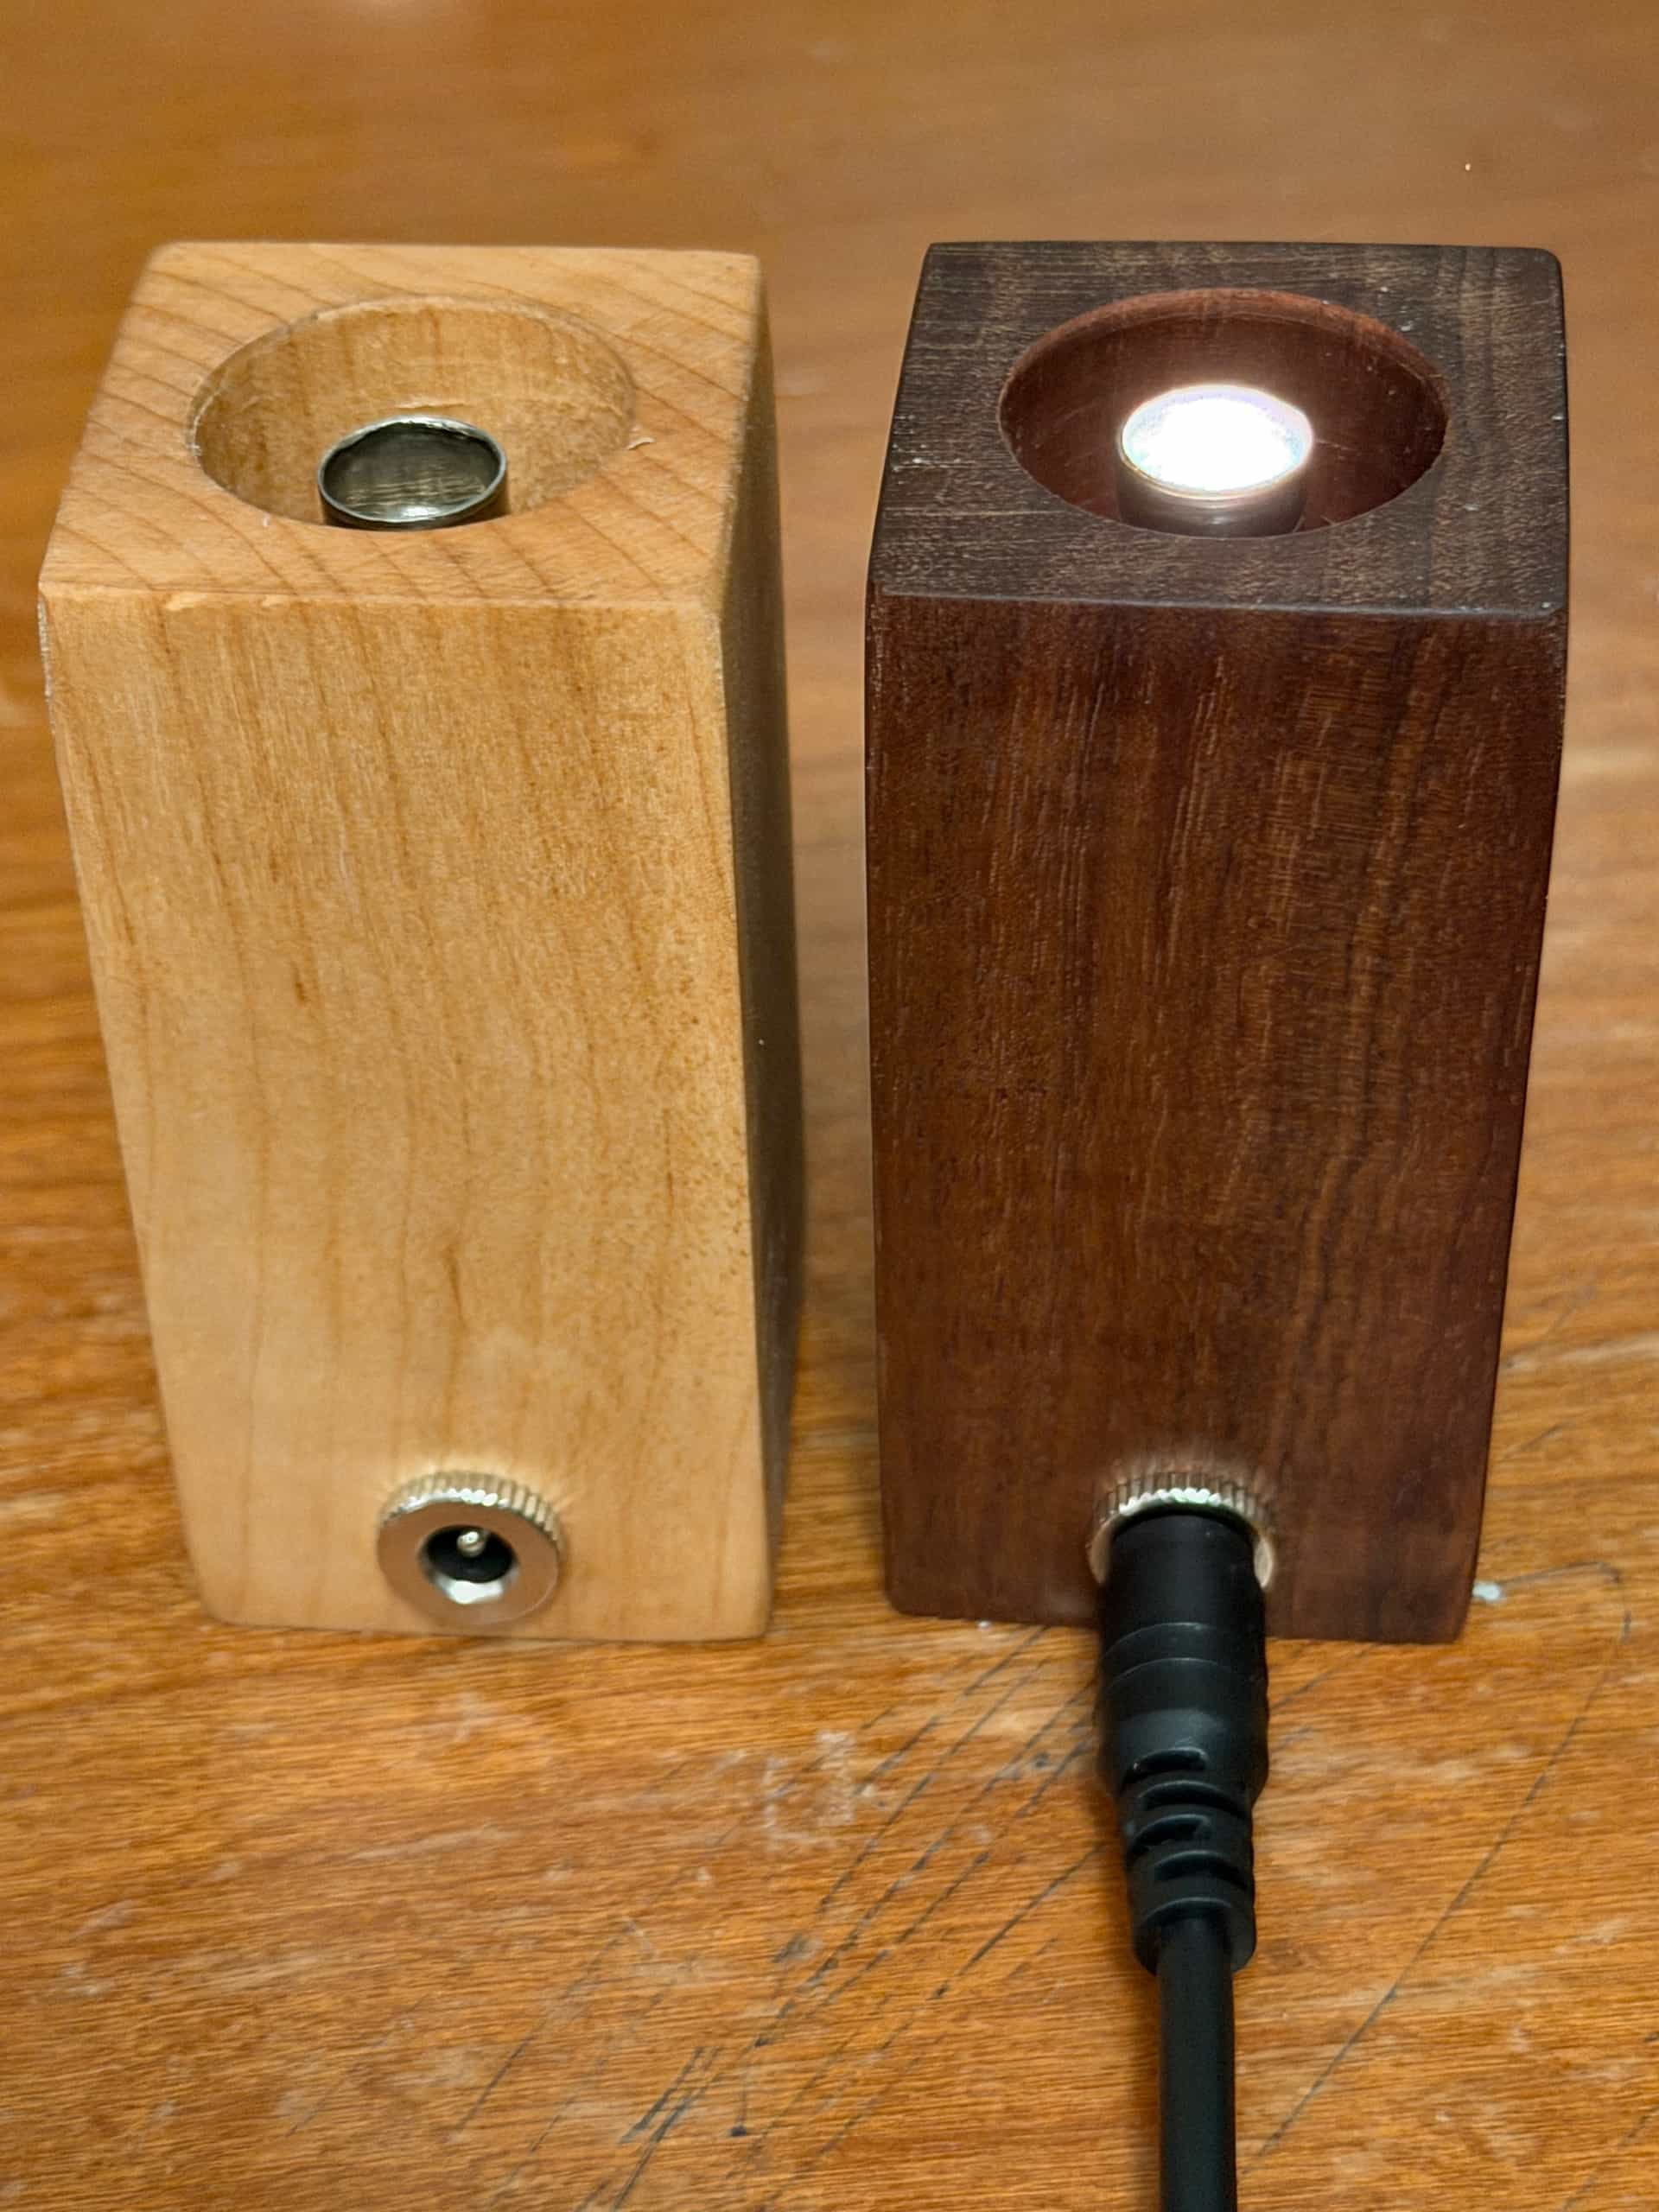
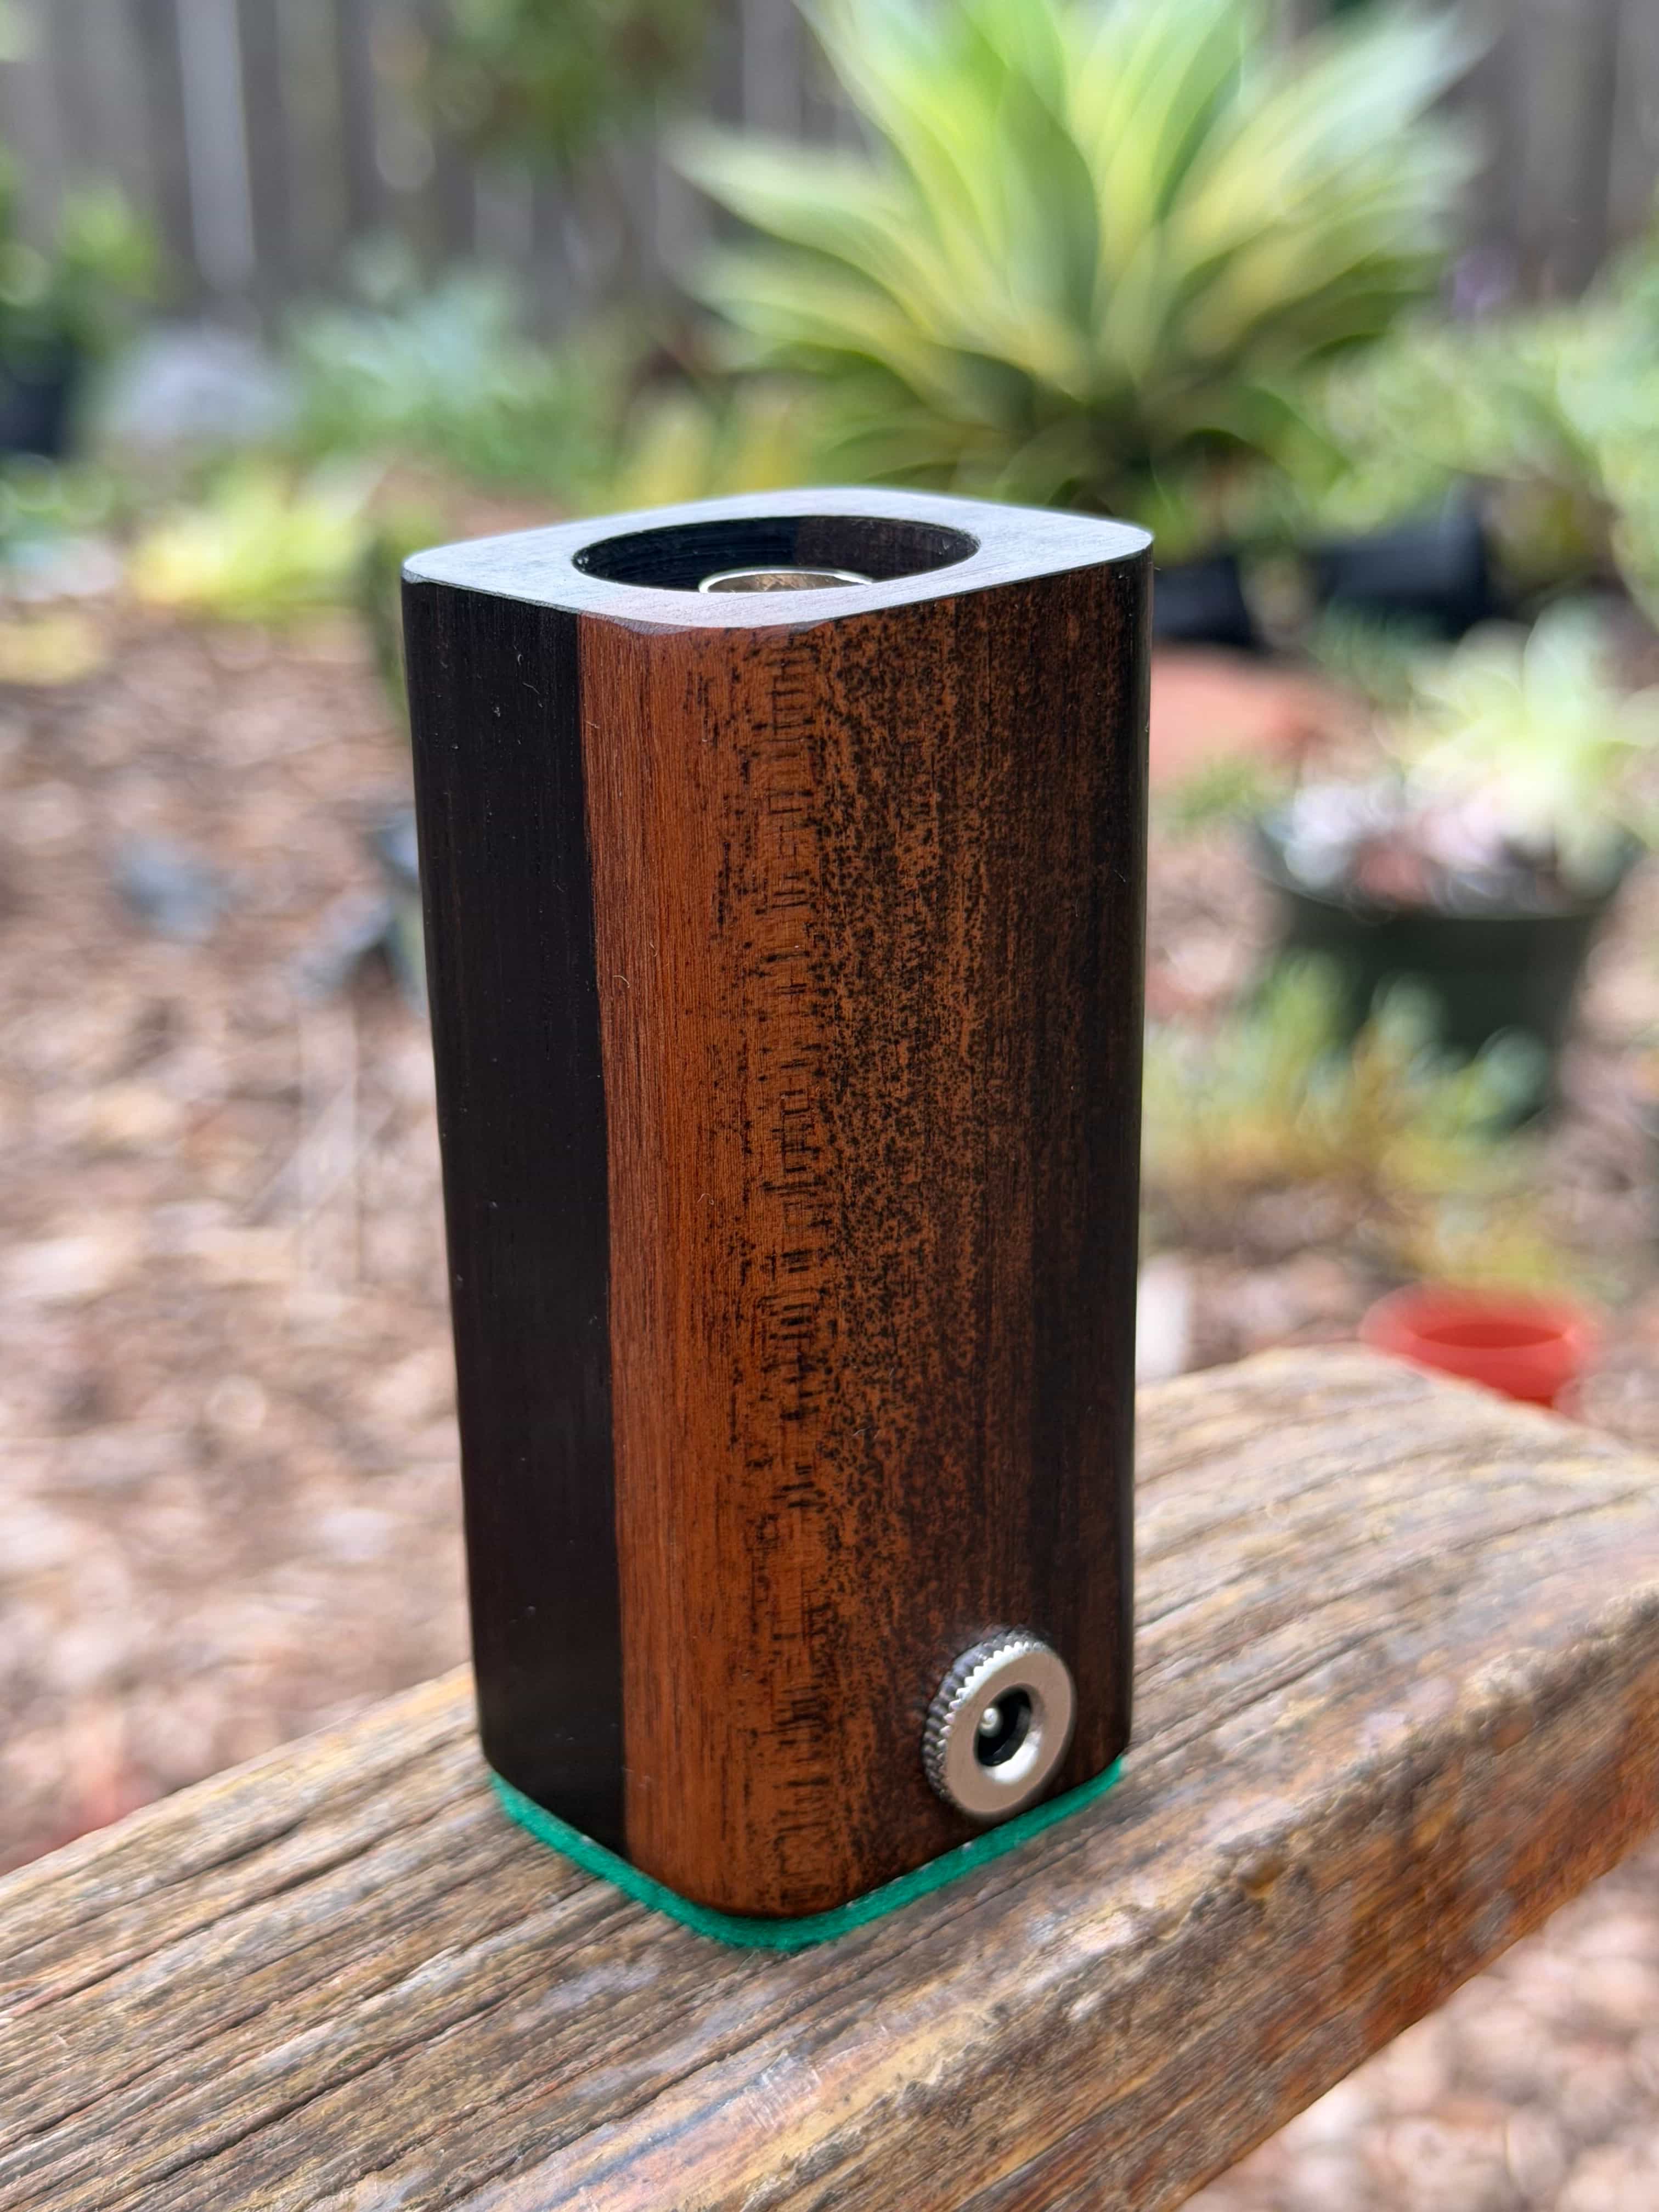
Amboyna Burl, Christmas tree log, temp controlled, maple and walnut simple ones, Leopardwood, Gaboon Ebony

15 Likes

Nice!

I can make glass accessories for many devices too :slight_smile:

5 Likes

Good to see you here! I just got some spiked glass stems made by the homie Sleepyghost515 who makes the Geist direct draw butane device and wood stems. He made those 2 tone wood bodies as well for his personal use.

Do you do much of that spike type work for dry pieces? It’s surprisingly effective. If anyone gets one of these and is looking for some cool color glass stems or a nice small rig make sure to hit up this guy, HMK is a legend. I have a piece of his I use with these. Upgraded to glass WPAs though since.

The stems just need to be 10mm or slightly less for the 1010, or 12mm or less for the 2012. I get glass that is supposed to be exactly 10/12mm and pic the ones that are on the small side of the tolerance range for these so they seal well.

8 Likes

Beautiful work @jackrod !

Troy and I made the HiLighter a while back, and that’s a close as I got to making one. I did use a shitload of log vapes back in the day…

4 Likes

Thanks!

Do you ever use your logs still here in the post-ball vape era? In some ways I feel like the ball vape is a spiritual successor to logs: desktop, can leave it on, works off of stored heat, pure convection…

I like my logs since I’m more of a microdoser. I find the efficiency really good. The 2012 can be a pretty heavy hitter for a log. Much bigger bowl than the old 5/16" metal stems, the glass ones have 9mm ID which is as much as I really need with modern herb. I will have to try a small ball vape sometime though to get a good reference point.

4 Likes

I would have to lower my tolerance even more to enjoy the small bowls I used to love with my log vapes!

2 Likes

Been interested in that one for sure. The ZX is also on my radar as a 14mm injector, though not sure when it will be available again from PHASE3. Or possibly something with a 16mm or 22mm microdose diffuser bowl could be interesting, more hot mass might benefit even a smaller bowl?

Anyways, back to the logs! Made another Amboyna Burl body yesterday, that one is getting a 1010 core. Also a gaboon Ebony, but I had to scrap that one unfortunately. Good thing it’s pretty easy to make more, still refining my process some. The replacement will be African Blackwood.

9 Likes

African Blackwood for @DarthDomo !

5 Likes

Saw your Reddit thread this AM. Never tried a log but always have been curious about them and halogen.

The disco log is definitely a vibe!

Awesome work

3 Likes

Thanks!

Logs are an interesting device category, slept on lately in my opinion. But they are one of if not the oldest simplest design, they show that a good device doesn’t need to be complex. Can be heavy hitters (if not ball vape level heavy) or great microdosers all just depending on the size of the heater cover and the temp used.

The halogen bulb adds to the vibe! I like the way the light refracts through the spiked glass stems. I find the flavor from it is very nice too, I think the even heat helps, possibly. That and the glass stems.

3 Likes

Hello, wanted to make a quick tutorial on how to make the DIY logs I posted earlier. The “1010” is a microdoser, “2012” is a heavy hitter for a log, both will work in the in between dosage range. 1010 has a 10W bulb and takes 10mm stems, 2012 has a 20W bulb and takes 12mm stems. I generally recommend the 2012. Please let me know if anything is unclear or you need advice on where to buy some of this stuff.

Materials:

  • Halogen bulb - 12V 10W G4 base for the 1010 or 12V 20W GY6.35 base for the 2012.
  • Stainless steel tubing - 11mm OD 0.5mm wall for the 1010, 13mm OD 0.5mm wall for the 2012.
  • Stainless steel tubing - 2mm OD, 0.15mm wall.
  • Stainless steel washer - M10 for the 1010 (10.5mm ID), or drilled out to 1/2" (12.7mm) for the 2012. Can also get a part laser cut for this, which is what I do now. Let me know if I should post more details on that.
  • Hardwood for body, at least 1.5" square or round.
  • #4 x 1/2" stainless steel sheet metal screws, pan head.
  • 1/2" wood plug (sold for covering screw holes).
  • Stainless steel pipe screens - 5/8" for 1010 or 3/4" for 2012.
  • Barrel jack - Panel mount, all metal, 5.5 x 2.1mm.
  • Stainless steel snap ring (optional).
  • Stems - Glass straws, 10mm for 1010, 12mm for 2012, or stainless steel tubes for conduction, can fit inside or outside, or use your dynavap tips (1010) or tempest tip (2012).
  • Wire, or JST-PH connectors with wire attached. Recommend silicone insulation.
  • Solder, lead free.
  • Heat shrink tubing, recommend glue lined.

Tools:

  • Forstner bit minimum 1", 28mm recommended.
  • 1/2", 7/16", 5/64", 3/32" wood drill bits or metric equivalents. Recommend long wood drill bit.
  • Drill, highly recommend a drill press but possible to do by hand.
  • Saw, capable of cutting wood blanks square. I use a chop saw.
  • Hacksaw.
  • Hammer.
  • Files, flat and 1/8" chainsaw.
  • Tubing cutter (normally used for copper pipe).
  • Screwdriver.
  • Pliers.
  • Vise or arbor press.
  • 1/2" bearing ball (optional).

Steps

Overview

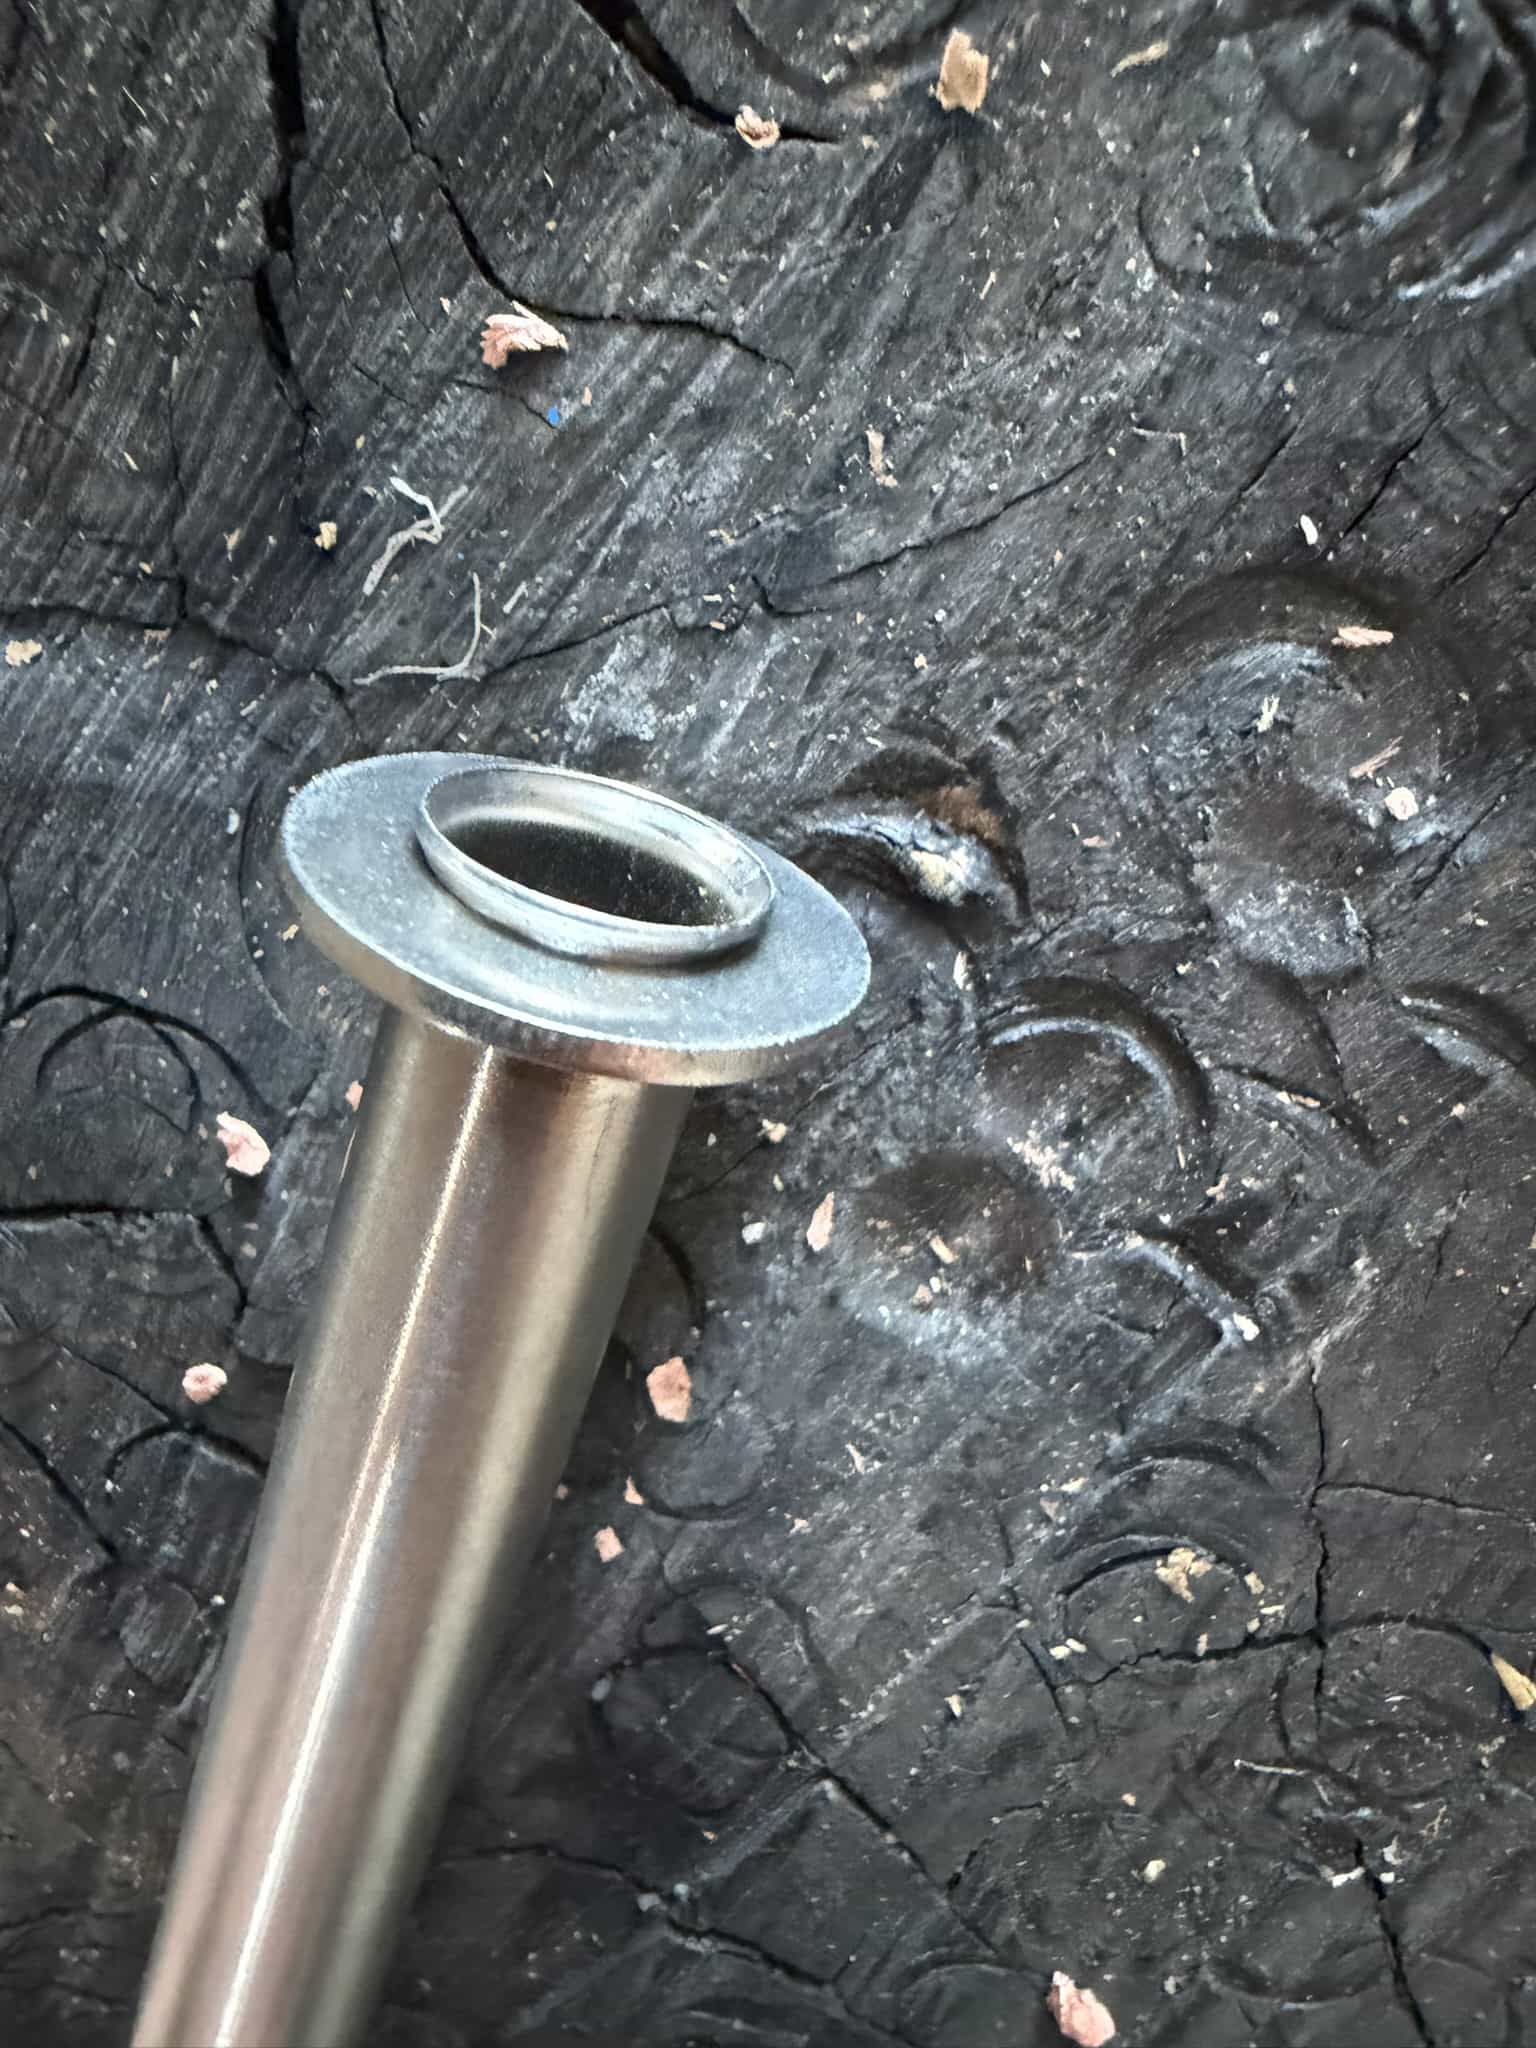
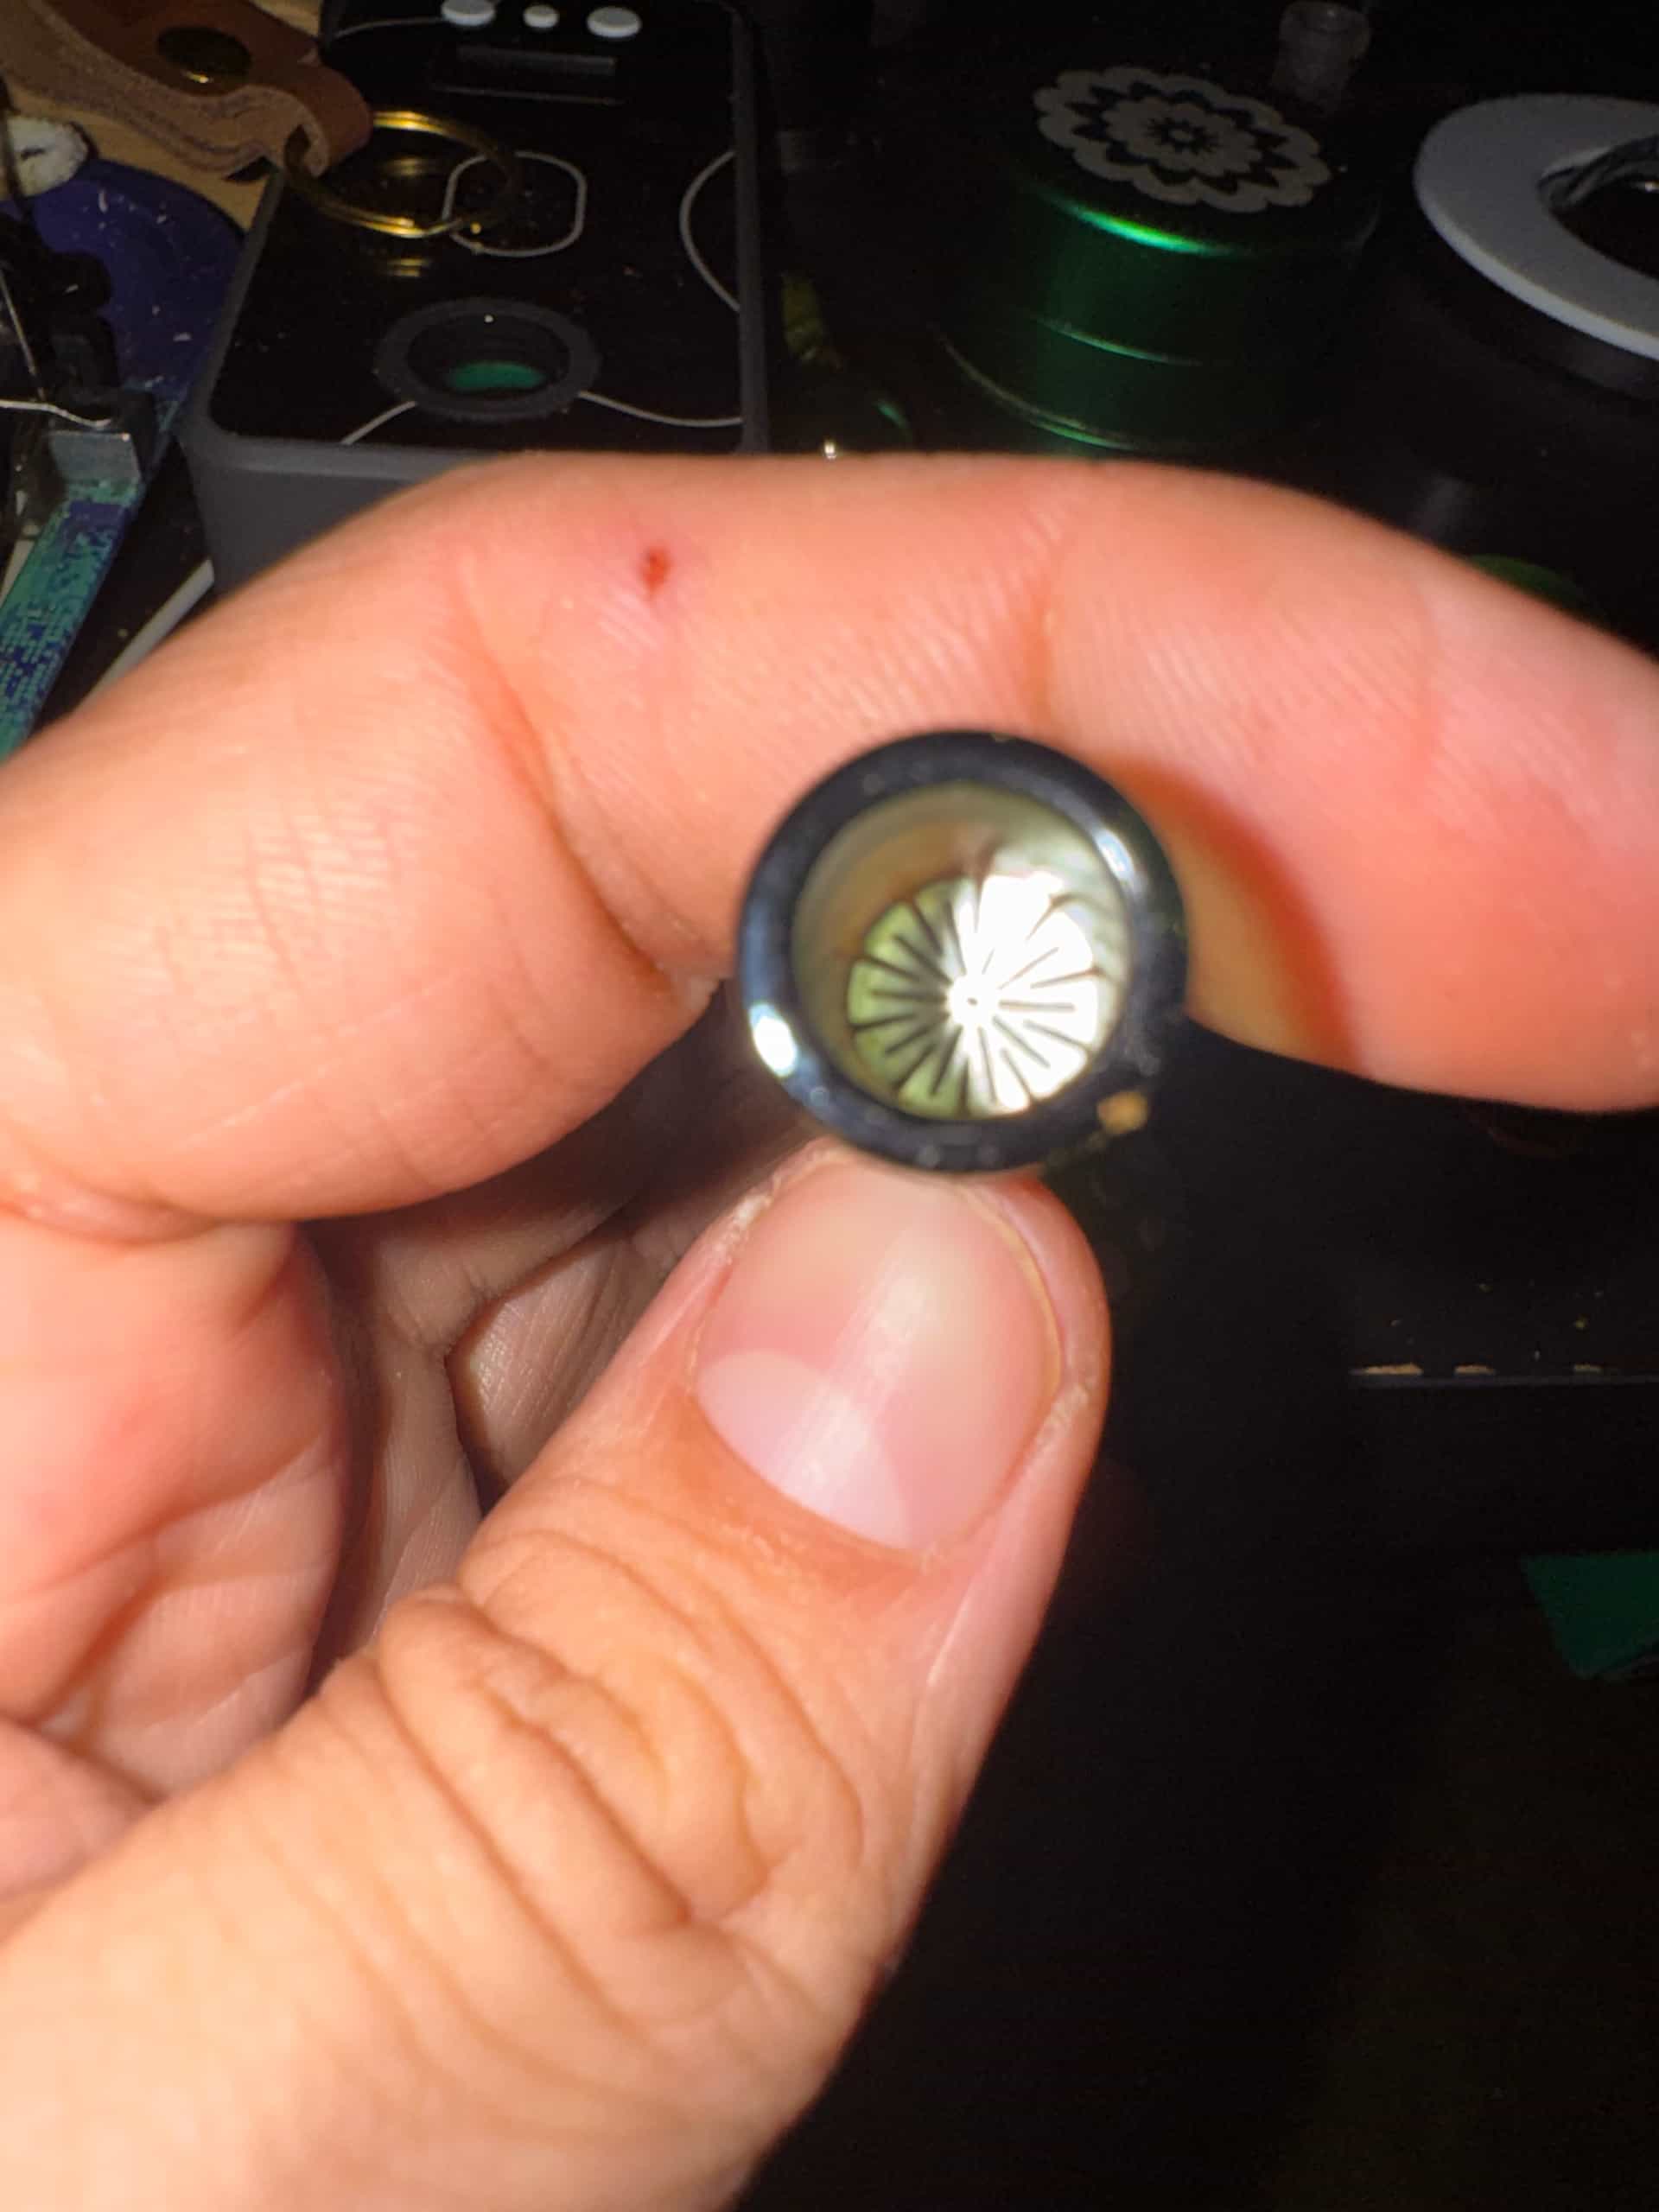
  1. Make a heater cover. This is a stainless steel tube which has a washer attached to the base for mounting, an indent to stop the stems from inserting too far, air intake/heat break slots near the bottom, and a screen to prevent loose herb falling in.
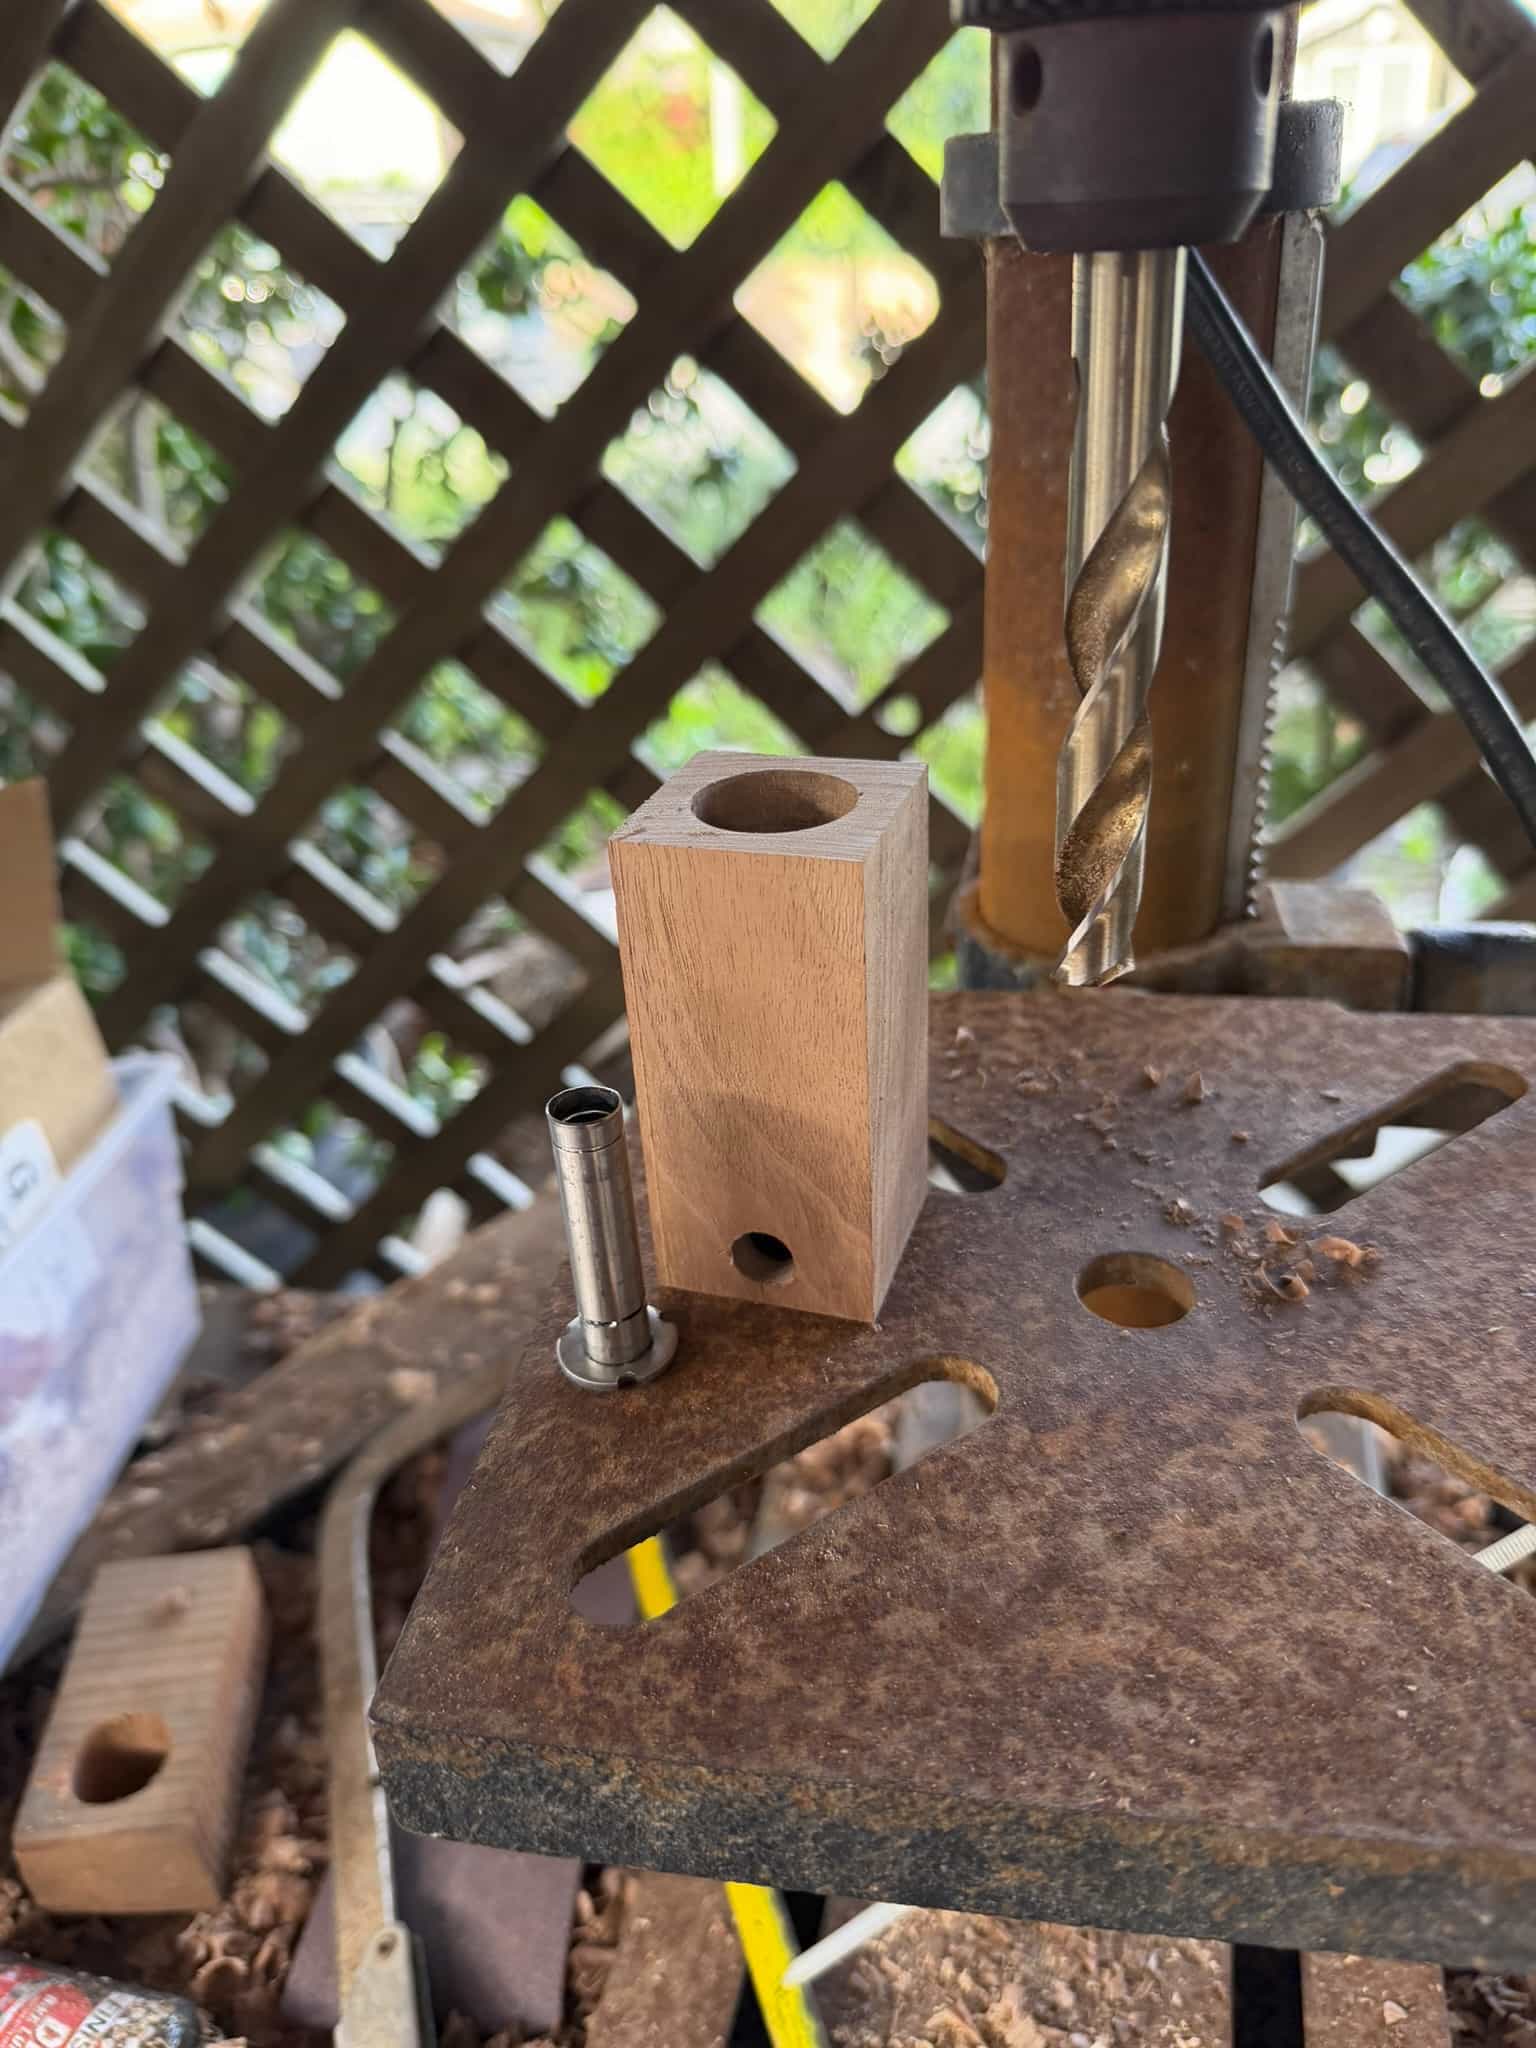
  2. Make the wood body. This has a hole in the top for the heater, a hole in the bottom to hold the jack and wiring, a hole through from top to bottom to hold the bulb assembly, a hole to mount the jack to, and pilot holes for the screws which hold down the heater cover.
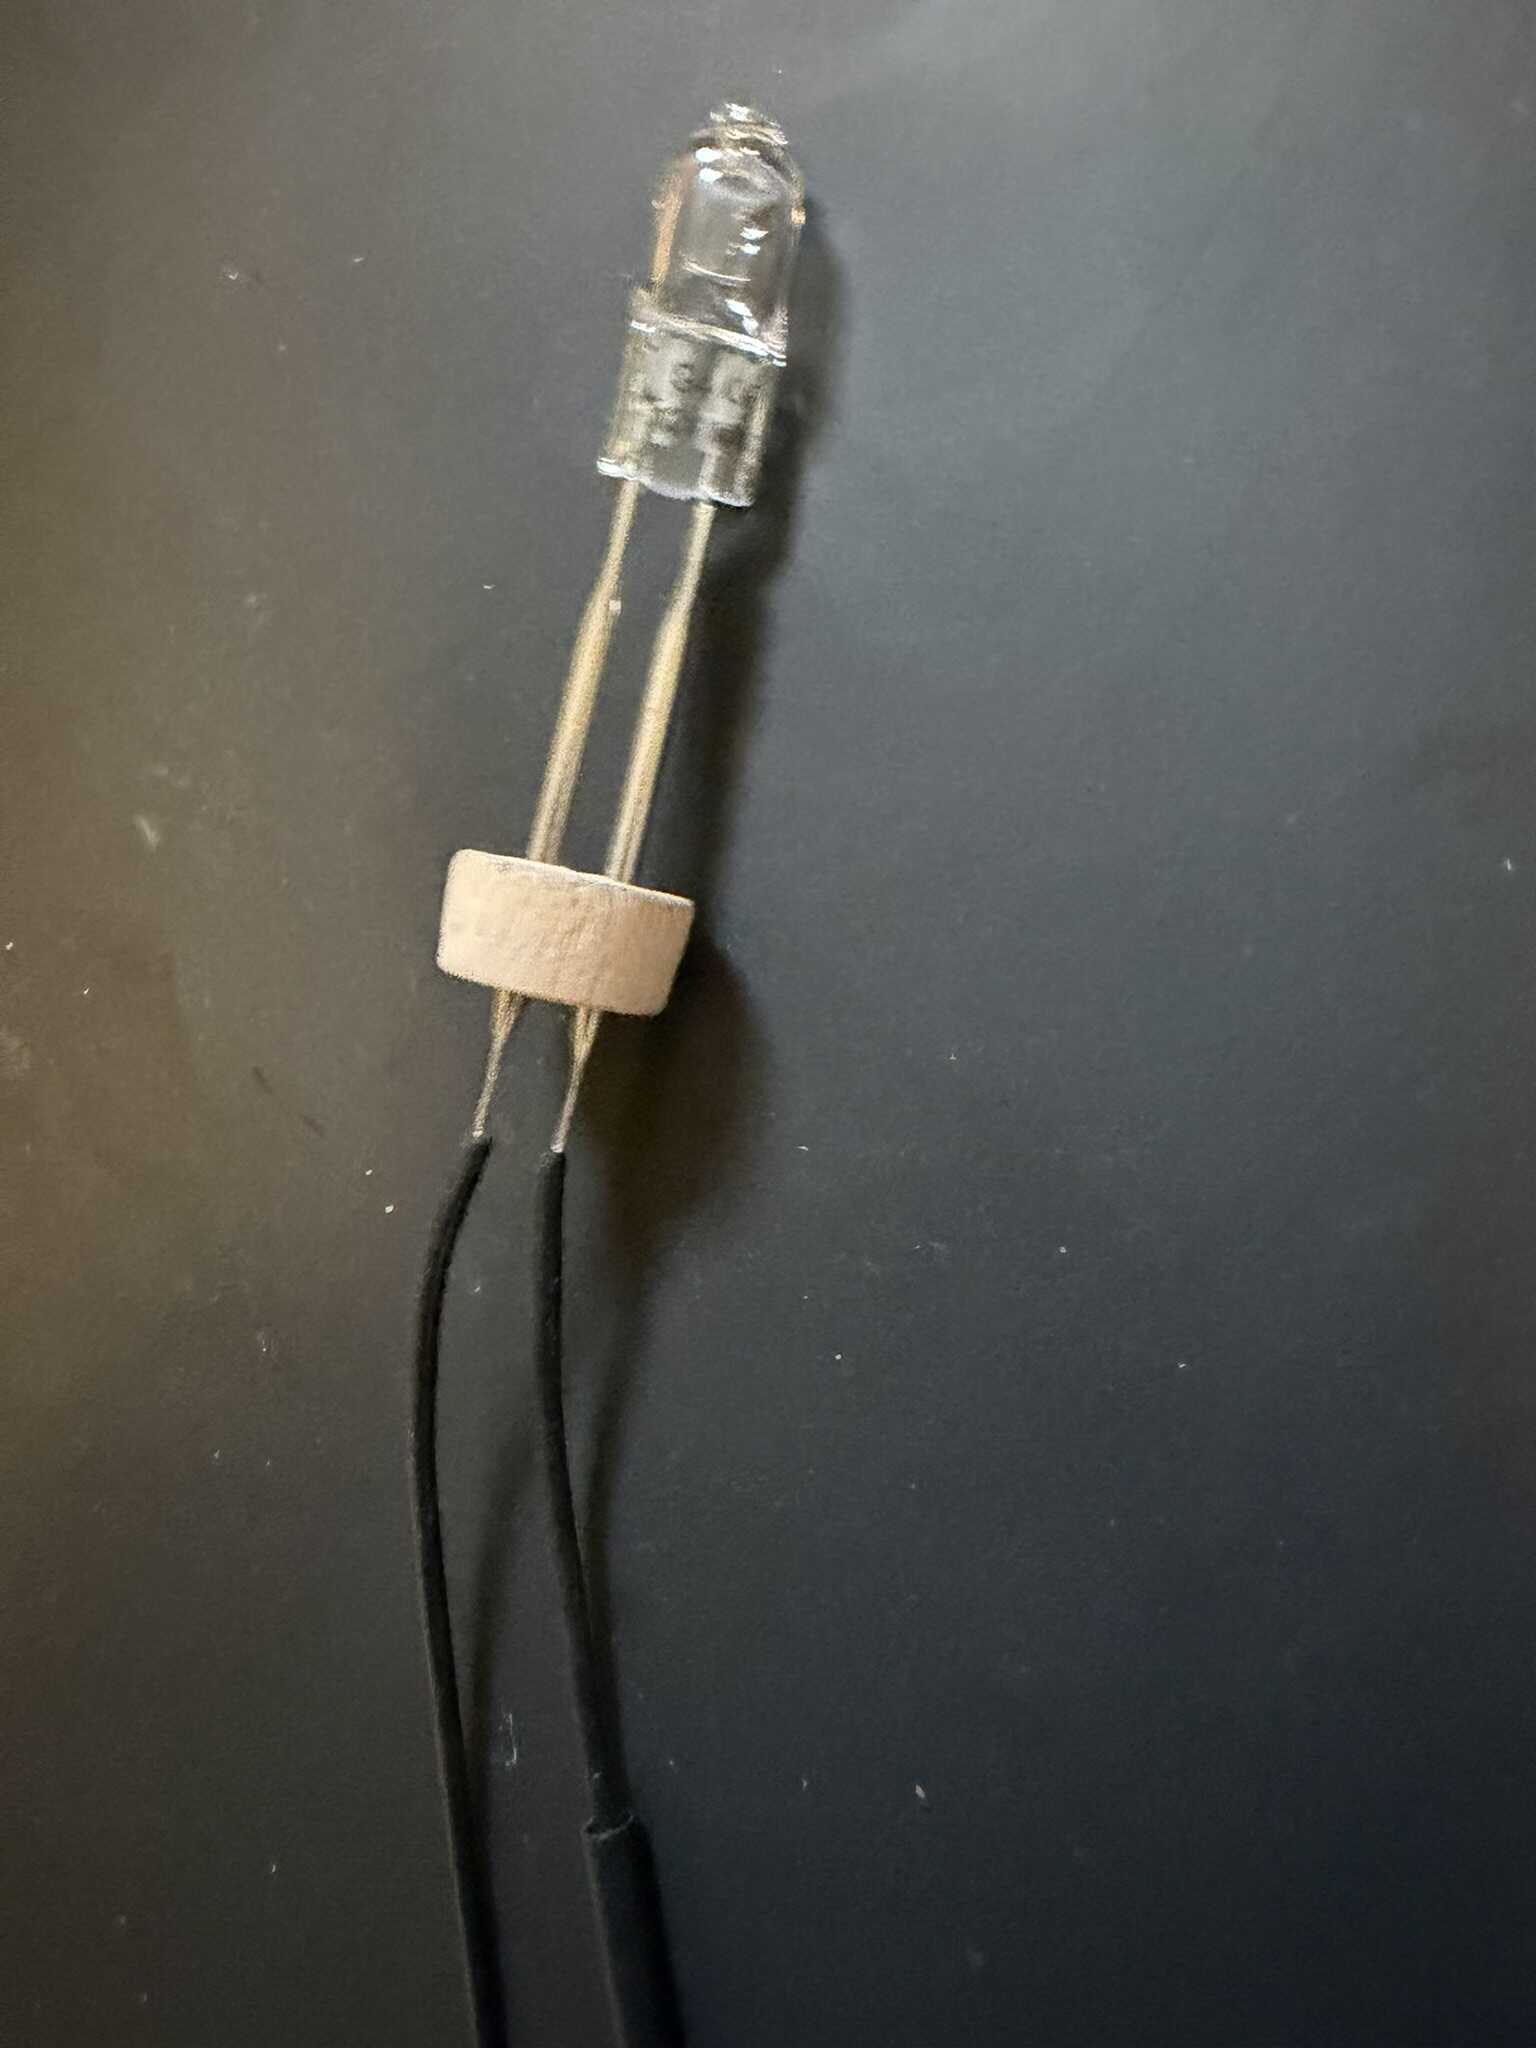
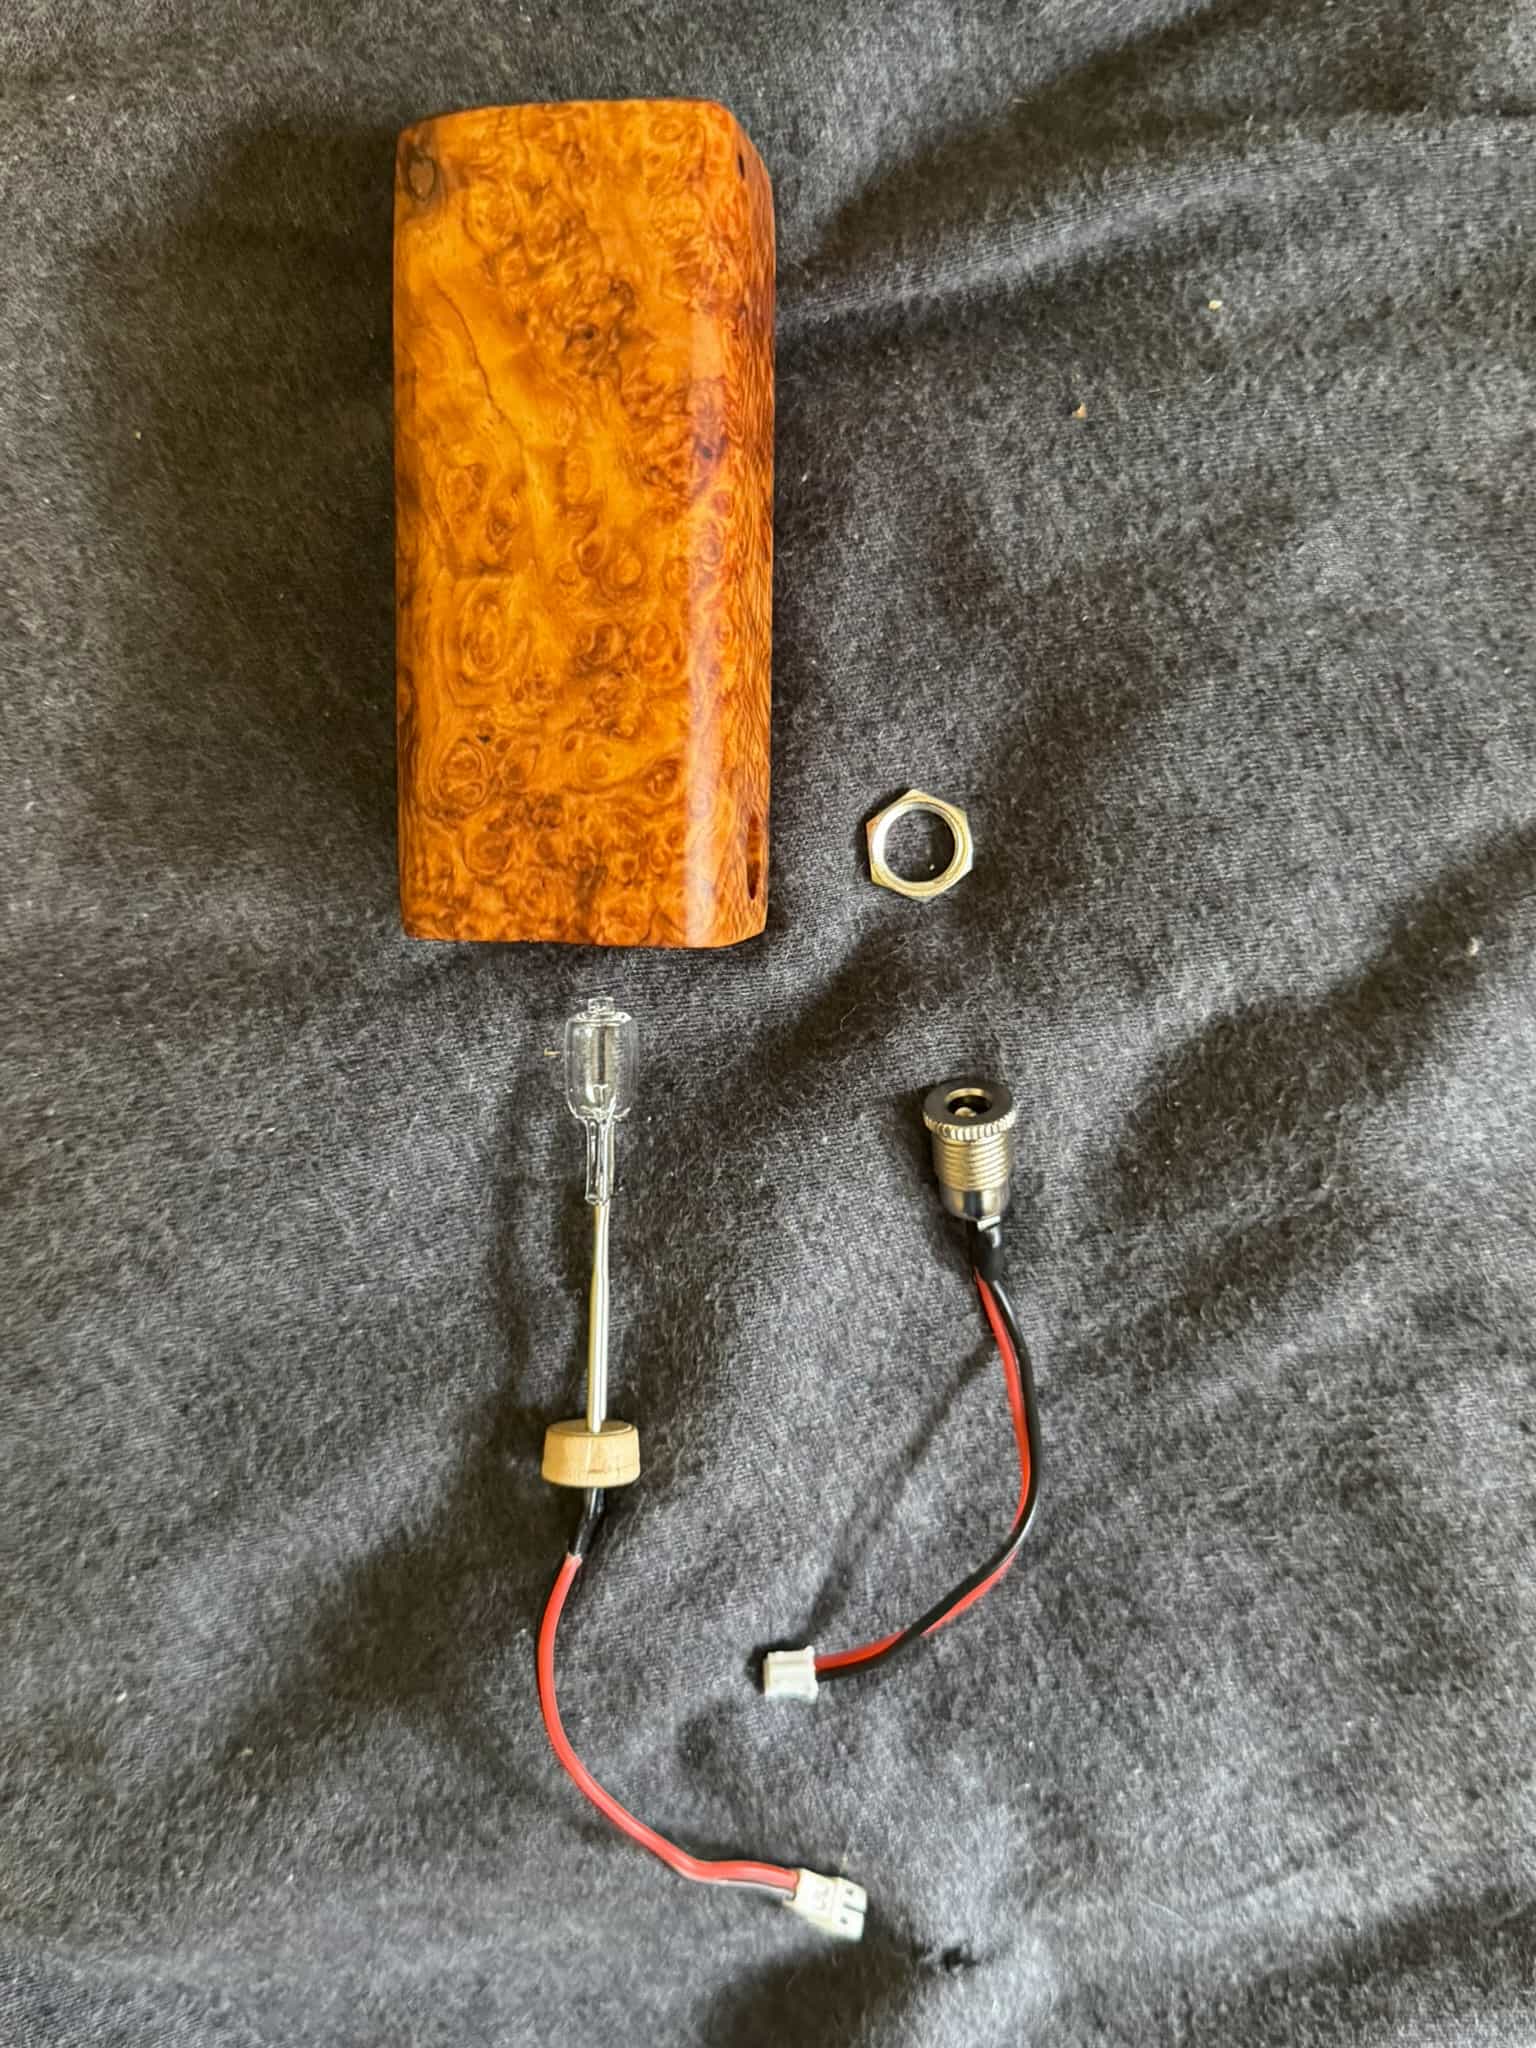
  3. Make the bulb assembly. This is a set of stainless steel tubes which are inserted into a wood plug which holds the bulb up and delivers power through wires attached to the other side.
  4. Assemble the log, combining the 3 previous components, the power input jack, screws and wiring.

Heater cover

If using a laser cut tube base, some of these steps can be skipped, it just needs to be pressed onto the tube. The rest of the steps will assume you are using an M10 washer.

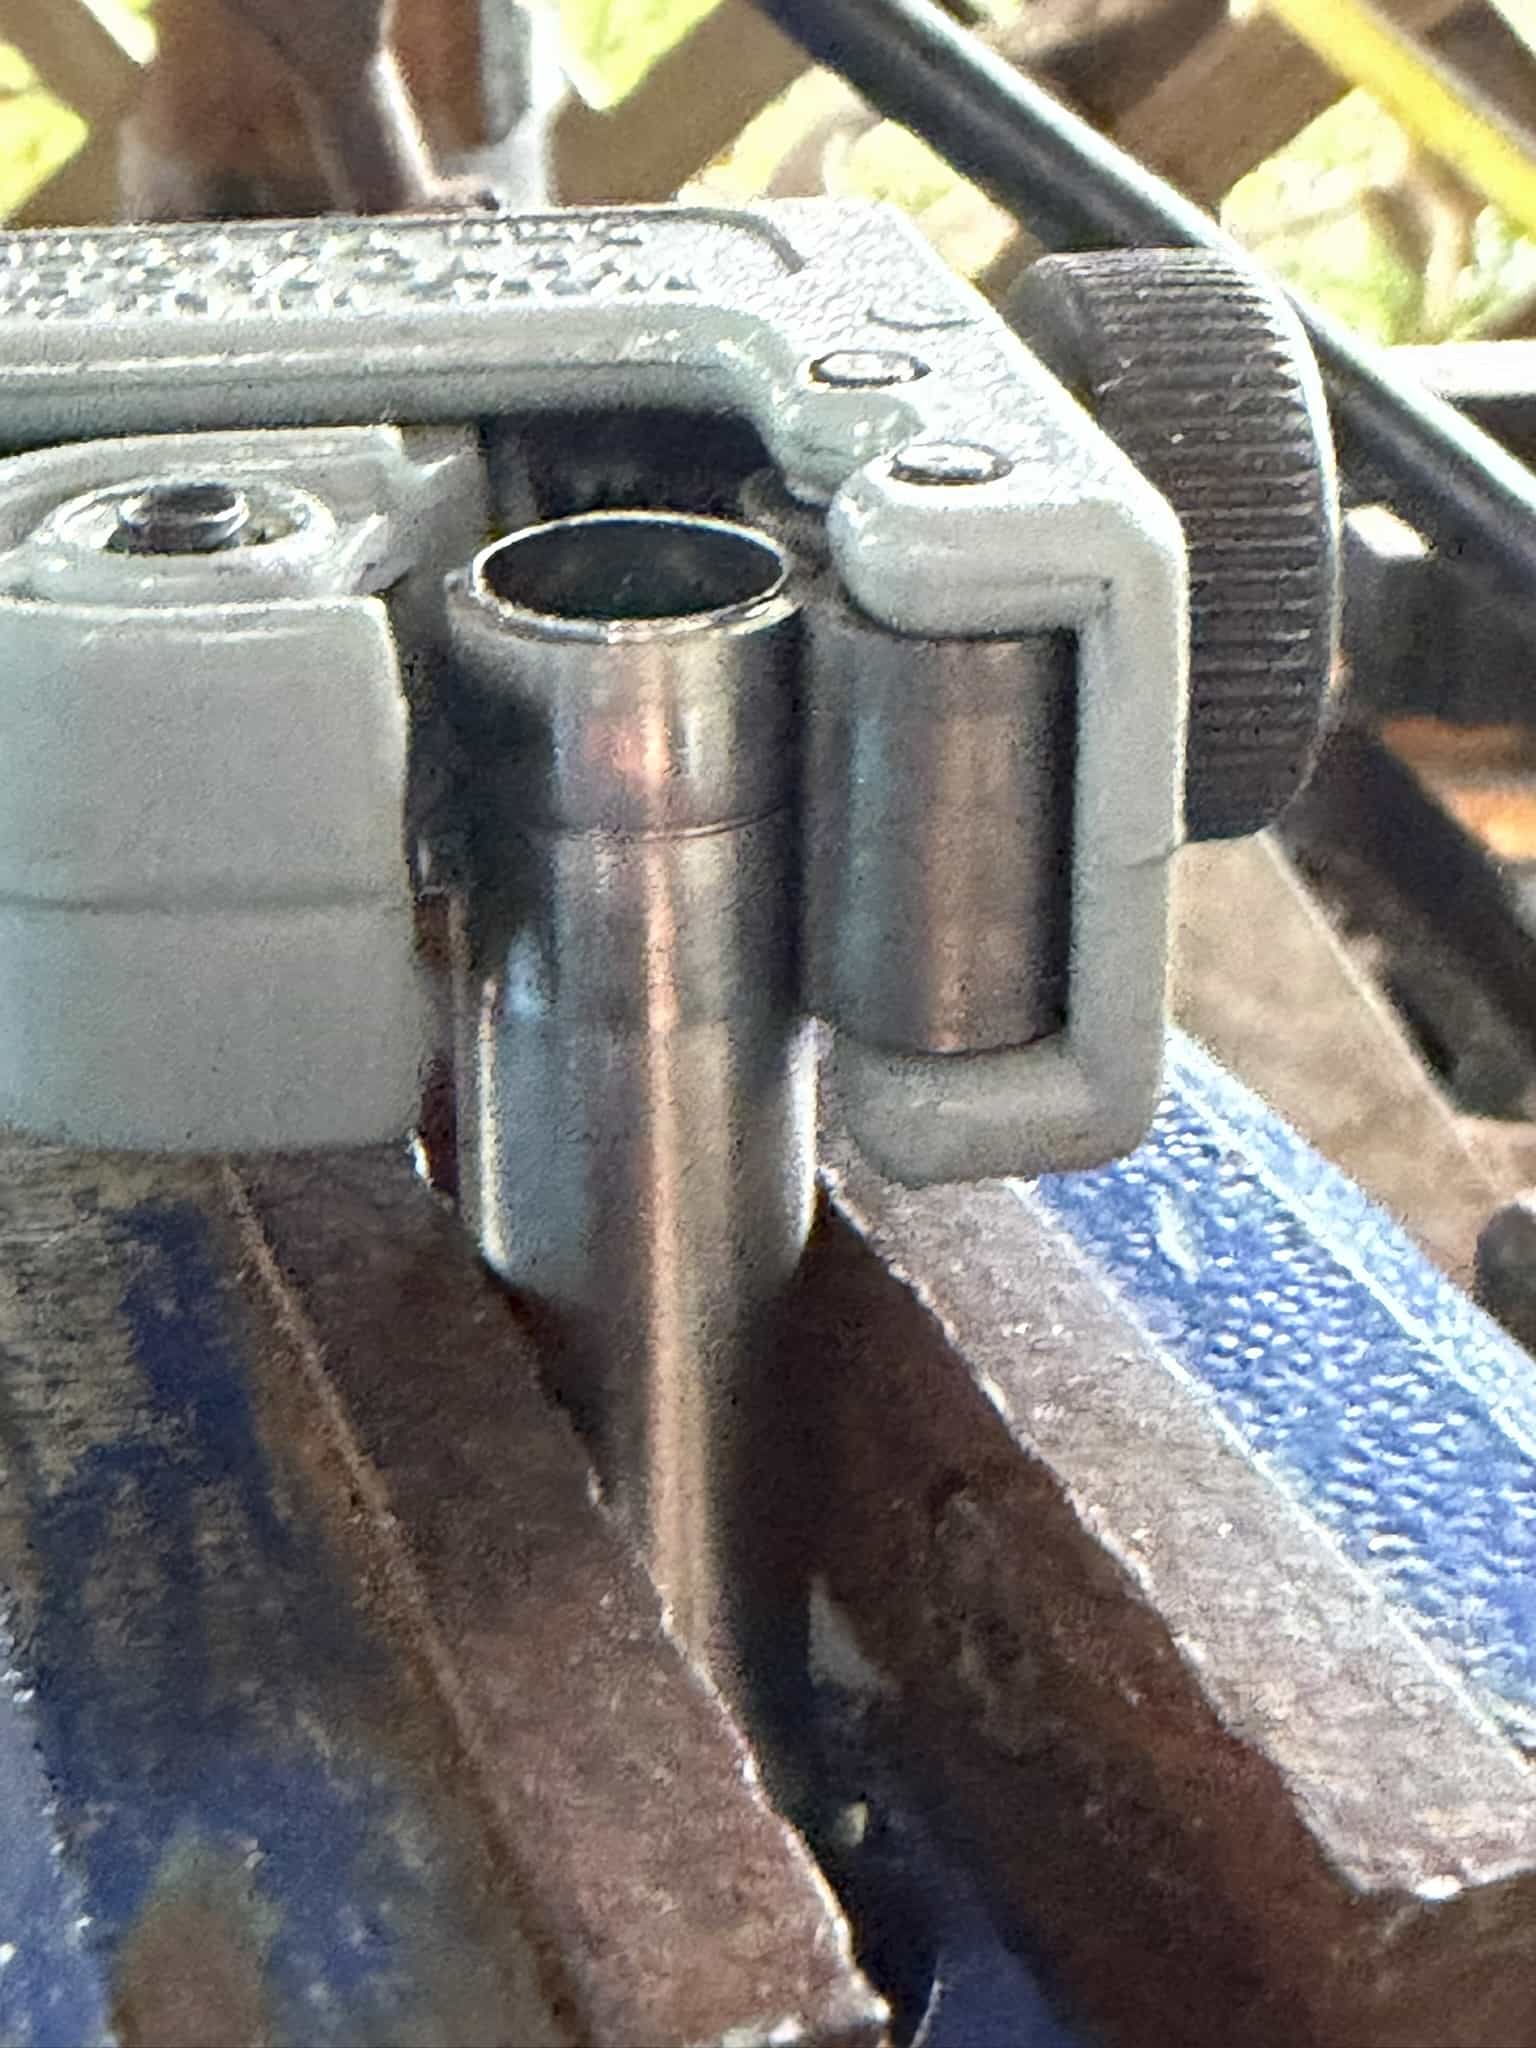
  1. You will first need to attach a base to the stainless steel tube for mounting. I do this using an ss M10 washer, which is interference-fit to the tube. For the 1010, it is the right size to start. For the 2012, drill it out to 1/2" or 12.7mm.
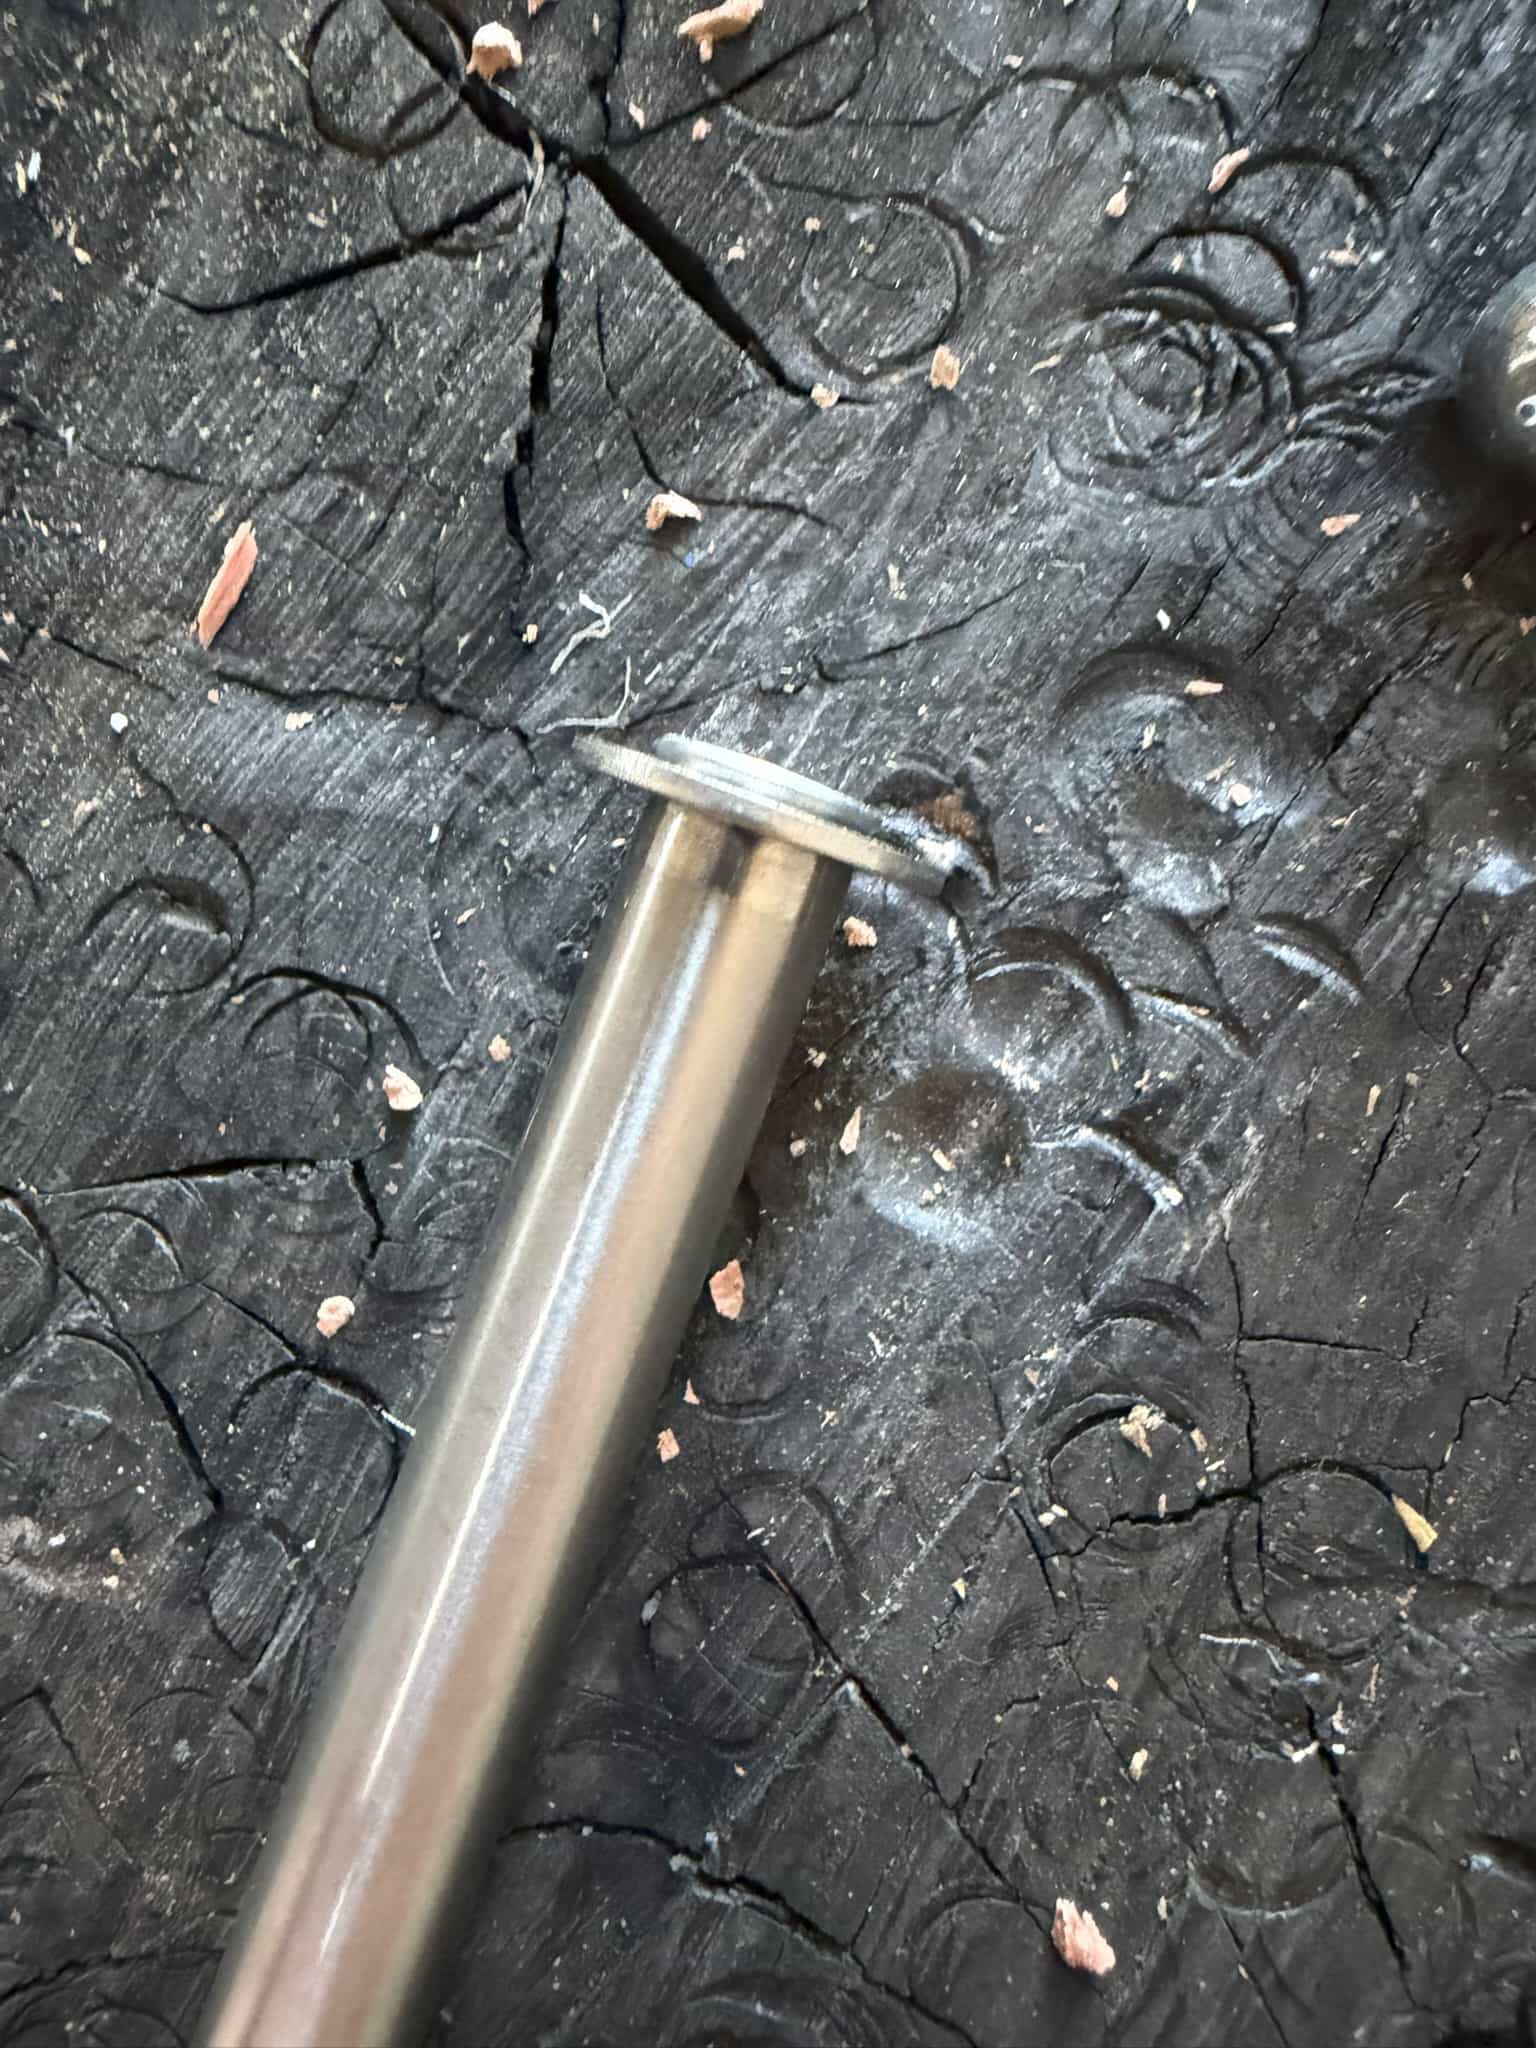
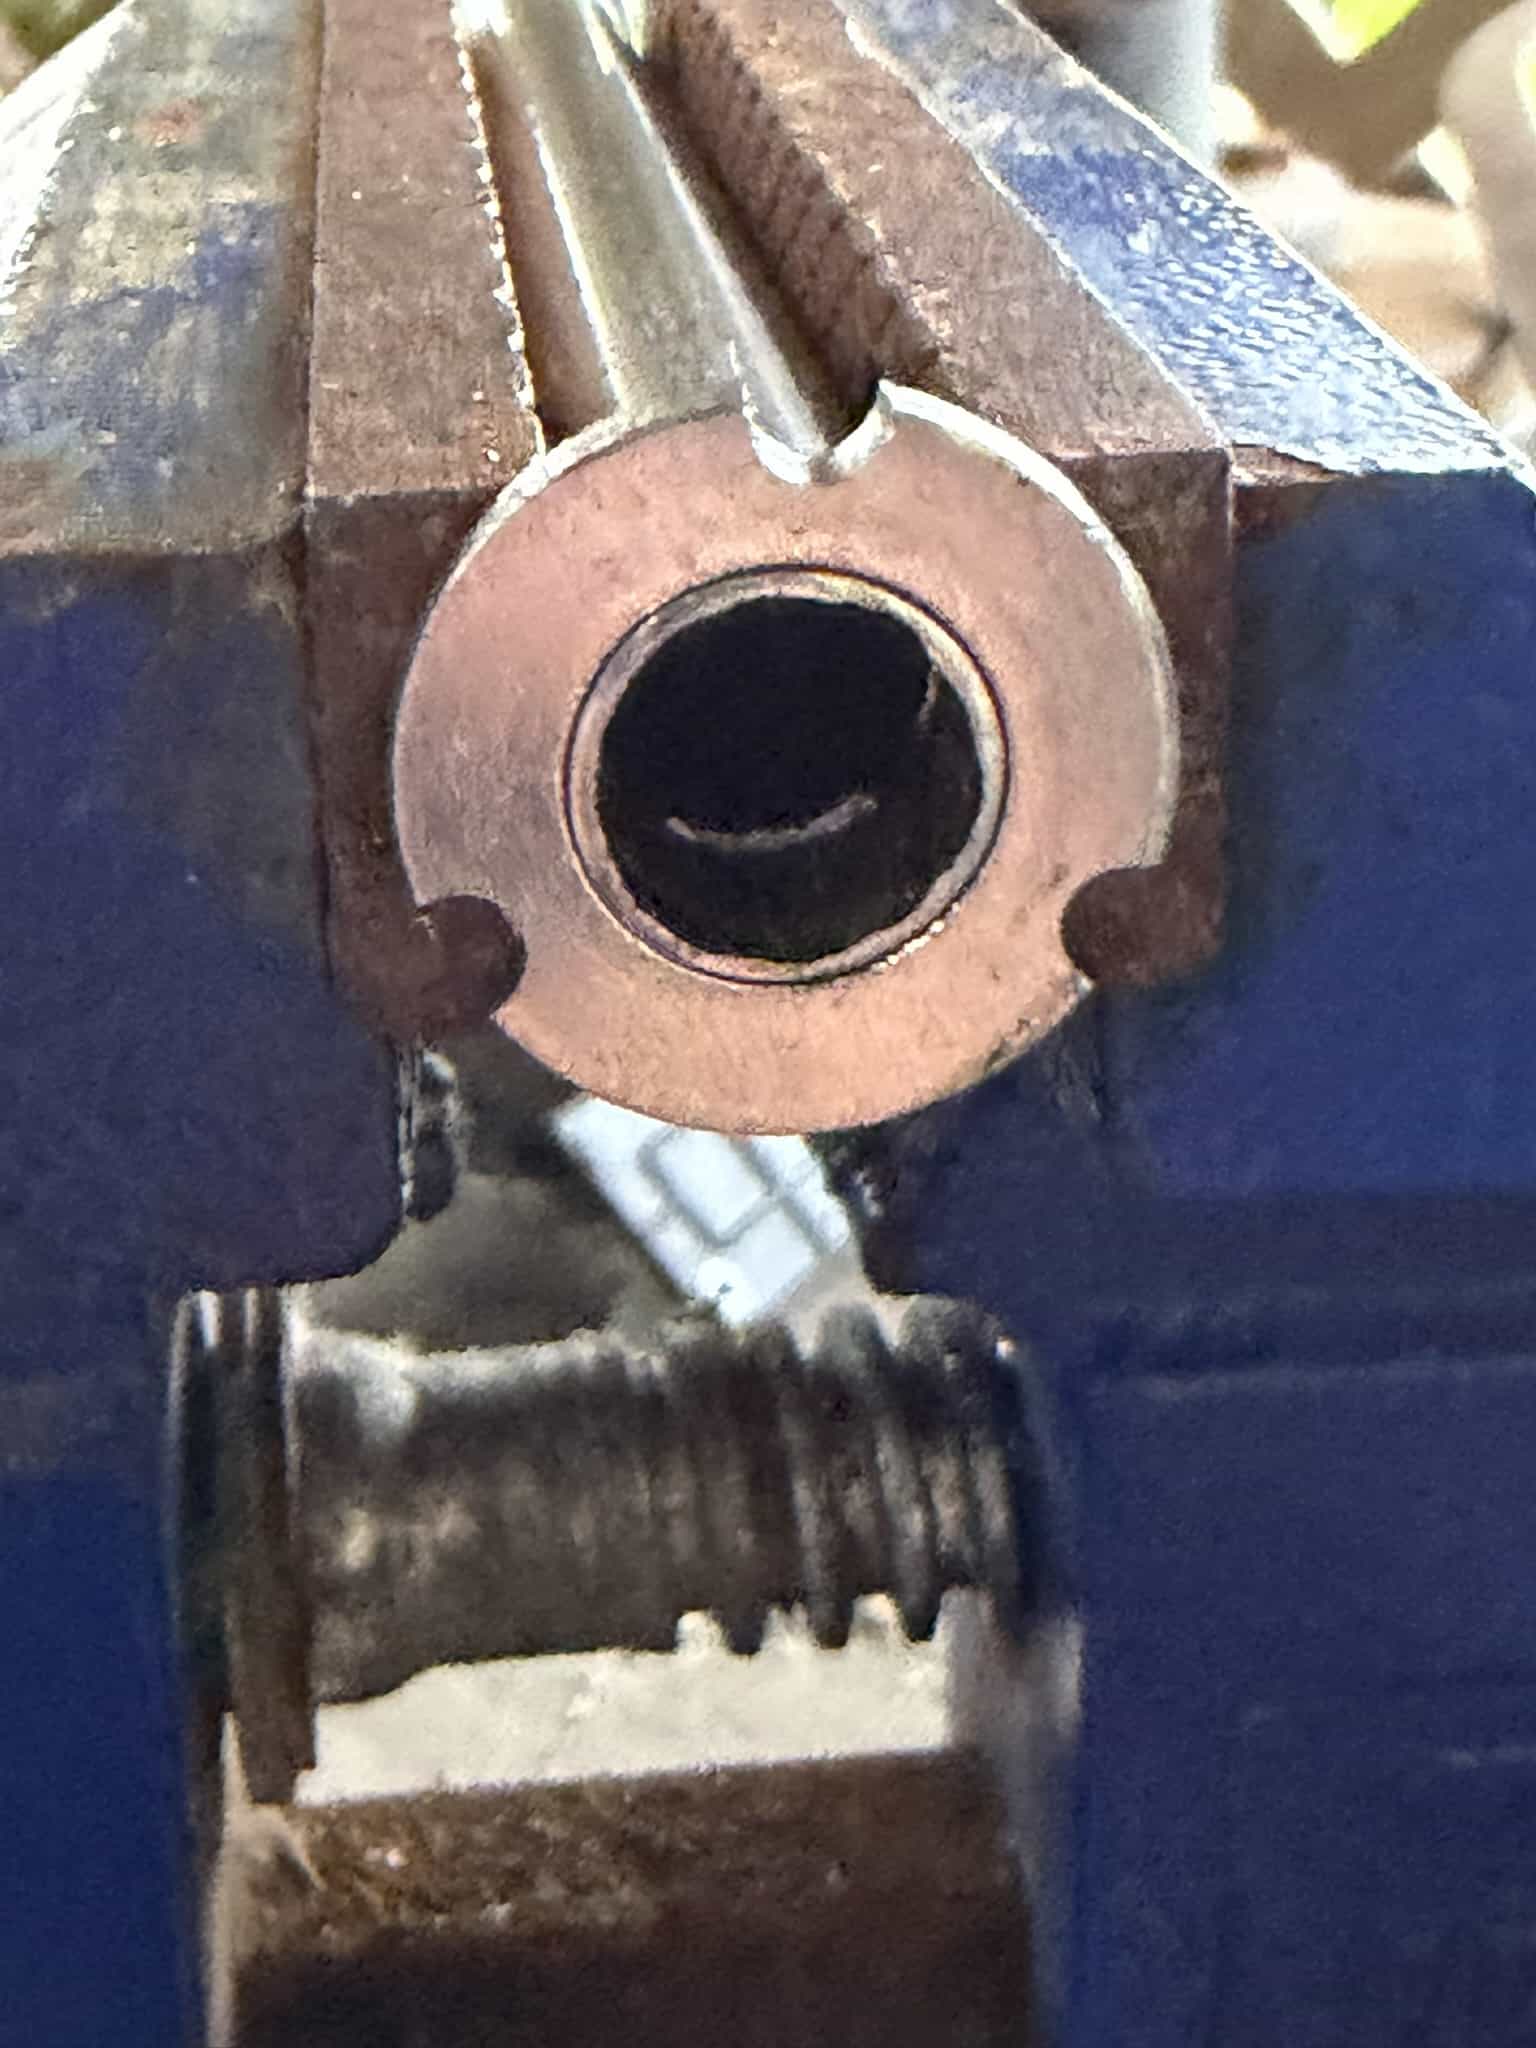
  2. Start by filing a chamfer all the way around one side of the ss tubing stock. Don’t cut to length yet as the other end is going to get mangled. Position the washer with the side it is stamped from (more of a rounded edge) facing up. Place the chamfered end of the tube in the washer hole. Hammer the top of the tubing until it inserts into the washer and sticks out the bottom slightly. Optionally you can then hammer the tubing over a 1/2" bearing ball to help it spread out and lock into place.
  3. File 3 notches with the 1/8" chainsaw file equally spaced around the circumference of the washer. These are for the screws.
  4. Cut the tube to length with the hacksaw or an abrasive chop saw. I do 2" length for the 1010, 2.25" for the 2012.
  5. Make an indent 1/4" from the end of the tube opposite the washer, using the tubing cutter but not cutting through all the way. This stops the stems which fit on the inside of the heater cover from going too far down, and provides a place for a snap ring which is a stop for the stems fitting the outside.
  6. Cut 3 slits with the hacksaw 1/4" up from the washer. Leave about 1/16" to 1/8" of metal between the slits.
  7. Deburr and clean heater cover. Use soapy water then isopropyl alcohol.
  8. Make a basket screen and add it to the heater cover, facing down and just below the indent from step 5. You can use smaller ss tubes or the back sides of drill bits to form it. I use 5/8" round flat ss screens for the 1010, 3/4" for the 2012. I can elaborate on the process on request.
Wood body

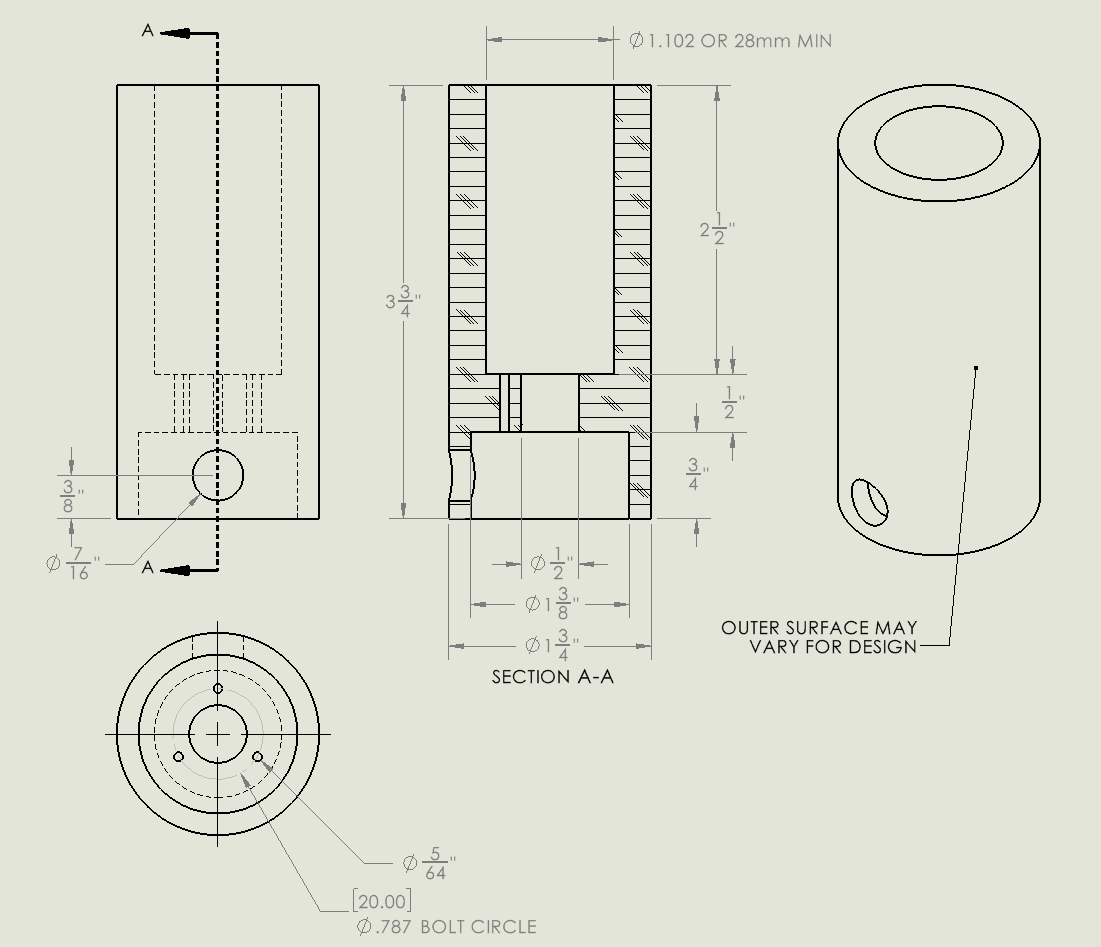
See the drawing for how the wood body is made. My general steps are:

  1. Cut the blank square and to length. 3.5" for the 1010, 3.75" for the 2012. Mark centers on each side.
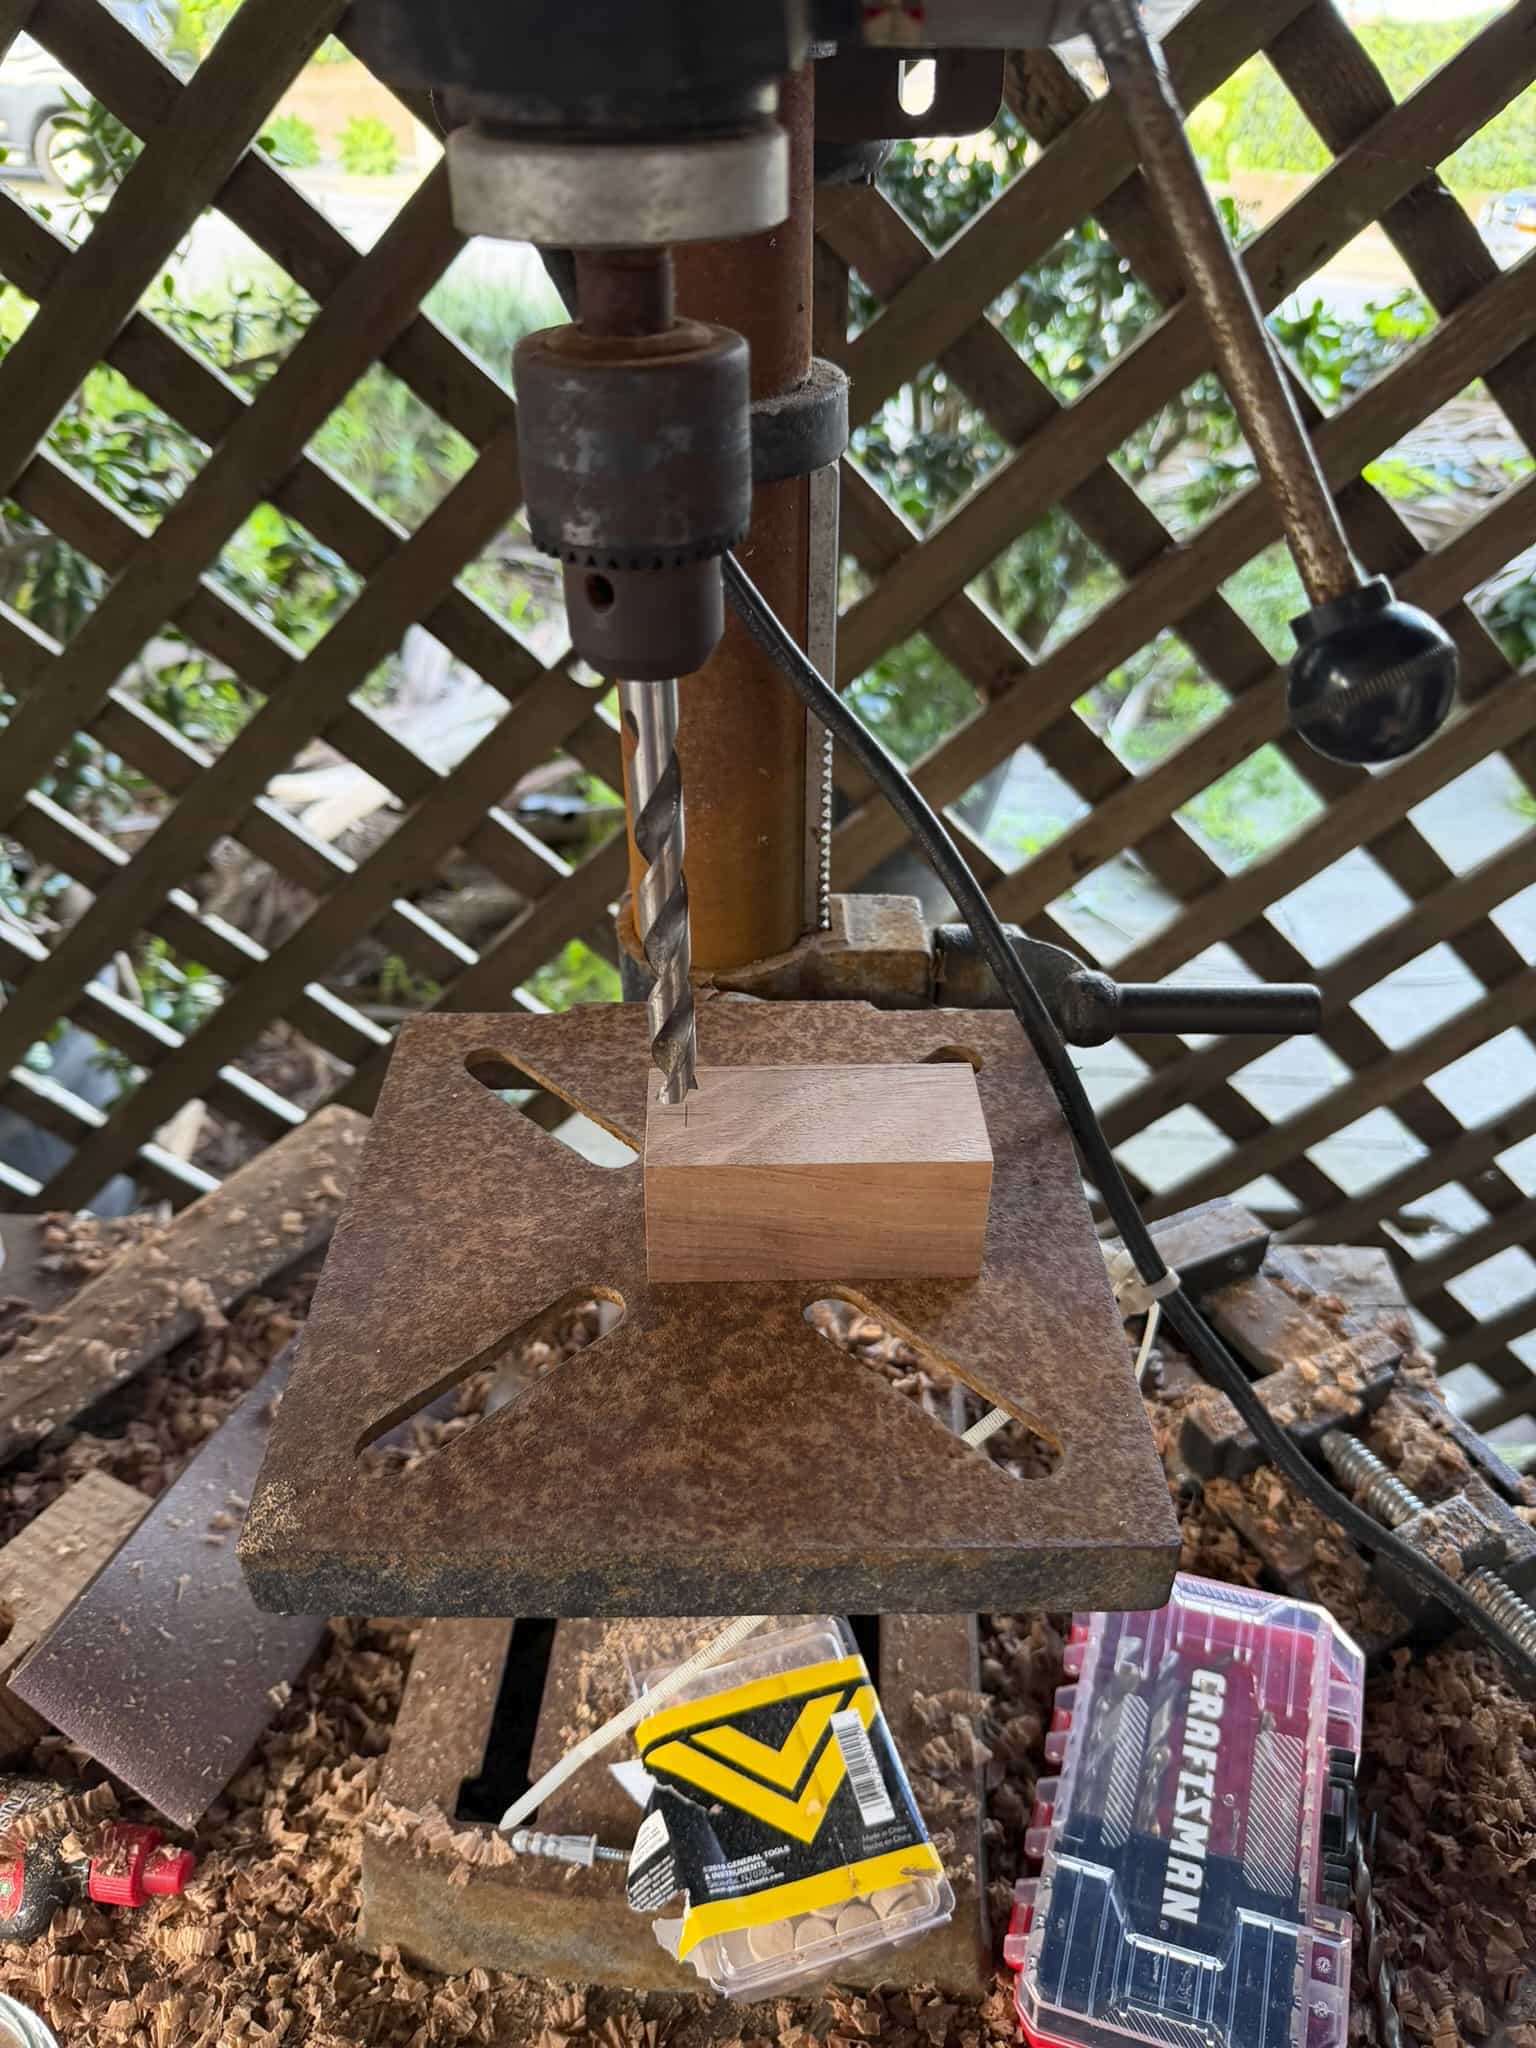
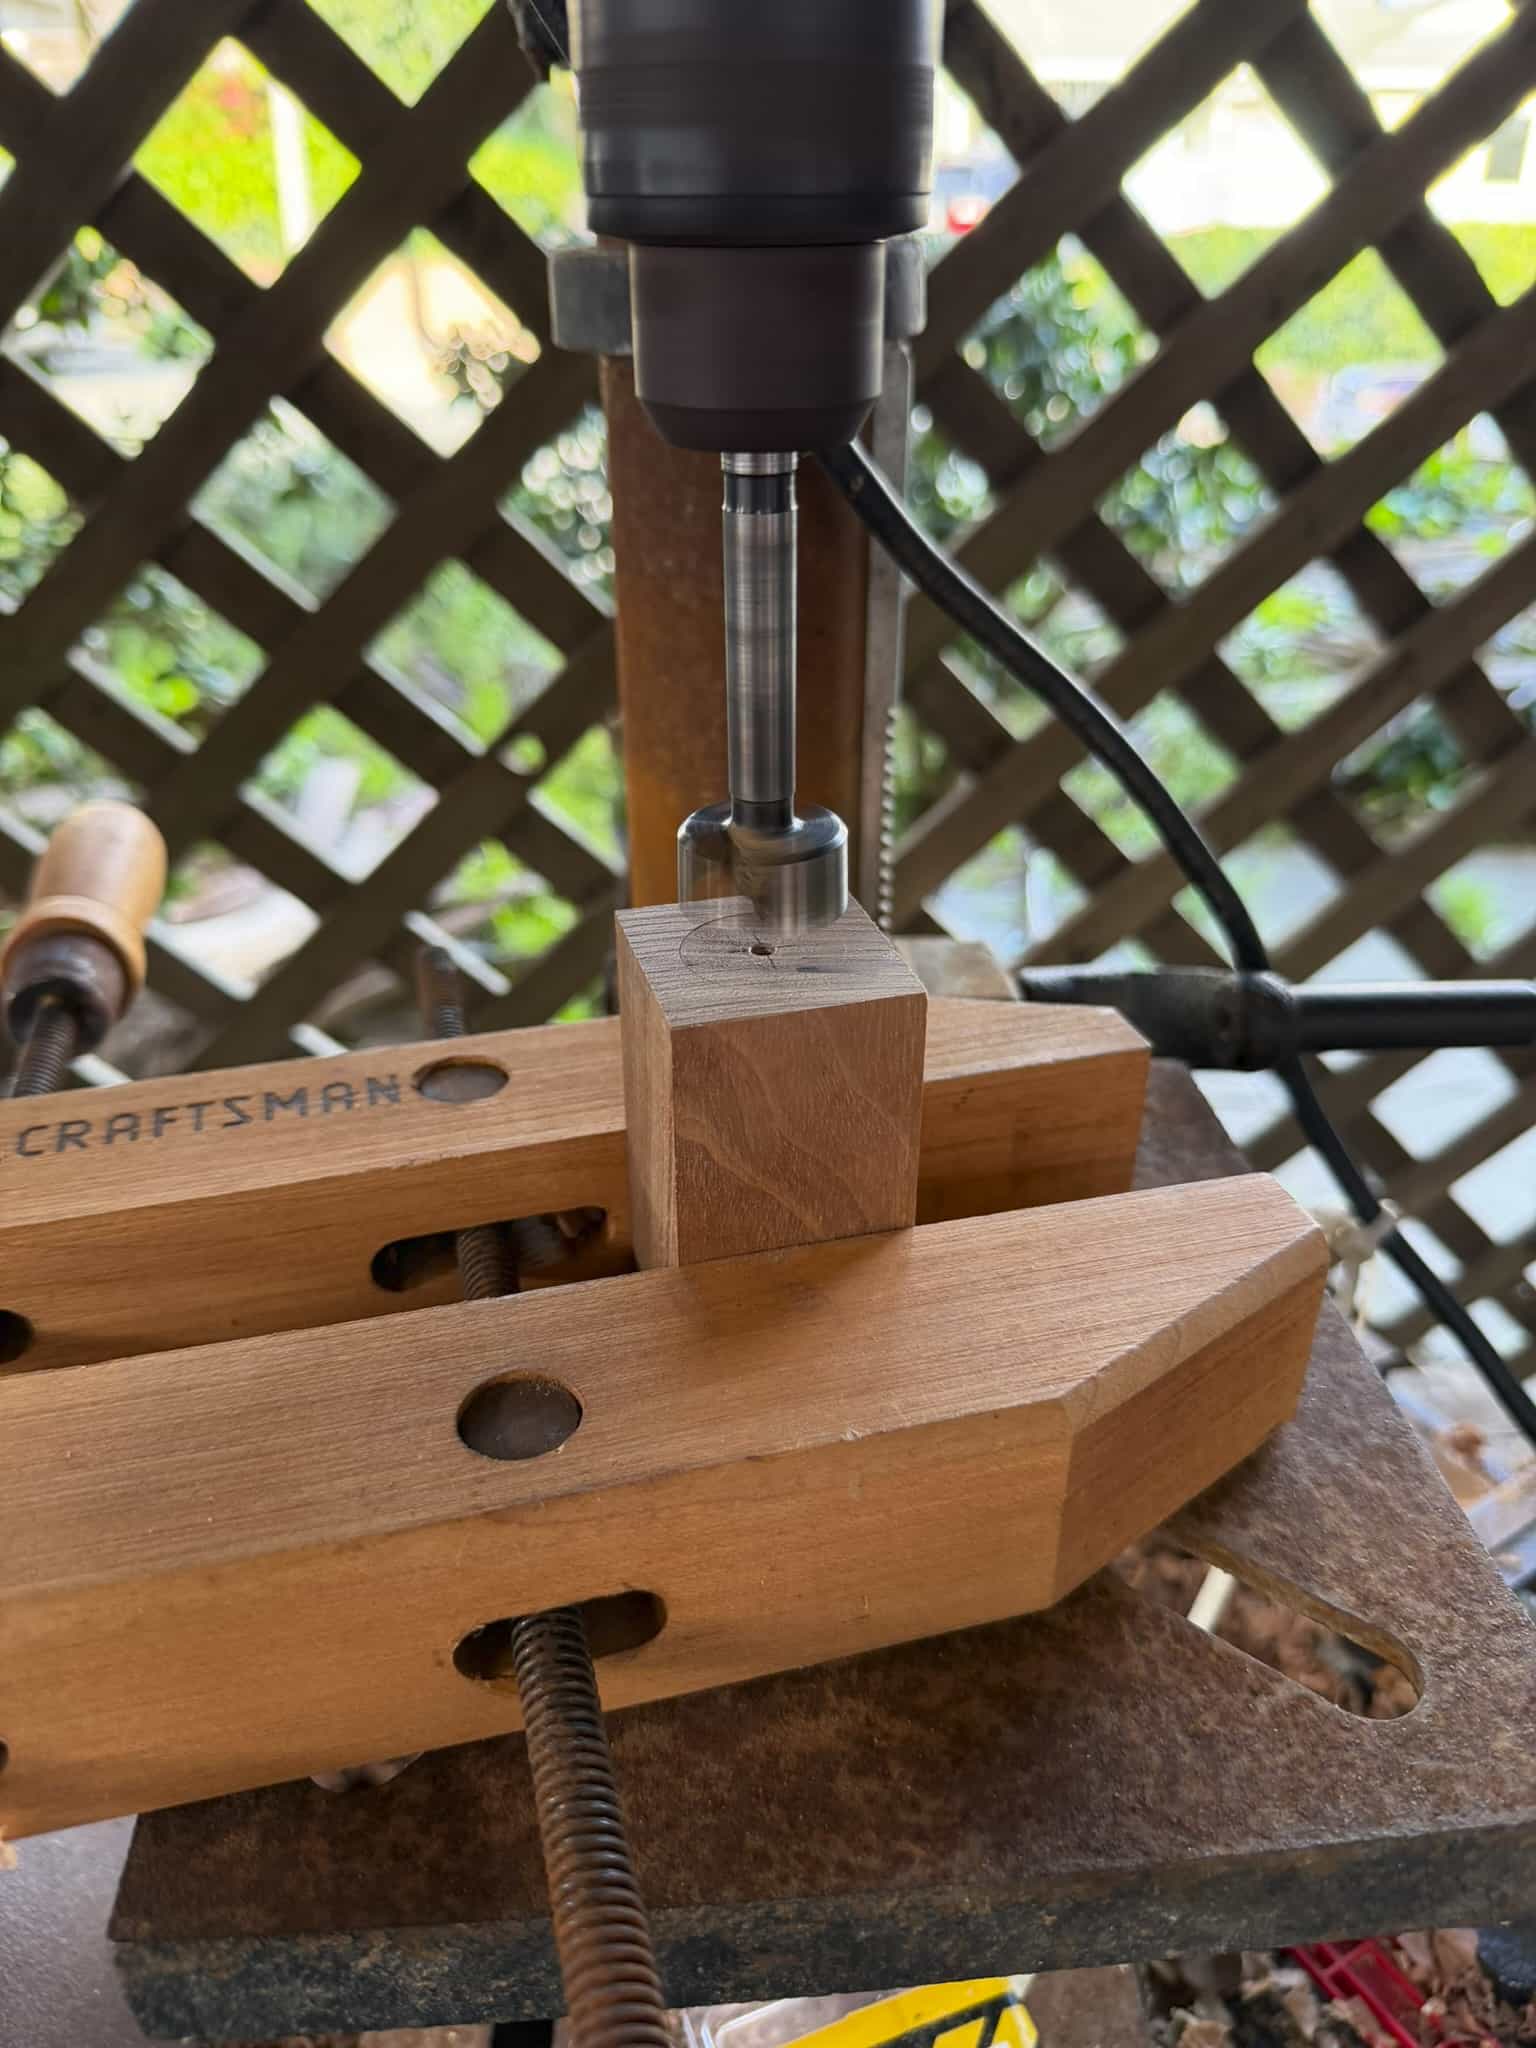
  2. Drill the top hole for the heater cover. Min 1", recommended 28mm diameter, 2.25" depth for the 1010, 2.5" depth for the 2012.
  3. Drill the bottom hole for the jack and wiring, 28-35mm diameter depending on the exact size of the blank, you need one thin wall to attach the jack to. 3/4" depth.
  4. Drill the 7/16" side hole for the jack to mount to, 3/8" up from the bottom, centered.
  5. Drill the 1/2" hole from the top of the log down to the bottom, centered on the pilot from the 28mm hole.
  6. Drill the 3 pilot holes for the screws which hold down the wood body. I do this from the top with a long 3/32" drill bit.
Bulb/jack Assembly

  1. Drill 2 5/64" or 2mm holes in the wood plug, same spacing apart as the bulb pins.
  2. Cut the 2mm tubing to length. I mark it by placing the bulb in the tube, then the tube on the bulb pin. Mark it to where about 3/4" past the bottom of the heater cover sticking out. Cut 2 equal lengths.
  3. Press these 2mm bulb contacts into the wood plug so about 1/8" sticks out the bottom of the plug (the wider side).
  4. Place the bulb in the other side of the contacts. Crimp the tubes down hard onto the bulb pins with pliers. It will spring back and be loose. Remove the bulb and tighten the crimp slightly, checking as you go, until the bulb fits firmly in the contacts but is removable.
  5. Crimp connector leads onto the bottom of the bulb contacts on the other side of the plug. Cover with heat shrink.
  6. Solder mating connector leads to the barrel jack and cover with heat shrink.

Final assembly

  1. Insert the heater cover into the body and fasten with the 3 screws.
  2. Insert the bulb assembly into the 1/2" hole through the bottom of the log, press in making sure bulb is centered.
  3. Insert the jack, thread the wires through the nut for it, and secure. Connect the connector and tighten the jack nut.
  4. Plug in and enjoy! The 1010 will take about 8V to get to temp, the 2012 will take about 6.5V.

17 Likes

Thanks for posting that detailed walk through!

3 Likes

I received my jackrod 2012 in Blackwood earlier today, and I could hardly be happier. It is fantastic. I’ve been using nothing but it for the last 4.5 hours and have been zooted out of my gourd.

I’ve been using it with the fnirsi DPS-150, settled around 7.35 volts for now.

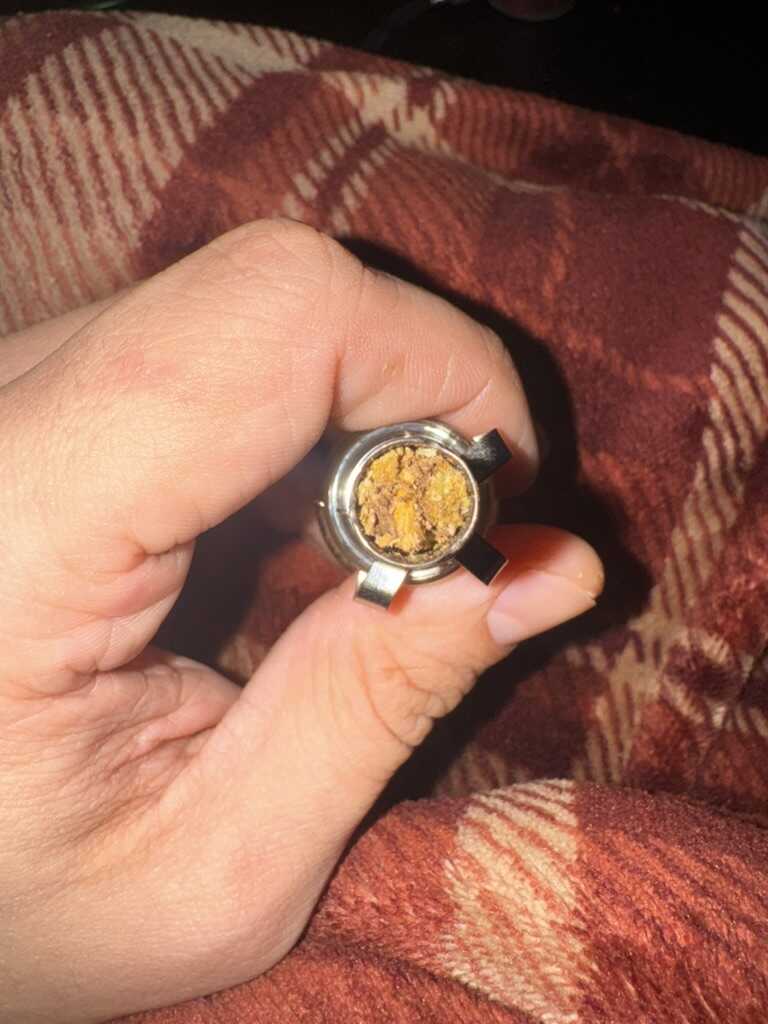
Surprisingly, my favorite way to use it so far has been with the stem from my firewood 11. Fits perfectly, and a dynavap CCD can fit inside the stem. (Note, this one the 2012 doesn’t fit normal dyna tips, 1010 does).

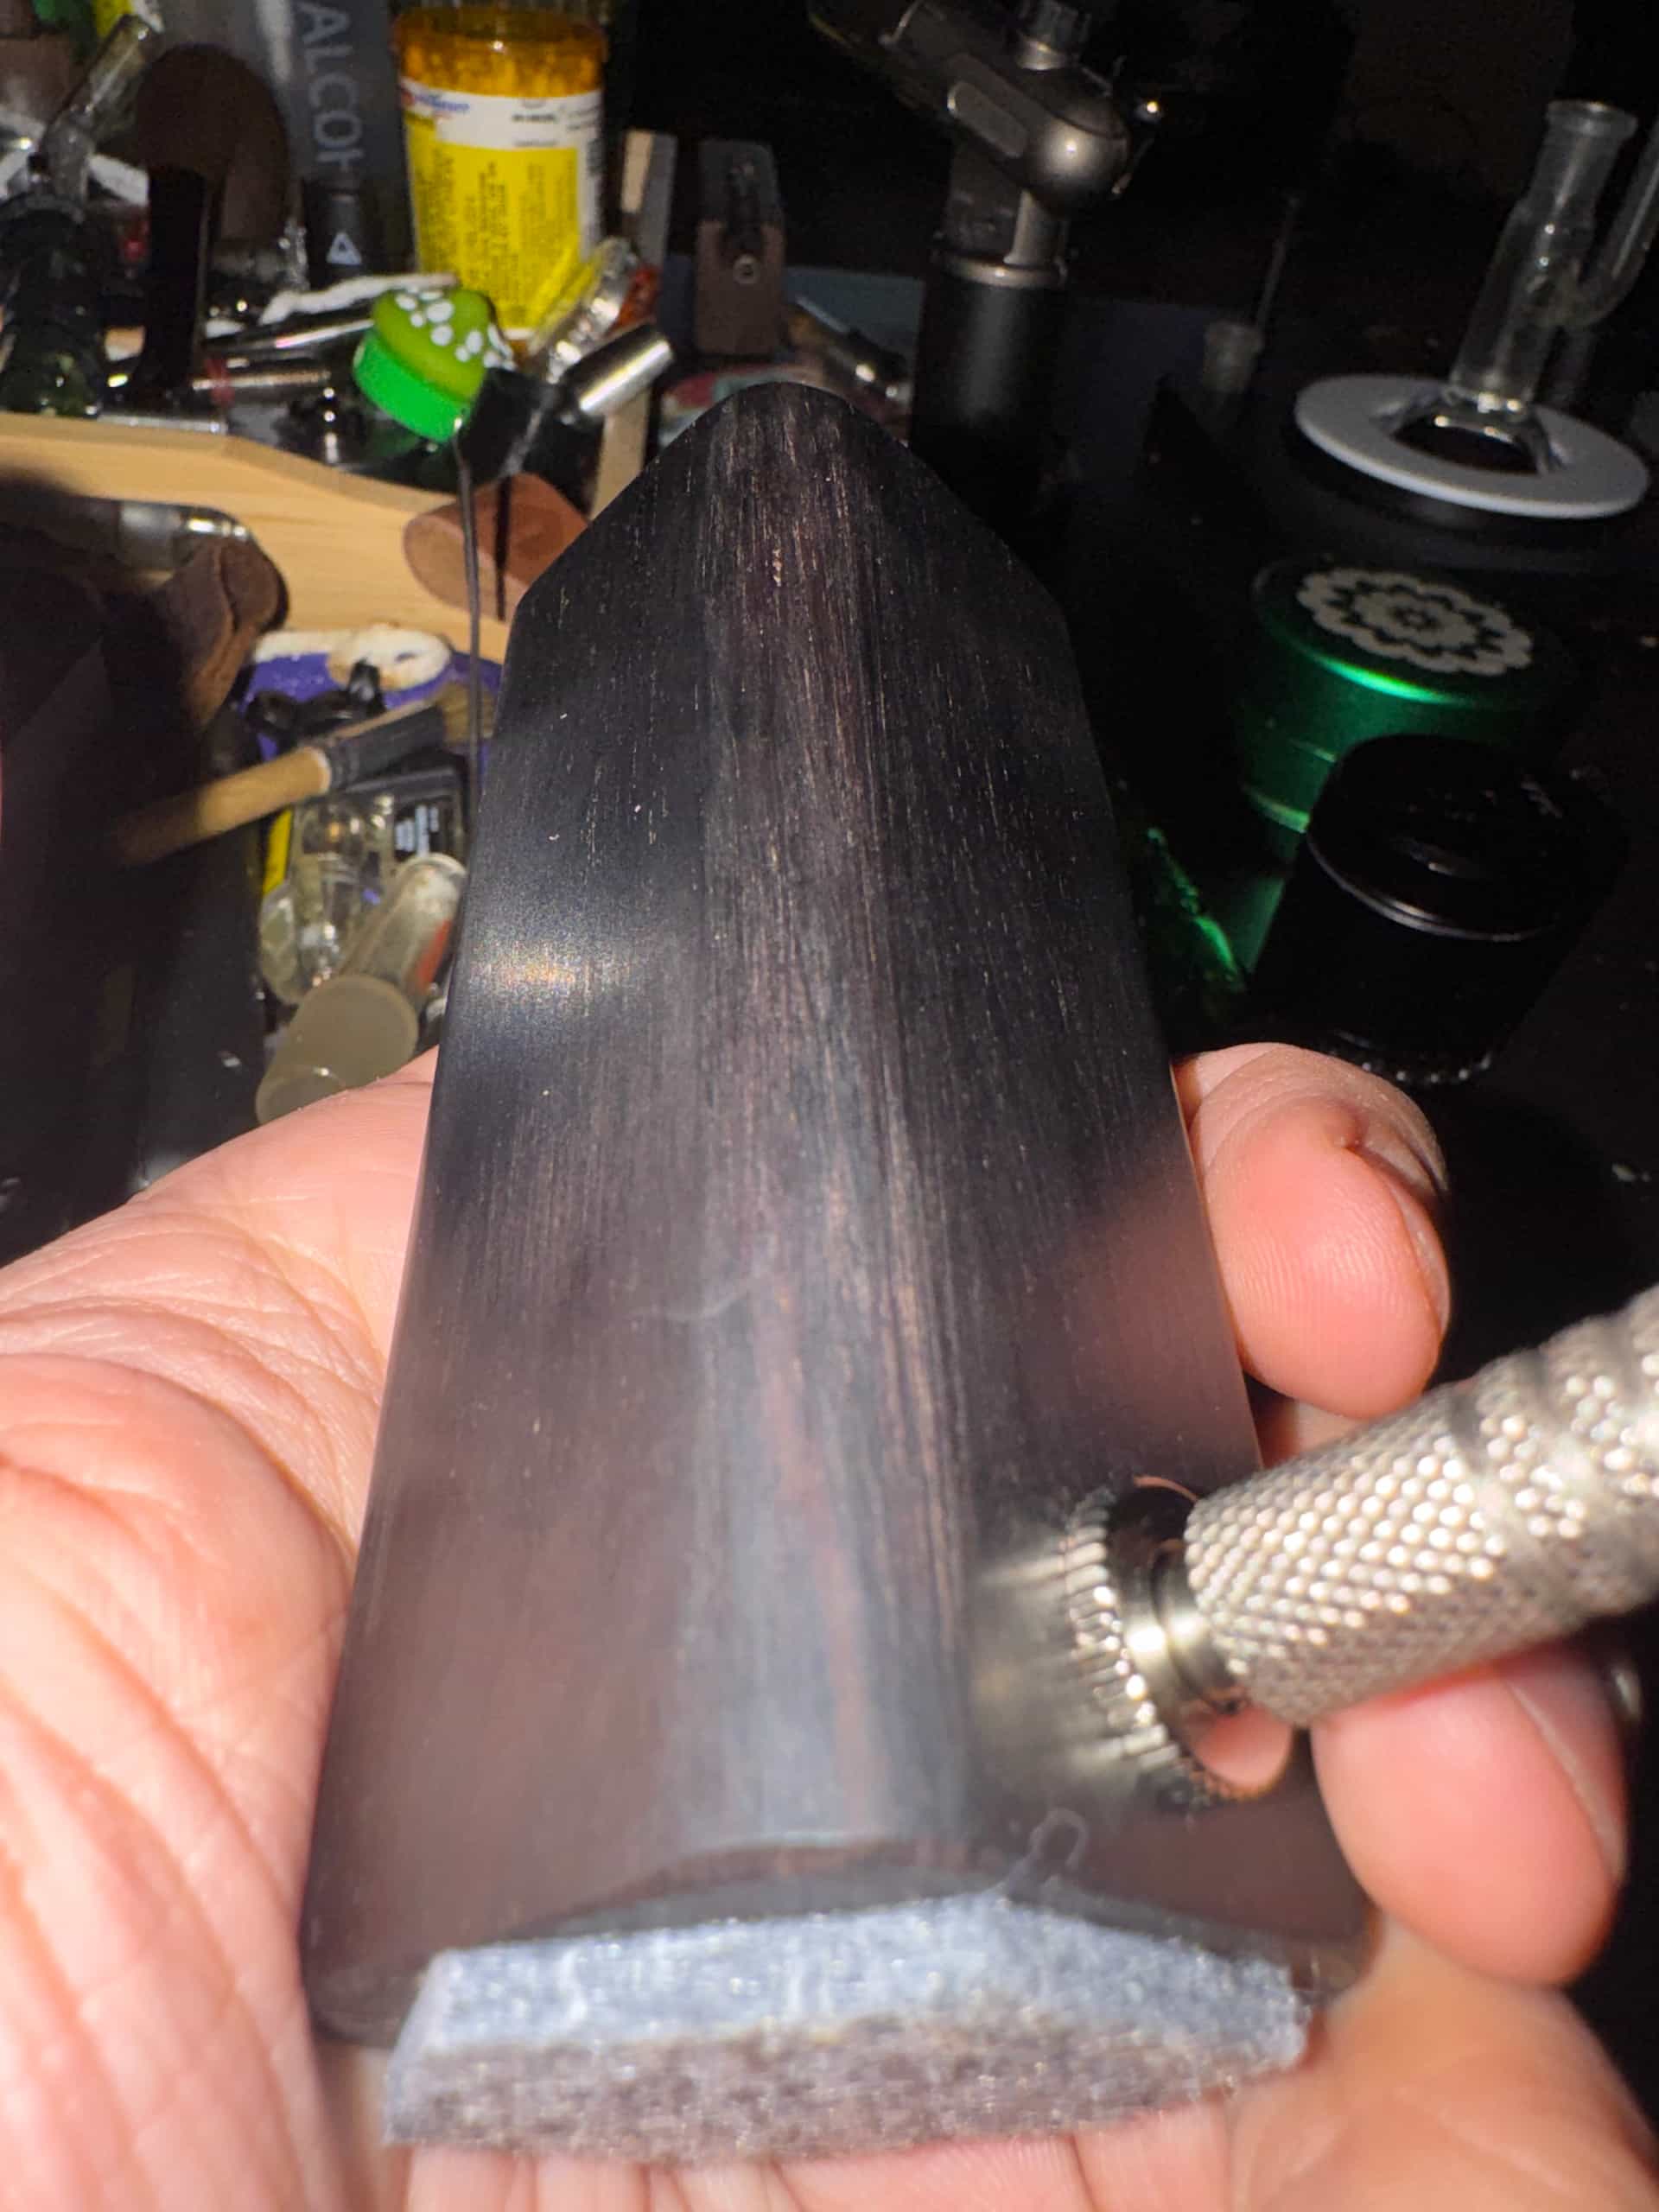
Grain is beautiful. The felt pad I added. It is incredibly dense feeling. The outside gets hot-ish but hand warmer hot, not stovetop hot. I can wrap my hand around any part of the outside and keep it there.

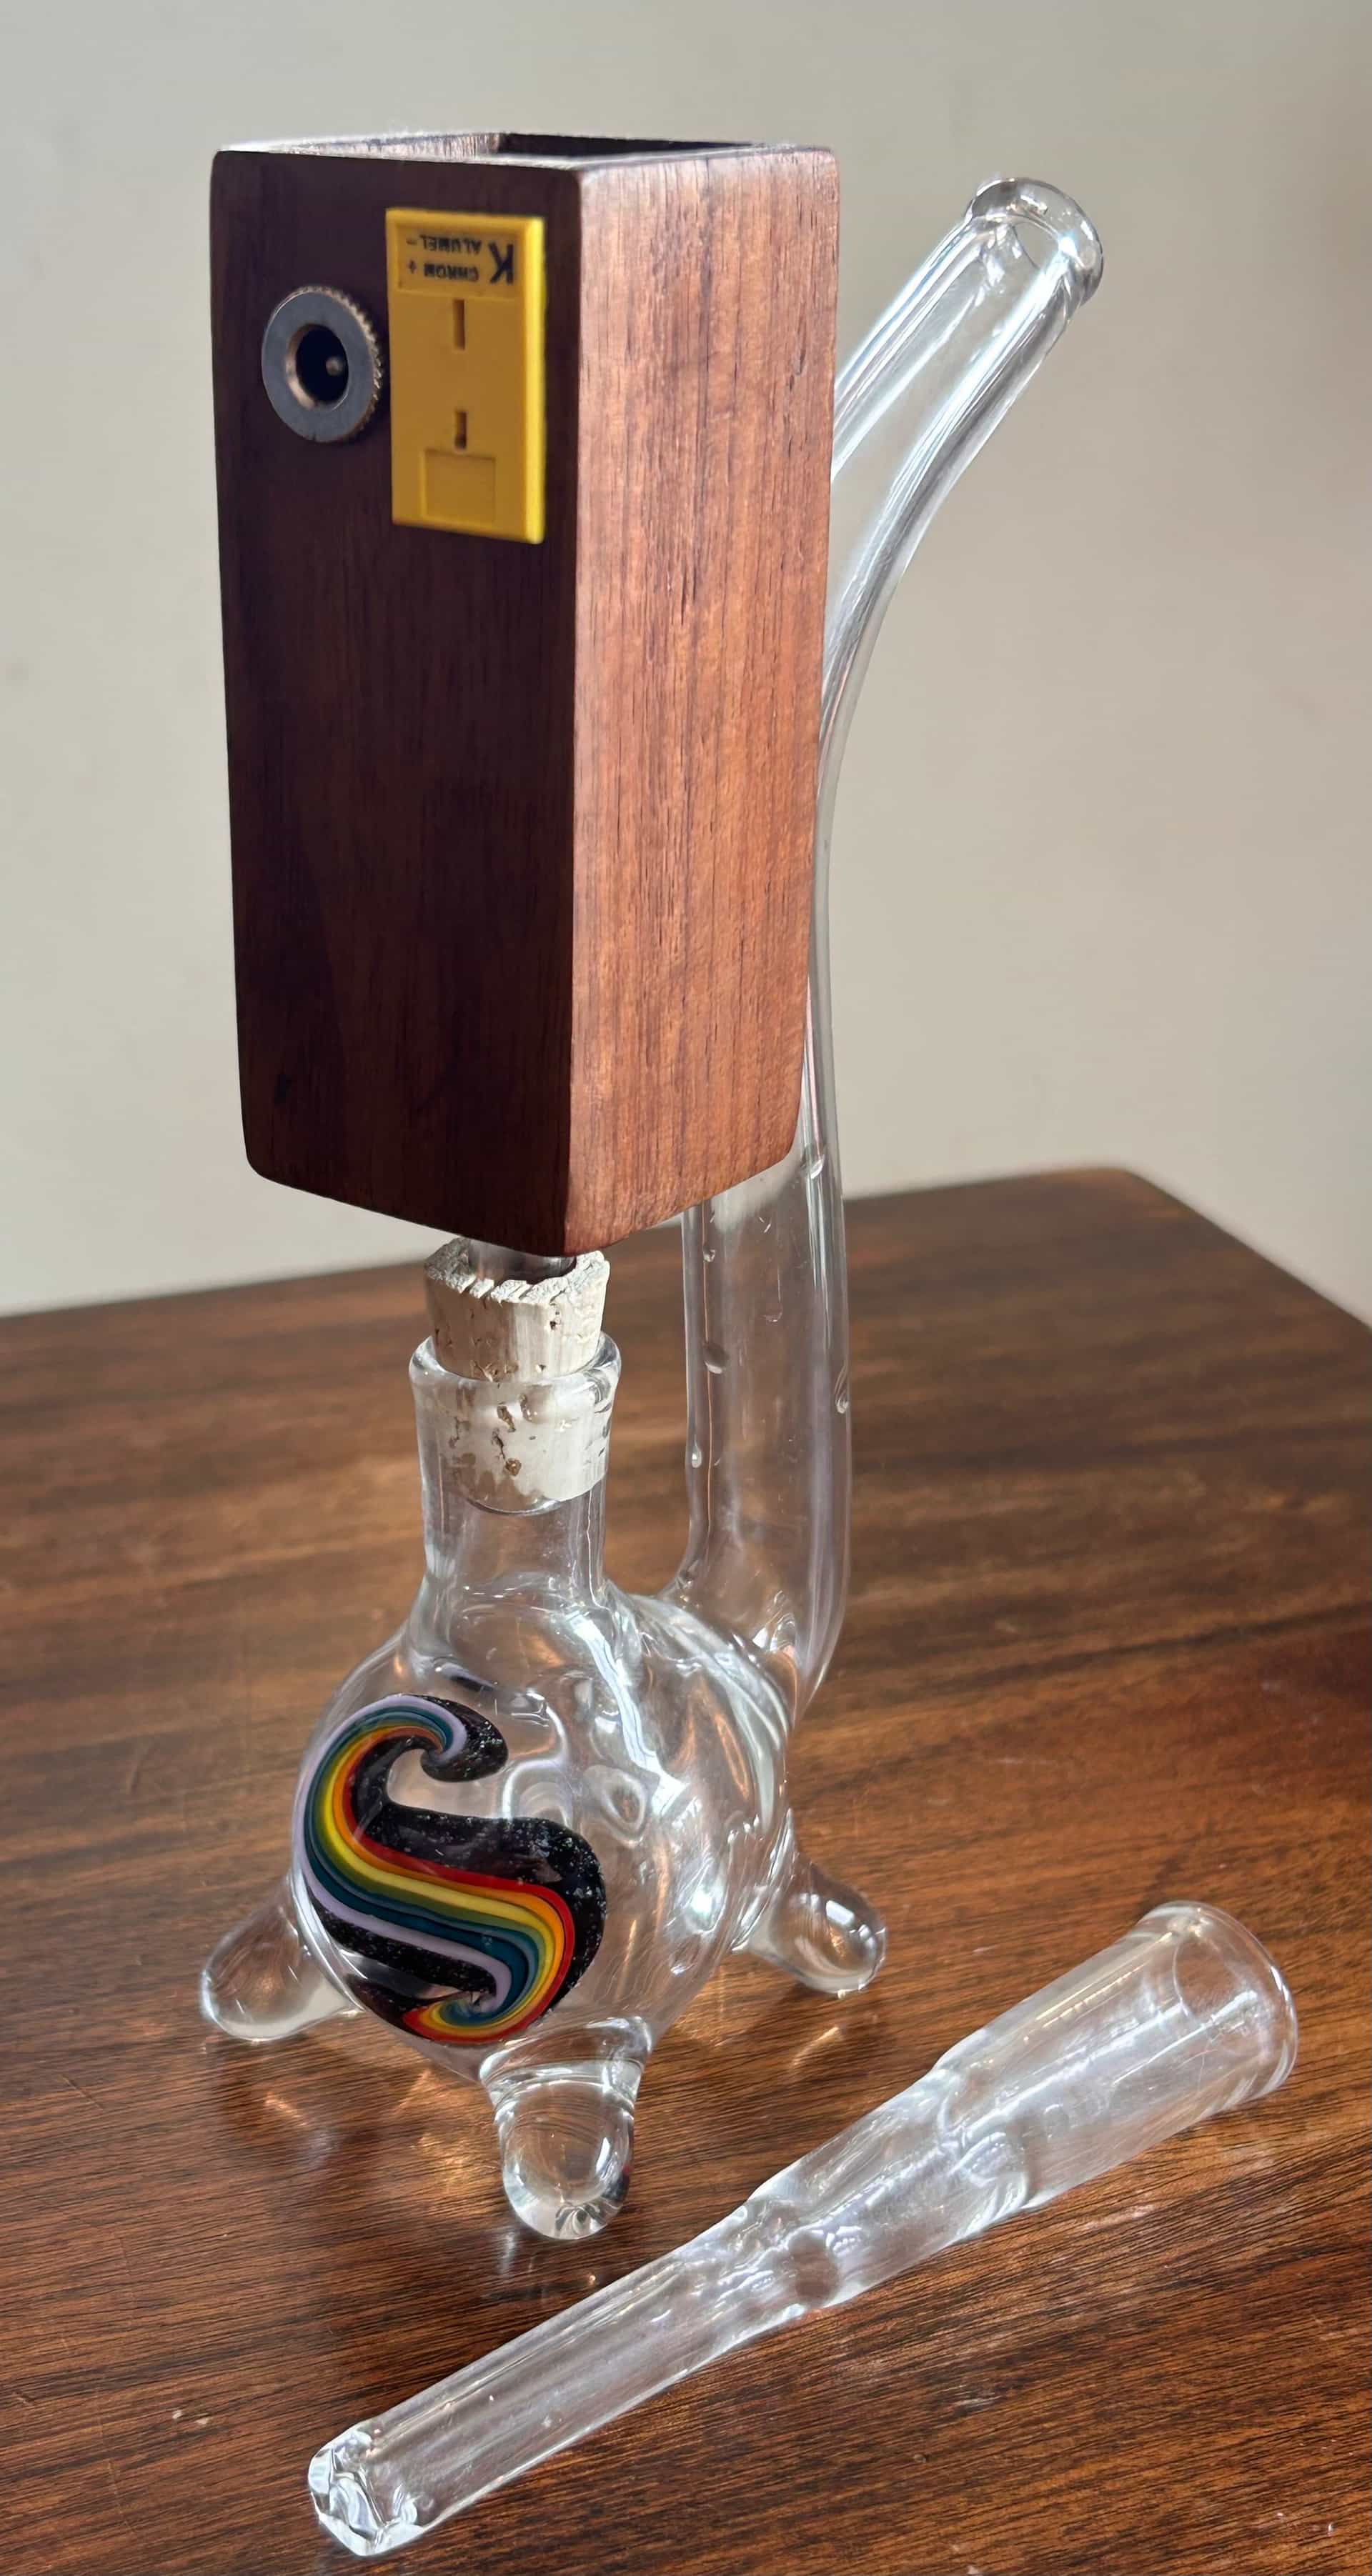
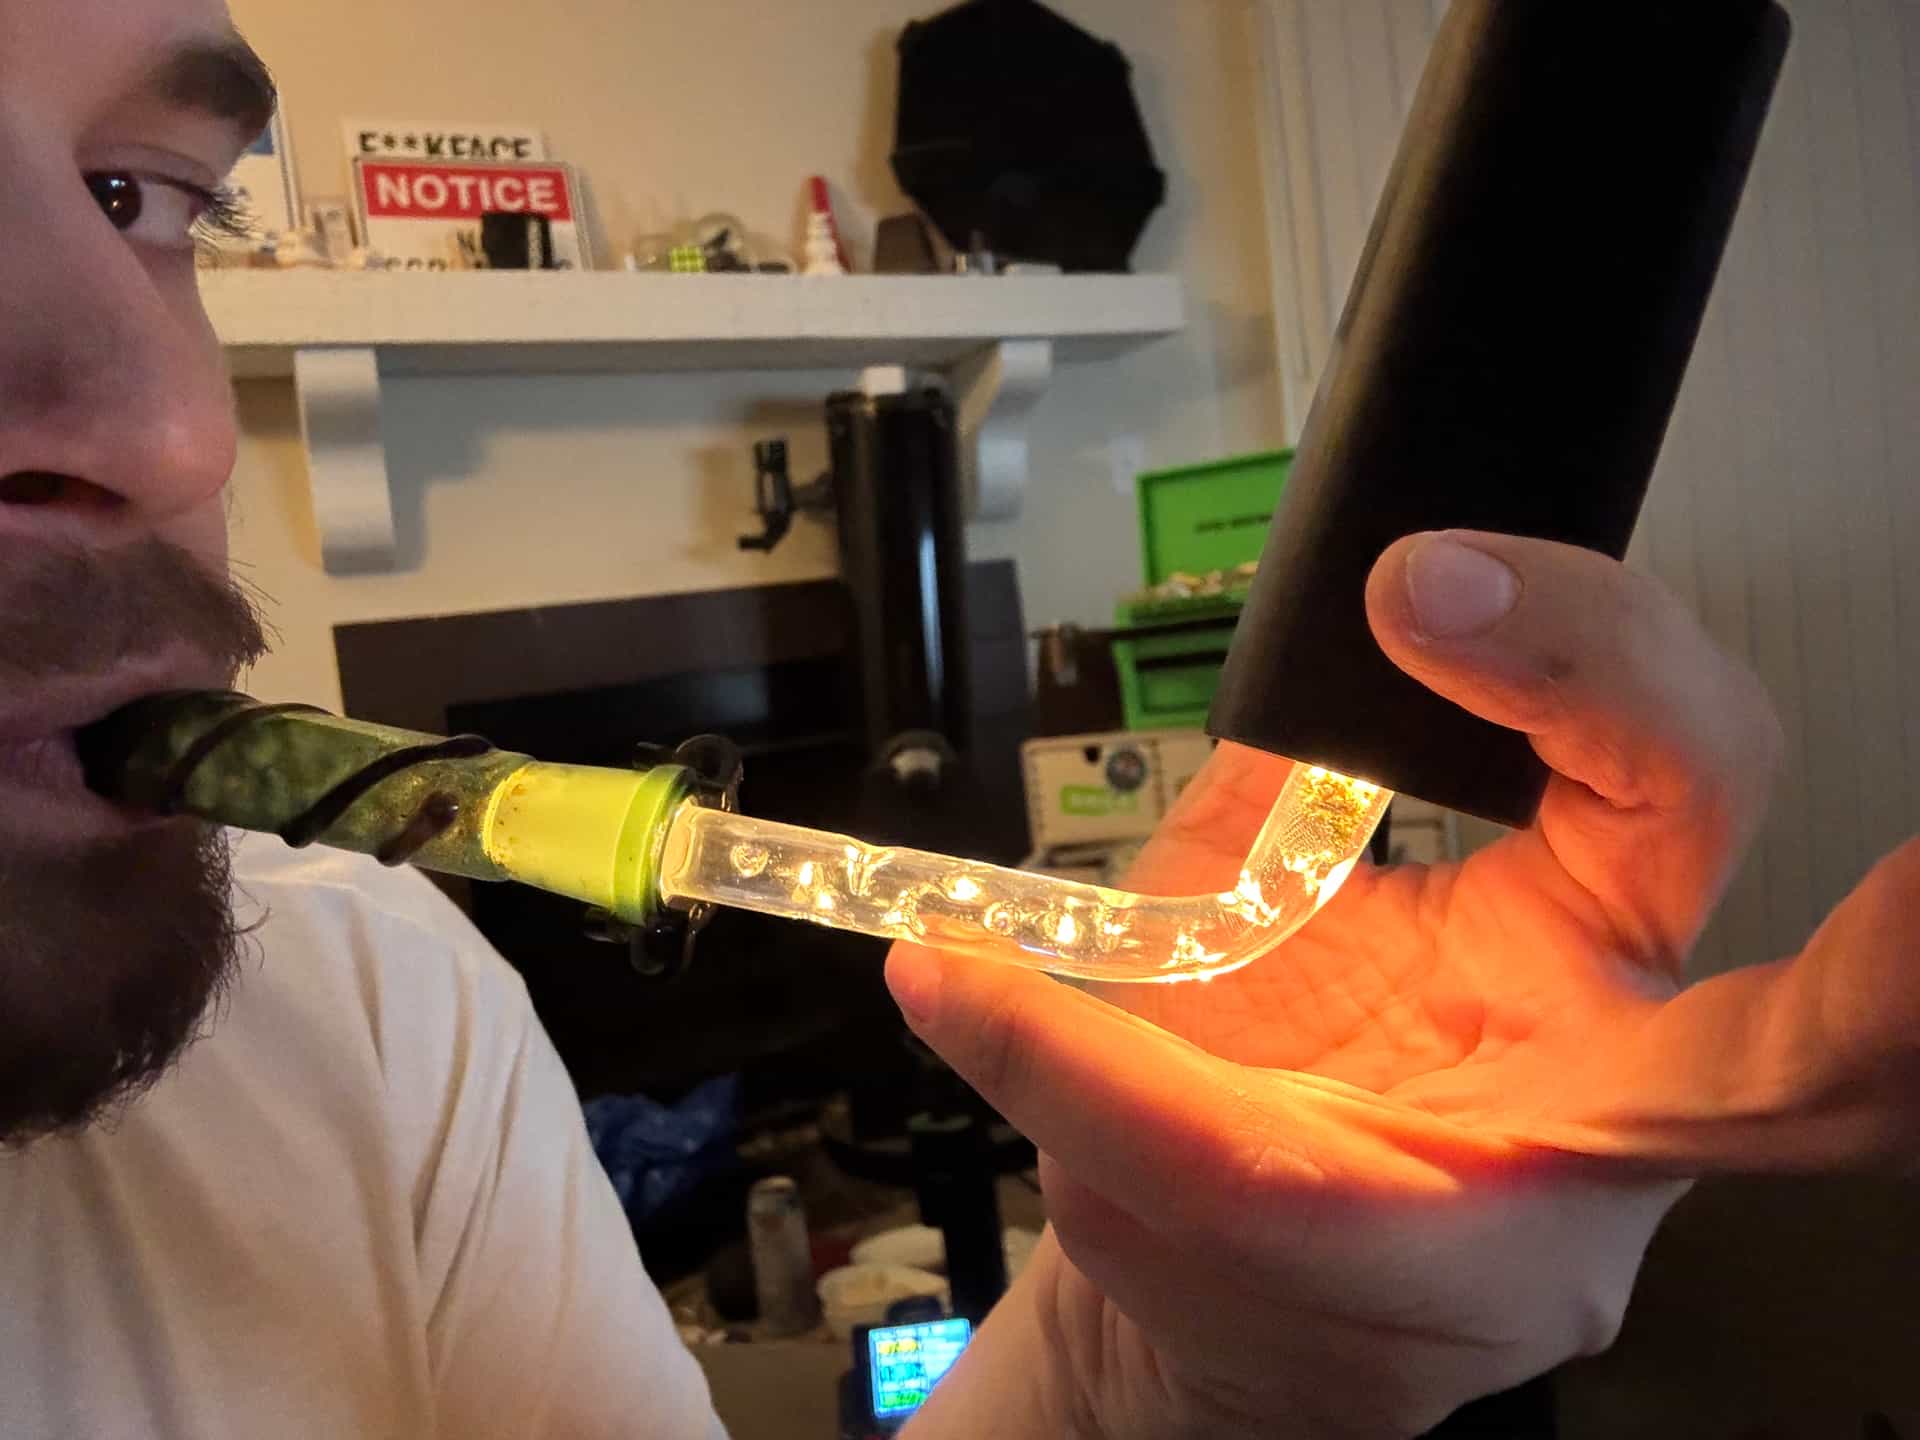
It works with a ton of existing glass I have, which leads to funny setups like this. A cactus dry pipe mouthpiece + a TRWW 14mm cooling stem.

I would heartily recommend one of these to anyone who wants to be more conservative with their herb and just chill out, and get some tasty tasty terps along the way. The glow is so cool. Jackrod has been exceptionally easy to order from and very communicative, and helpful with getting the hang of it.

I totally see what people mean now about the smoothness of halogen, there’s something to it. Even with very little cooling it’s quite nice.

I’m now on the list for a 1010 soon as well :face_with_tongue:

His optional cable is very very nice too, and worth it. It’s a very flexible and light cable so it doesn’t tug on the log.

9 Likes

Really glad you’re enjoying it and thanks for the stem tips! That setup with the TRWW cooling stem is nice.

2 Likes

Science is happening… :rofl::rofl: more testing to come

(Still loving this thing, using daily, getting even better)

6 Likes

Lots to share, but firstly, got my purpleheart 1010 yesterday, and I am absolutely in love. So far I actually like it a notch above the 2012 for my personal preferences, mainly due to the ability to use dyna tips.

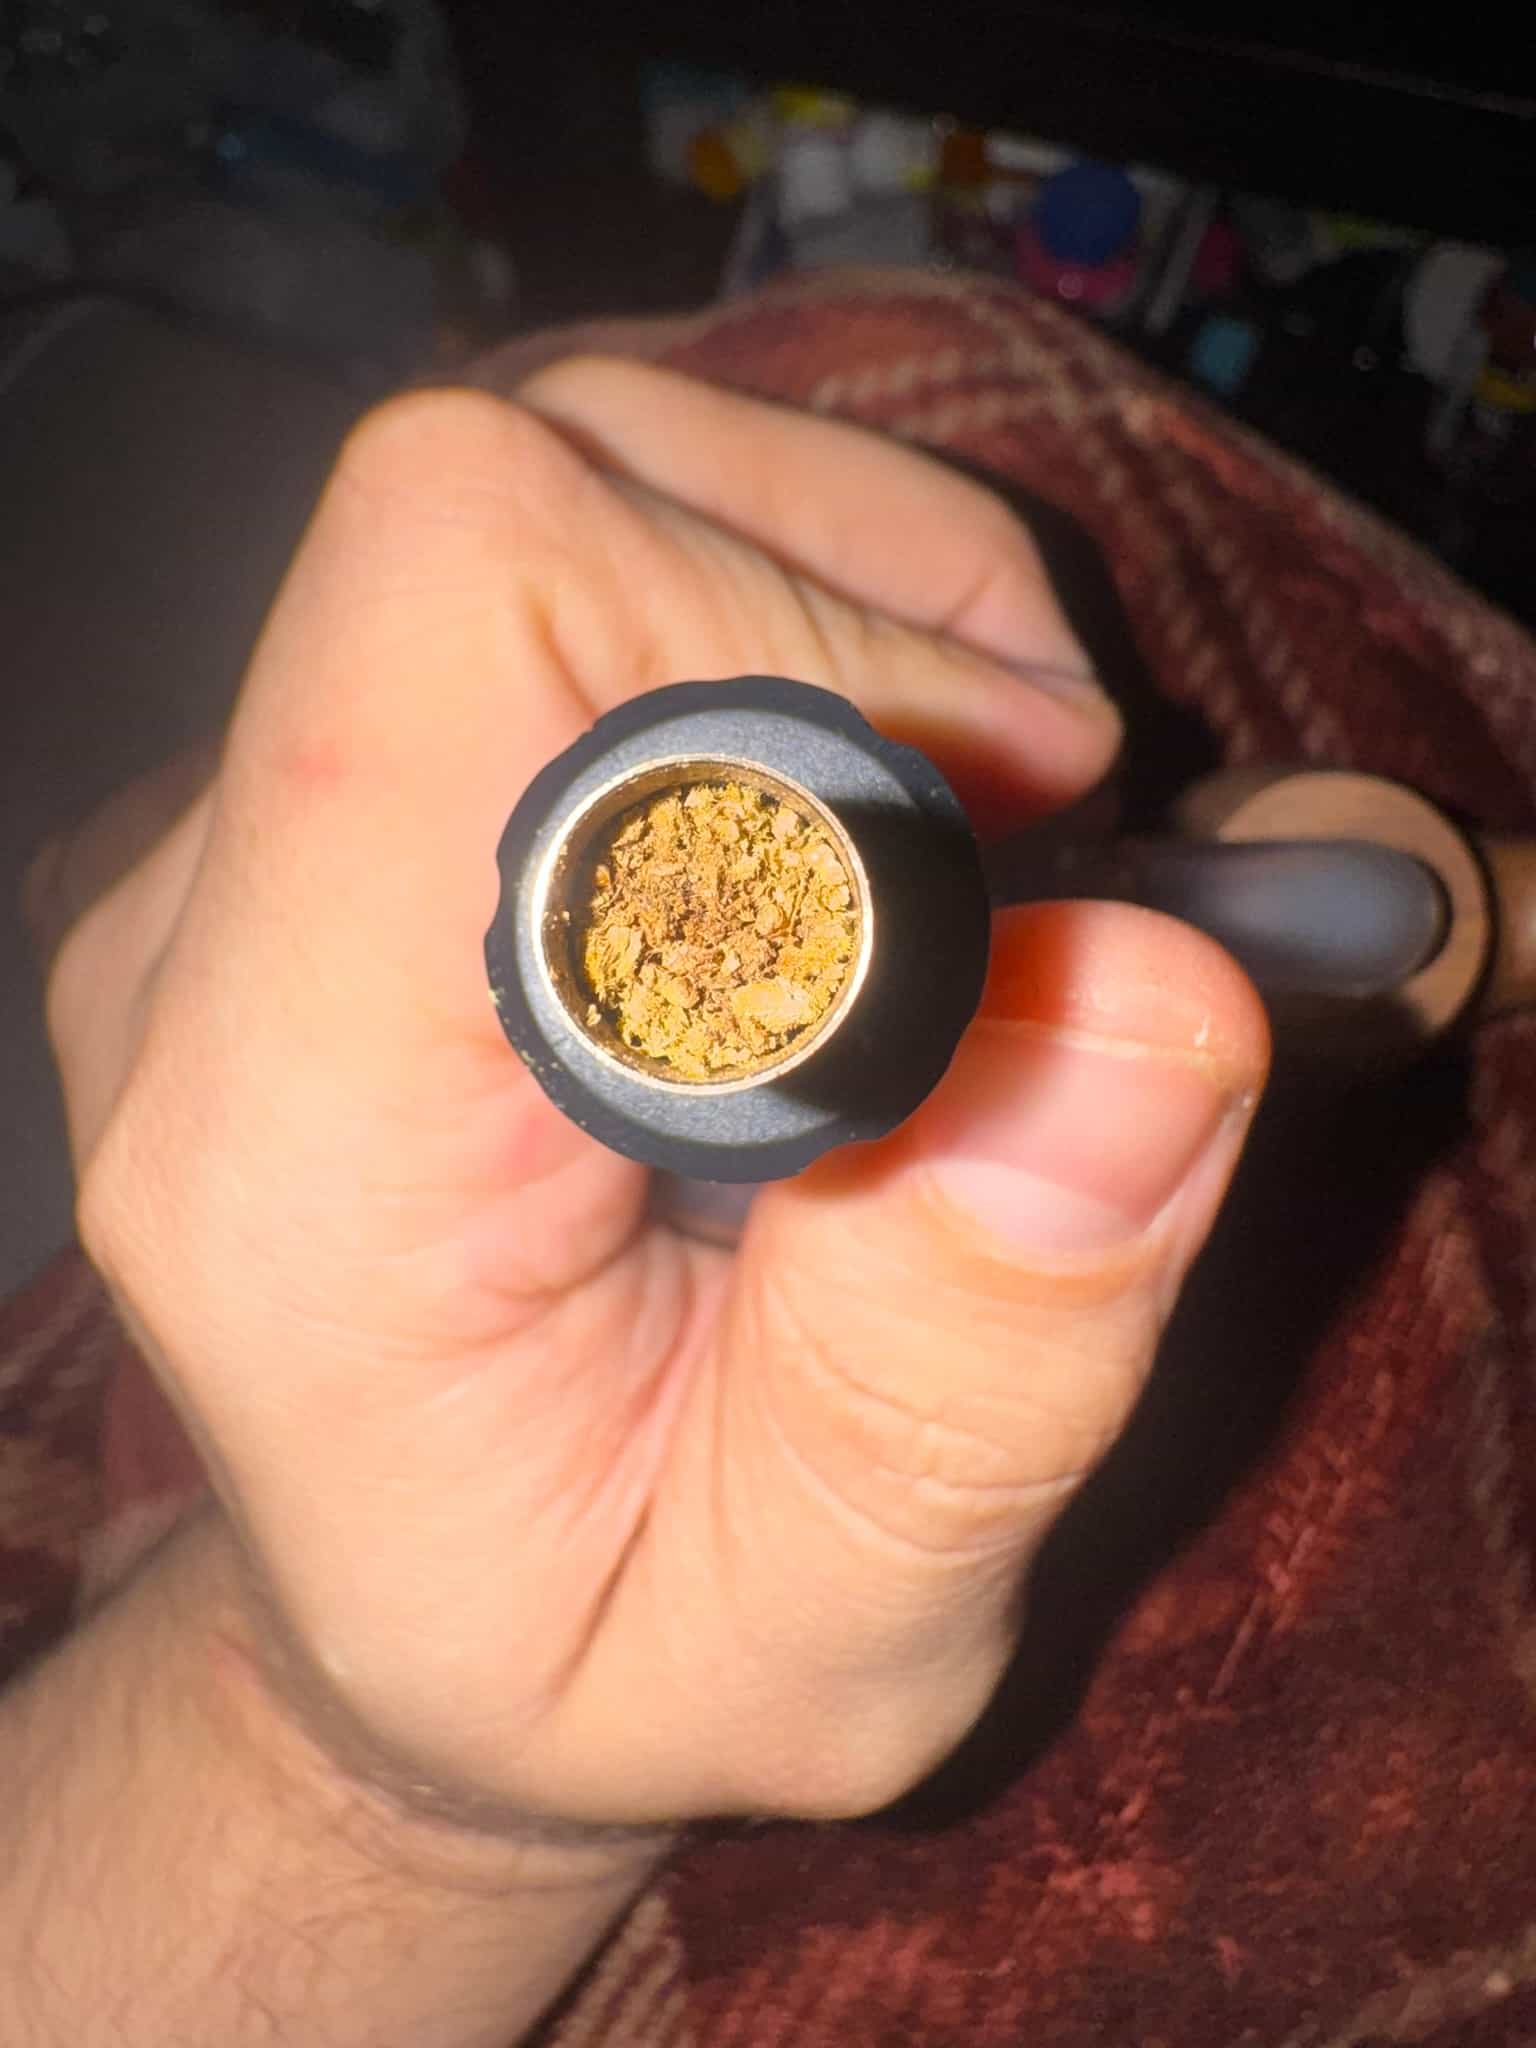
Added 7 3mm rubies, working really great. Getting super even roasts.

I’m a little sick right now, so not cranking it up as much as I could see myself doing in the future. I often like a light brown, but liking the comfort of this vapor a lot.

I’ve been really liking the OG convector tip with it, along with the dynavap B tip. The 5 fin ti works really well too. The vong tips I’ve got and my M7 tips fit and work, but aren’t my favorite.

Hits really hard still, and really gentle on the mouth and throat. Been sick the last few days, it was just what I needed. If you’re more of a dynavap, simrell, firewood, etc. user, and you like metal tips, the 1010 could be plenty.

Running 8.86 volts right now, 6.25 watts.

My tinymight 2 rocket stem also fits over top of the 1010 as a larger bowl.

Would heartily recommend either the 1010 or 2012. If you’re someone who uses ball vapes, needs several tempest bowls to feel anything, etc., the 2012 is likely to be a better fit. Or, if you want to microdose, but want to use thick nice glass stems, the 2012 would also be a good fit.

I would also just generally recommend buying from jackrod :+1: . Very communicative, reasonable, and fast.

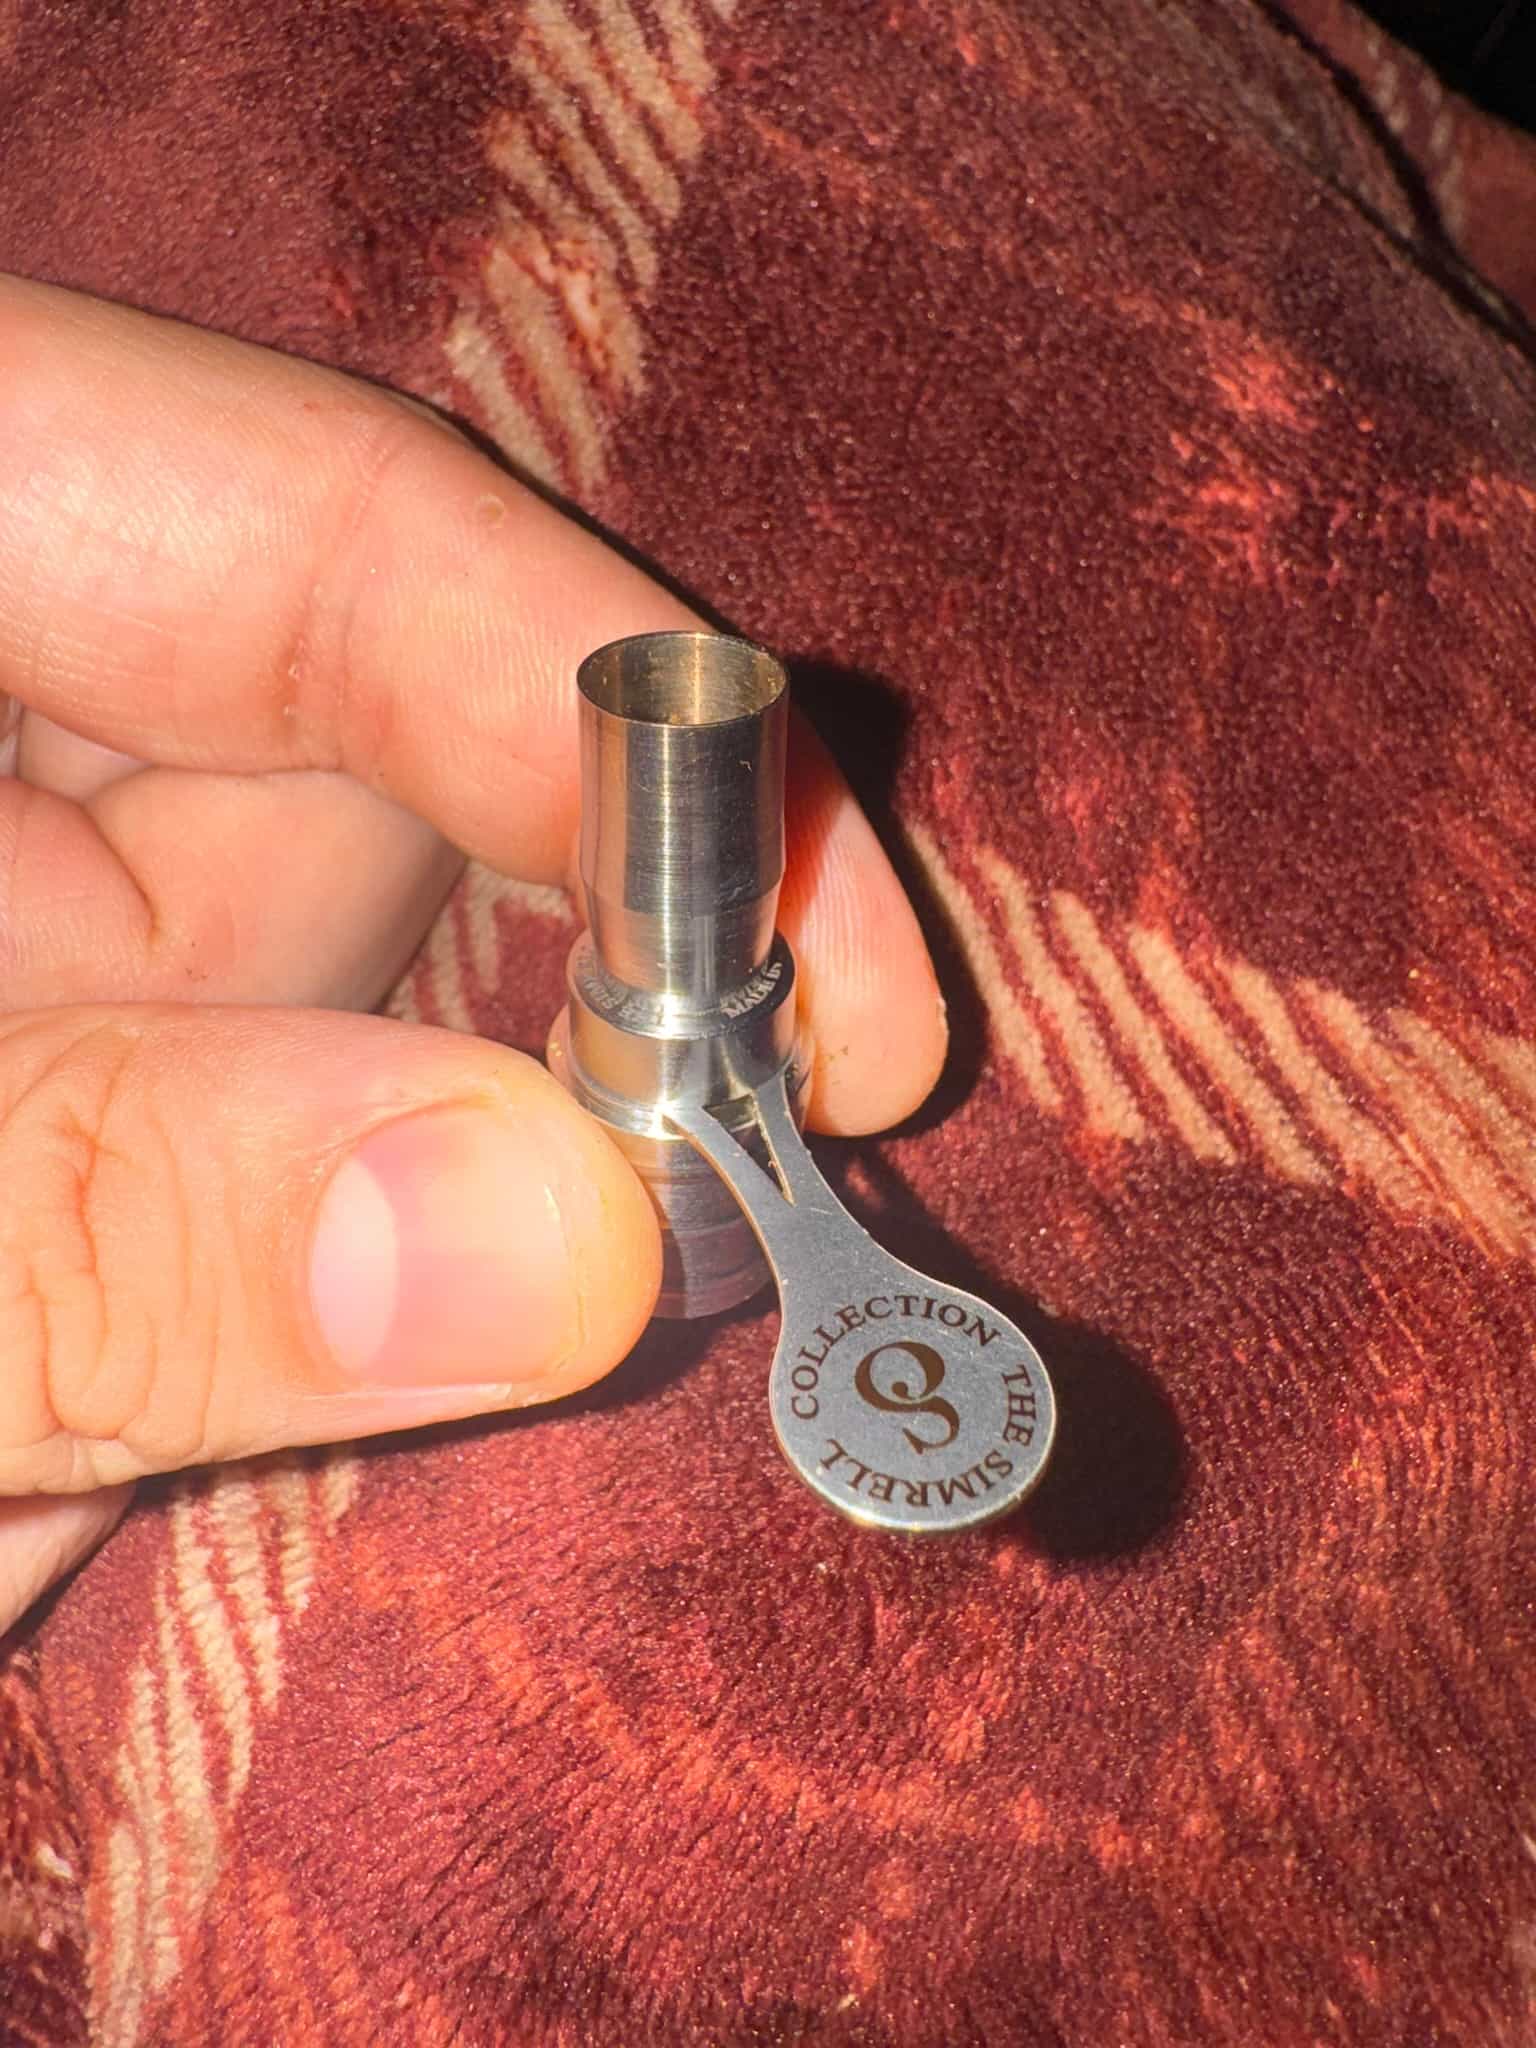
I’m someone who primarily uses a simrell to top up throughout the day, and switched to a few joystik bowls and hydro bowls at night. T

he 1010 so far is plenty for me with the metal bowls, and as someone who likes convection over most other heating types, it might take over the simrell for my use throughout the day.

7 Likes